So, you have made a game. Published your game on Steam and gathered hundreds of downloads in just a couple of days. You were happy and very satisfied but one thing came to your mind. You want to create a game for mobile devices but you don’t really know where to start.
Obviously, the first thought you have is by adding the player, and to make it move around the mobile screen, you’ll have to use touch controls.
But how do you actually create such controls?
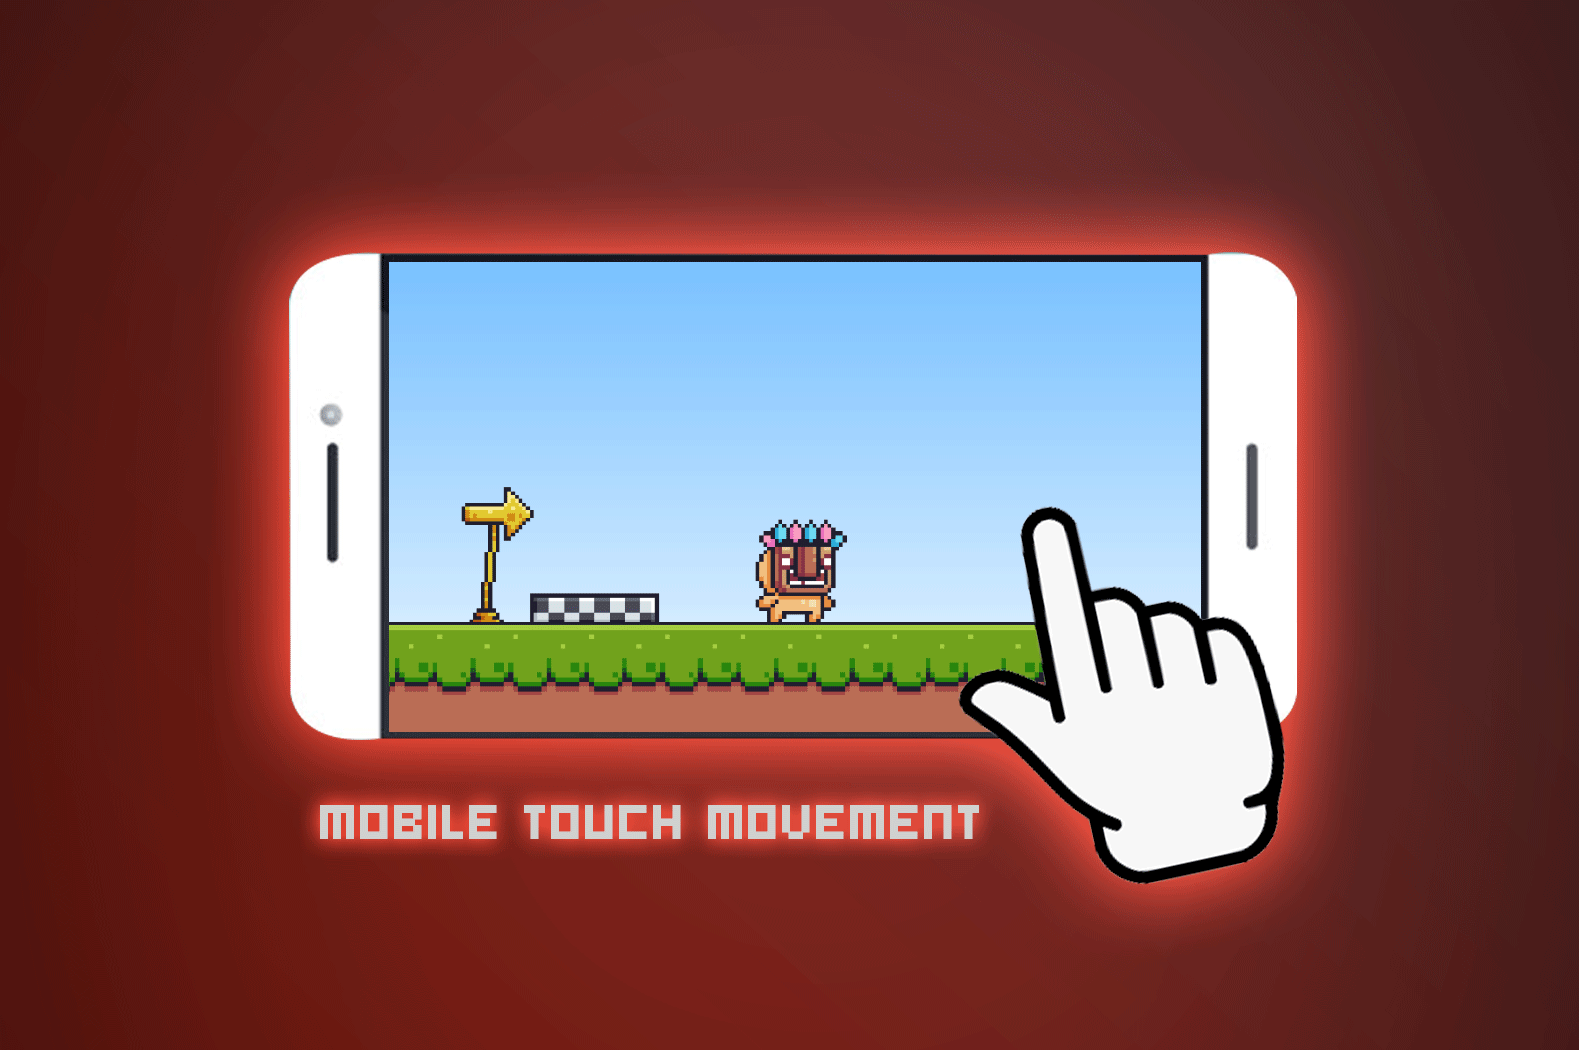
In this tutorial, we’re going to learn how to make mobile touch controls to make the player character move around the game.
First of all, there are many ways that you can do to control your player using touch controls. One of the ways is by using UI elements like buttons.
But that’s not what we’re going to do.
What we need is just one script and that’s it.
Let’s begin.
Getting Started
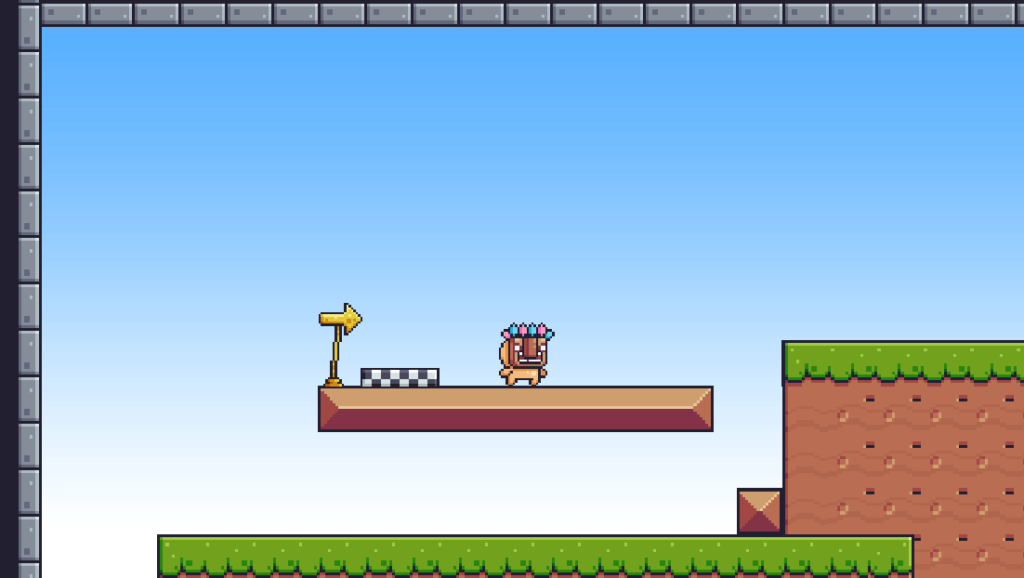
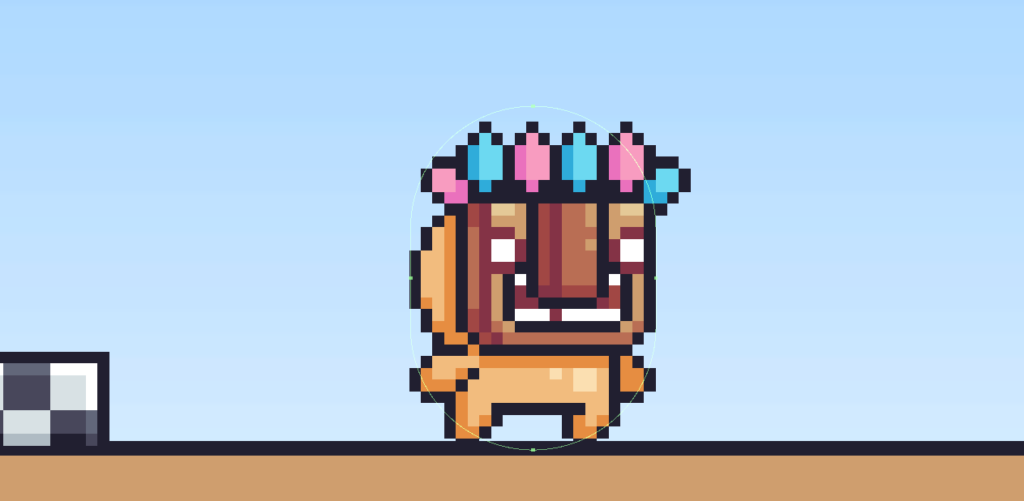
To start, of course, we need a sprite for our player character. Any sprite will do but if you want to use the same asset that we will be using in this lesson, then feel free to download it below.
It’s important to know that the asset that we will be using in this lesson contains sprites that can be used to make animations for our player character.
If you don’t know how to animate 2D sprites, then feel free to watch the video below. We have covered in this video how to animate your 2D characters.
Mobile Touch Script
Once you have set up your scene and character, we can now start working on our mobile touch script.
Go to your project window and create a new C# script and name it MobileTouch.cs.
Then open the script and copy the following code:
using System.Collections;
using System.Collections.Generic;
using UnityEngine;

[RequireComponent(typeof(Rigidbody2D))]
[RequireComponent(typeof(CapsuleCollider2D))]
public class MobileTouch : MonoBehaviour
{
    private void Start()
    {

    }

    private void Update()
    {

    }
}

Code language: C# (cs)
For the code above, what we wanted to do is to make sure that our player character has a rigidbody 2D and a capsule collider. This script will be forced to look for these two components and if they are not in the game object, then the script above will automatically apply the two components.
Save the script and head back to Unity.
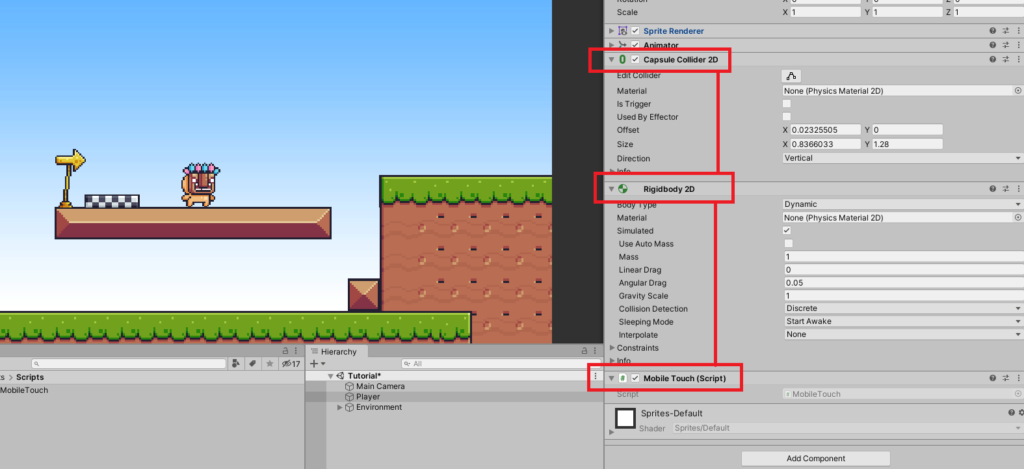
Once you apply the script to the player game object, the script will automatically apply a rigidbody 2D and a capsule collider.
Cool right?
Now let’s set up the capsule collider. Make sure that it actually fits the player.
Go ahead to the Capsule Collider 2D component and click the edit collider button.
Make sure that the collider actually fits like below:
Once you’re done, we can go back to the script.
Update your code to the following:
using System.Collections;
using System.Collections.Generic;
using UnityEngine;
[RequireComponent(typeof(Rigidbody2D))]
[RequireComponent(typeof(CapsuleCollider2D))]
public class MobileTouch : MonoBehaviour
{
public float moveSpeed = 20f;
public Rigidbody2D rigidbody2D;
public Animator animator;
public float screenWidth;
private float horizontal = 0;
private void Start()
{
rigidbody2D = GetComponent<Rigidbody2D>();
animator = GetComponent<Animator>();
screenWidth = Screen.width;
}
private void Update()
{
}
}
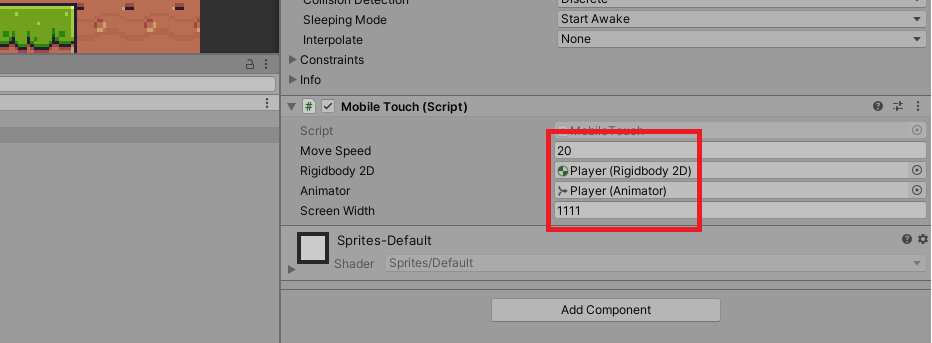
Code language: C# (cs)In the code above, we created a total of 4 new public variables and 1 private variable.
The first one is a float which we named moveSpeed. This will be obviously used for the walking speed of our player.
The second variable is a Rigidbody2D variable which we will be using to control our player’s position.
The third one is an Animator variable. If you don’t have animations for your player then you may just remove this but make sure you also remove the animator in the Start() function.
And lastly, we have another float variable which we will be using to get the size or the width of our game screen.
The private variable horizontal is just for the input.
Inside the Start() function, we used two GetComponent functions to get the rigidbody and the animator. Then, for the screenWidth variable, we used the Screen class to get the value of the current width.
If you save the script and head back to Unity, you should see that we have the Rigidbody, Animator, and the screenWidth initialized as soon as you run the game.
Awesome! Now let’s make our player move!
Go back to the script and update the code to the following:
using System.Collections;
using System.Collections.Generic;
using UnityEngine;

[RequireComponent(typeof(Rigidbody2D))]
[RequireComponent(typeof(CapsuleCollider2D))]
public class MobileTouch : MonoBehaviour
{
    public float moveSpeed = 20f;
    public Rigidbody2D rigidbody2D;
    public Animator animator;
    public float screenWidth;

    private float horizontal = 0;

    private void Start()
    {
        rigidbody2D = GetComponent<Rigidbody2D>();
        animator = GetComponent<Animator>();

        screenWidth = Screen.width;
    }

    private void Update()
    {
        if(Input.touchCount > 0)
        {
            Touch touch = Input.GetTouch(0);

            if (touch.phase == TouchPhase.Stationary)
            {
                if (touch.position.x > screenWidth / 2)
                {
                    horizontal = 1.0f;
                }
                if (touch.position.x < screenWidth / 2)
                {
                    horizontal = -1.0f;
                }
            }
        } else
        {
            horizontal = 0.0f;
        }
    }

    private void FixedUpdate()
    {
        rigidbody2D.AddForce(new Vector2(horizontal * (moveSpeed * 20f) * Time.deltaTime, 0));
    }
}

Code language: C# (cs)
In the code above, what we added is the touch feature.
Inside the Update function, we check if the person playing is touching the screen of their phone. If they are then we get the first touch and apply it into the touch variable.
Then, we check the touch if it’s staying on the screen (aka hold) using TouchPhase.
If the location of the touch is on the right half of the screen, then we set the value of the horizontal variable to 1.
If the location of the touch is on the left half of the screen, then we set the value of the horizontal variable to -1.
If the player removes their finger from their mobile phone then the value of horizontal will become 0.
Lastly, since we’re using rigidbody to control our player, we’ll have to use FixedUpdate. We’ll using AddForce to move our player around. yes, you can also use transform.Translate but let’s just use Physics for now.
If you save your script and run the game, you should be able to control your player using your mobile device connected to Unity.
If you don’t know how to connect your mobile device to Unity. Use Unity Remote.
Player Animation
Now that we have our player moving, let’s apply the animation to our player.
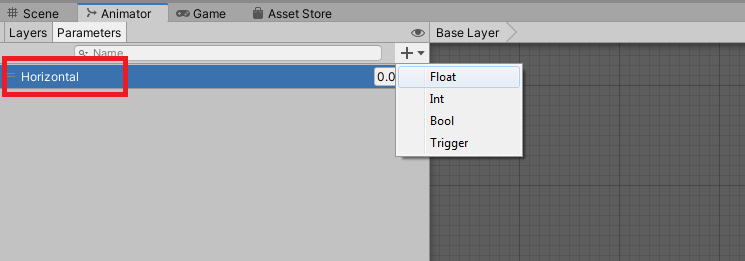
Select your player, go to Animator, and create a new float parameter and name it Horizontal.
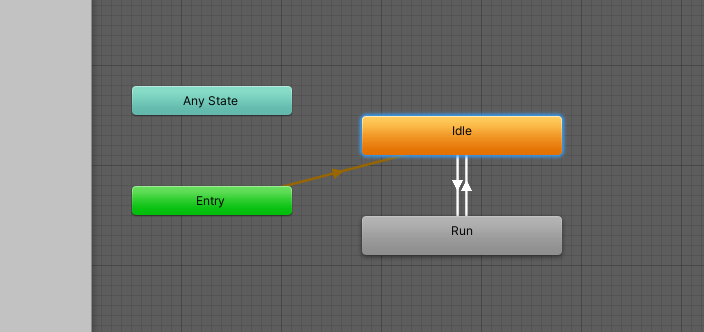
Next, create transitions for your animations.
Since I only have two animations, I will just transition from Idle to Run and Run back to Idle like so.
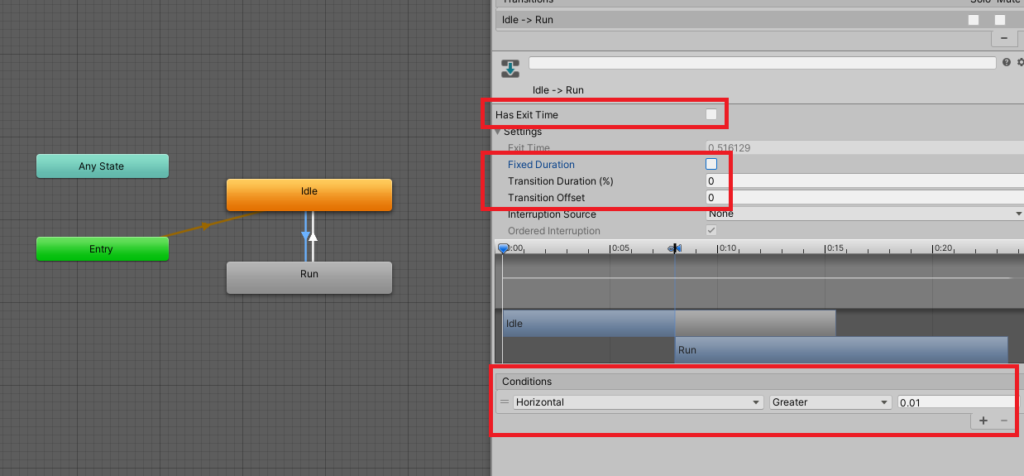
We’ll select the transition from Idle to Run and apply the following settings in the inspector.
Has Exit Time: unchecked
Fixed Duration: unchecked
Transition Duration: 0
Transition Offset: 0
Conditions
Horizontal is Greater than 0.01
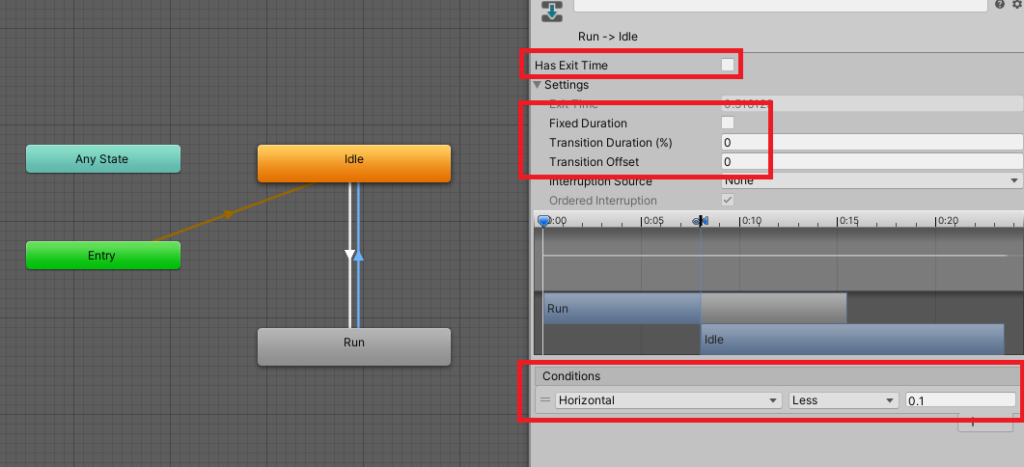
Now, for the Run to Idle transition, apply the following settings in the inspector.
Has Exit Time: unchecked
Fixed Duration: unchecked
Transition Duration: 0
Transition Offset: 0
Conditions
Horizontal is Less than 0.01
Awesome, but we’re not actually done with our Animator.
If you notice, the Run animation will only play if the value of the parameter Horizontal is greater than 0.01.
What about if the value goes down to -1? Because we’re going to take the value from our horizontal variable from our script.
That means that the run animation will only play when our player moves to the right.
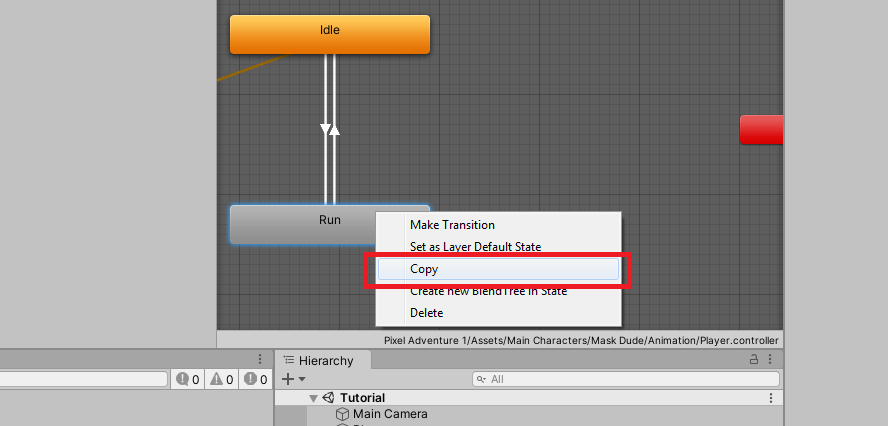
Fixing that is very easy. Just duplicate the run animation and change the value of the conditions of the transitions and we’re set.
Duplicate the Run animation by hitting right click on the node and selecting copy.
Then, right on the background and select Paste.
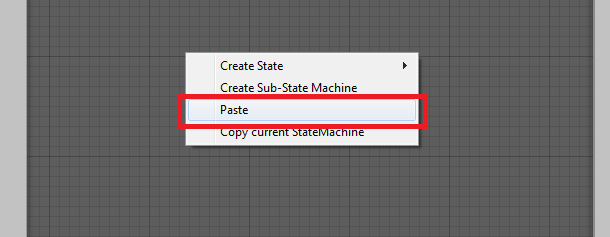
Next, apply transitions to it like below.
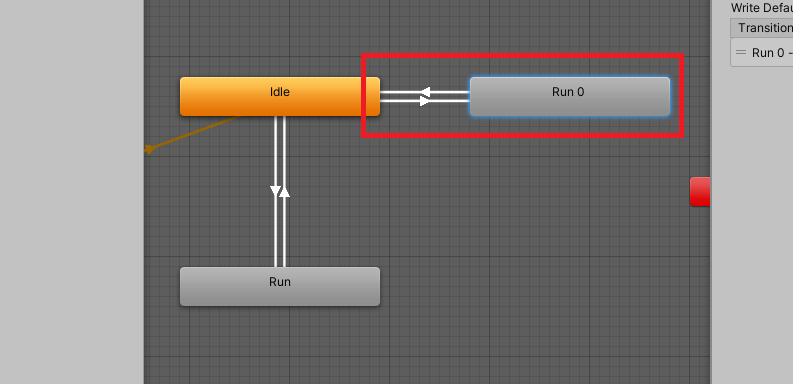
And set up the settings of the transitions.

Once done, we may now head back to our script and use the Animator.
Update your script to the following:
using System.Collections;
using System.Collections.Generic;
using UnityEngine;

[RequireComponent(typeof(Rigidbody2D))]
[RequireComponent(typeof(CapsuleCollider2D))]
public class MobileTouch : MonoBehaviour
{
    public float moveSpeed = 20f;
    public Rigidbody2D rigidbody2D;
    public Animator animator;
    public float screenWidth;

    private float horizontal = 0;

    private void Start()
    {
        rigidbody2D = GetComponent<Rigidbody2D>();
        animator = GetComponent<Animator>();

        screenWidth = Screen.width;
    }

    private void Update()
    {
        if(Input.touchCount > 0)
        {
            Touch touch = Input.GetTouch(0);

            if (touch.phase == TouchPhase.Stationary)
            {
                if (touch.position.x > screenWidth / 2)
                {
                    horizontal = 1.0f;
                }
                if (touch.position.x < screenWidth / 2)
                {
                    horizontal = -1.0f;
                }
            }
        } else
        {
            horizontal = 0.0f;
        }

        animator.SetFloat("Horizontal", horizontal);
    }

    private void FixedUpdate()
    {
        rigidbody2D.AddForce(new Vector2(horizontal * (moveSpeed * 20f) * Time.deltaTime, 0));
    }
}

Code language: C# (cs)
Yes, just one line. All we needed to do is to pass the value of the horizontal to our animator and it will animate our character.
Save your script and try the game. You should be able to see that the player is not moving and doing the run animation.
There’s a bit of an issue though. The player character keeps on looking to the right even if we are moving to the left.
Fixing that is very easy.
Go back to the script and update the code to the following:
using System.Collections;
using System.Collections.Generic;
using UnityEngine;

[RequireComponent(typeof(Rigidbody2D))]
[RequireComponent(typeof(CapsuleCollider2D))]
public class MobileTouch : MonoBehaviour
{
    public float moveSpeed = 20f;
    public Rigidbody2D rigidbody2D;
    public Animator animator;
    public float screenWidth;

    private float horizontal = 0;

    private void Start()
    {
        rigidbody2D = GetComponent<Rigidbody2D>();
        animator = GetComponent<Animator>();

        screenWidth = Screen.width;
    }

    private void Update()
    {
        if(Input.touchCount > 0)
        {
            Touch touch = Input.GetTouch(0);

            if (touch.phase == TouchPhase.Stationary)
            {
                if (touch.position.x > screenWidth / 2)
                {
                    horizontal = 1.0f;
                    transform.localScale = new Vector3(1, 1, 1);
                }
                if (touch.position.x < screenWidth / 2)
                {
                    horizontal = -1.0f;
                    transform.localScale = new Vector3(-1, 1, 1);
                }
            }
        } else
        {
            horizontal = 0.0f;
        }

        animator.SetFloat("Horizontal", horizontal);
    }

    private void FixedUpdate()
    {
        rigidbody2D.AddForce(new Vector2(horizontal * (moveSpeed * 20f) * Time.deltaTime, 0));
    }
}

Code language: HTML, XML (xml)
That’s right! We just need to flip our character using local scale.
Save the script and you should see that the player is now ready for your next game!
Conclusion
Congratulations! You have finally started your 2D unity game project. You may find it very odd that the player is sliding when you move. That’s normal. If you don’t want to make your player slide, you can use transform.Translate instead. You may also just tweak your rigidbody and find the best settings to remove the sliding effect.
We hope that you have learned something from this lesson. Feel free to ask in the comments if you have questions.