
Welcome to our new tutorial series here at WeeklyHow. If you have been following us for quite a while then you probably know already that most of our topics are focusing on Shopify app development. However, this time, we will be giving you new lessons which are very different from Shopify.
You have read it from the title already. 🙂
In this tutorial series, we will be teaching you how to create premium WordPress themes from scratch using PHP, HTML5, CSS (Bootstrap 4.3), and JavaScript. We’ll cover all of the possible lessons that we currently know though we are also open for your requests so as we go along in this tutorial series, you can contact us and give us what you want to learn and we’ll cover that in the next lessons.
Getting Started
Before we begin building premium WordPress themes, we highly suggest doing research and planning first before structuring your files as it will be much easier to continue with the project.
We also suggest downloading website design mockups to make it easier for you to follow which design you want to achieve.
For this course, we’ll be following this design mockup created by Freepik. You may download the PSD file here.

What is WordPress
First of all, before we get started, we would like to inform you that we are using content management systems (commonly known as CMS) called WordPress.
WordPress is a very popular platform commonly used for blogging purposes although starting from September 27, 2011, WordPress started its partnership with its own plugin called WooCommerce to also support e-commerce for selling products or services.
WordPress is an open-sourced content management system used by over 60 million websites all over the internet. It provides thousands of plugins that could help your website’s performance and traffic. It is free to use though you are required to host a web server to be able to use this CMS.
For this course, we will be using WordPress locally using Local by Flywheel.

What is Local by FlyWheel
Local by Flywheel is a simple, super-fast and a completely free local development application designed to simplify the development process of WordPress developers.
Join FlyWheel for FREE and get a free SSL Certificate to keep your site secure!
We’re going to use this application instead, as it is very fast and easy to use. Although, we don’t discourage you to use your favorite local development application. If you want to use XAMPP or WAMPP, feel free to do so.
If you’re using Local by Flywheel too, then follow the steps below as we’ll create a new and fresh WordPress website.
Creating a new WordPress site
Open Local by Flywheel and click on Create a new site button.

Then enter the name of your site.

Next, enter your WordPress admin’s credentials. You may leave the advanced options set to no.

Click the Add site button and wait for the application to setup your website. If this is your first time using Local by Flywheel, you may encounter windows security alerts for Nginx and Mailhog.
Just click Allow access.

You may now access your WordPress site by clicking the view site button.

By default, WordPress will be using the Twenty Nineteen theme.
Later, we’re going to remove all of the themes available on our site and create our own theme.

Accessing WordPress admin dashboard
To access your WordPress admin dashboard, click the admin button just beside the view site button.
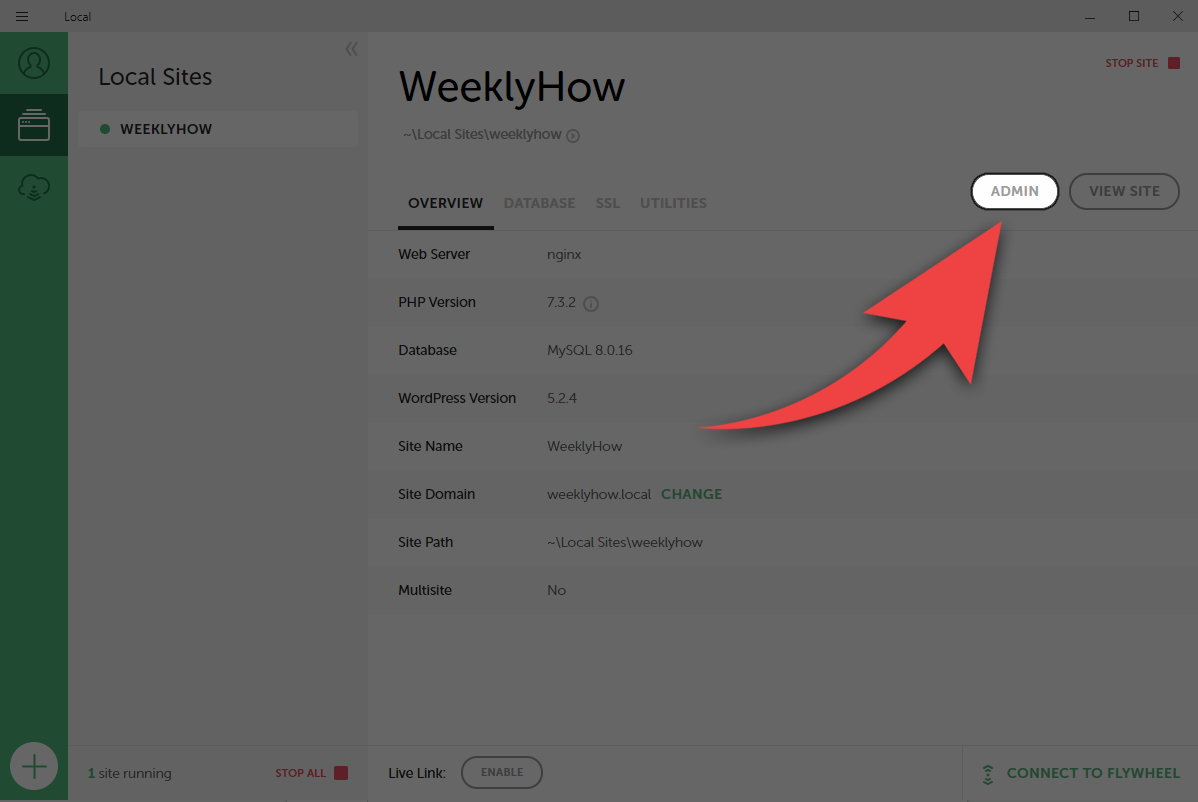
Enter your admin credentials.

Welcome to WordPress! 🙂
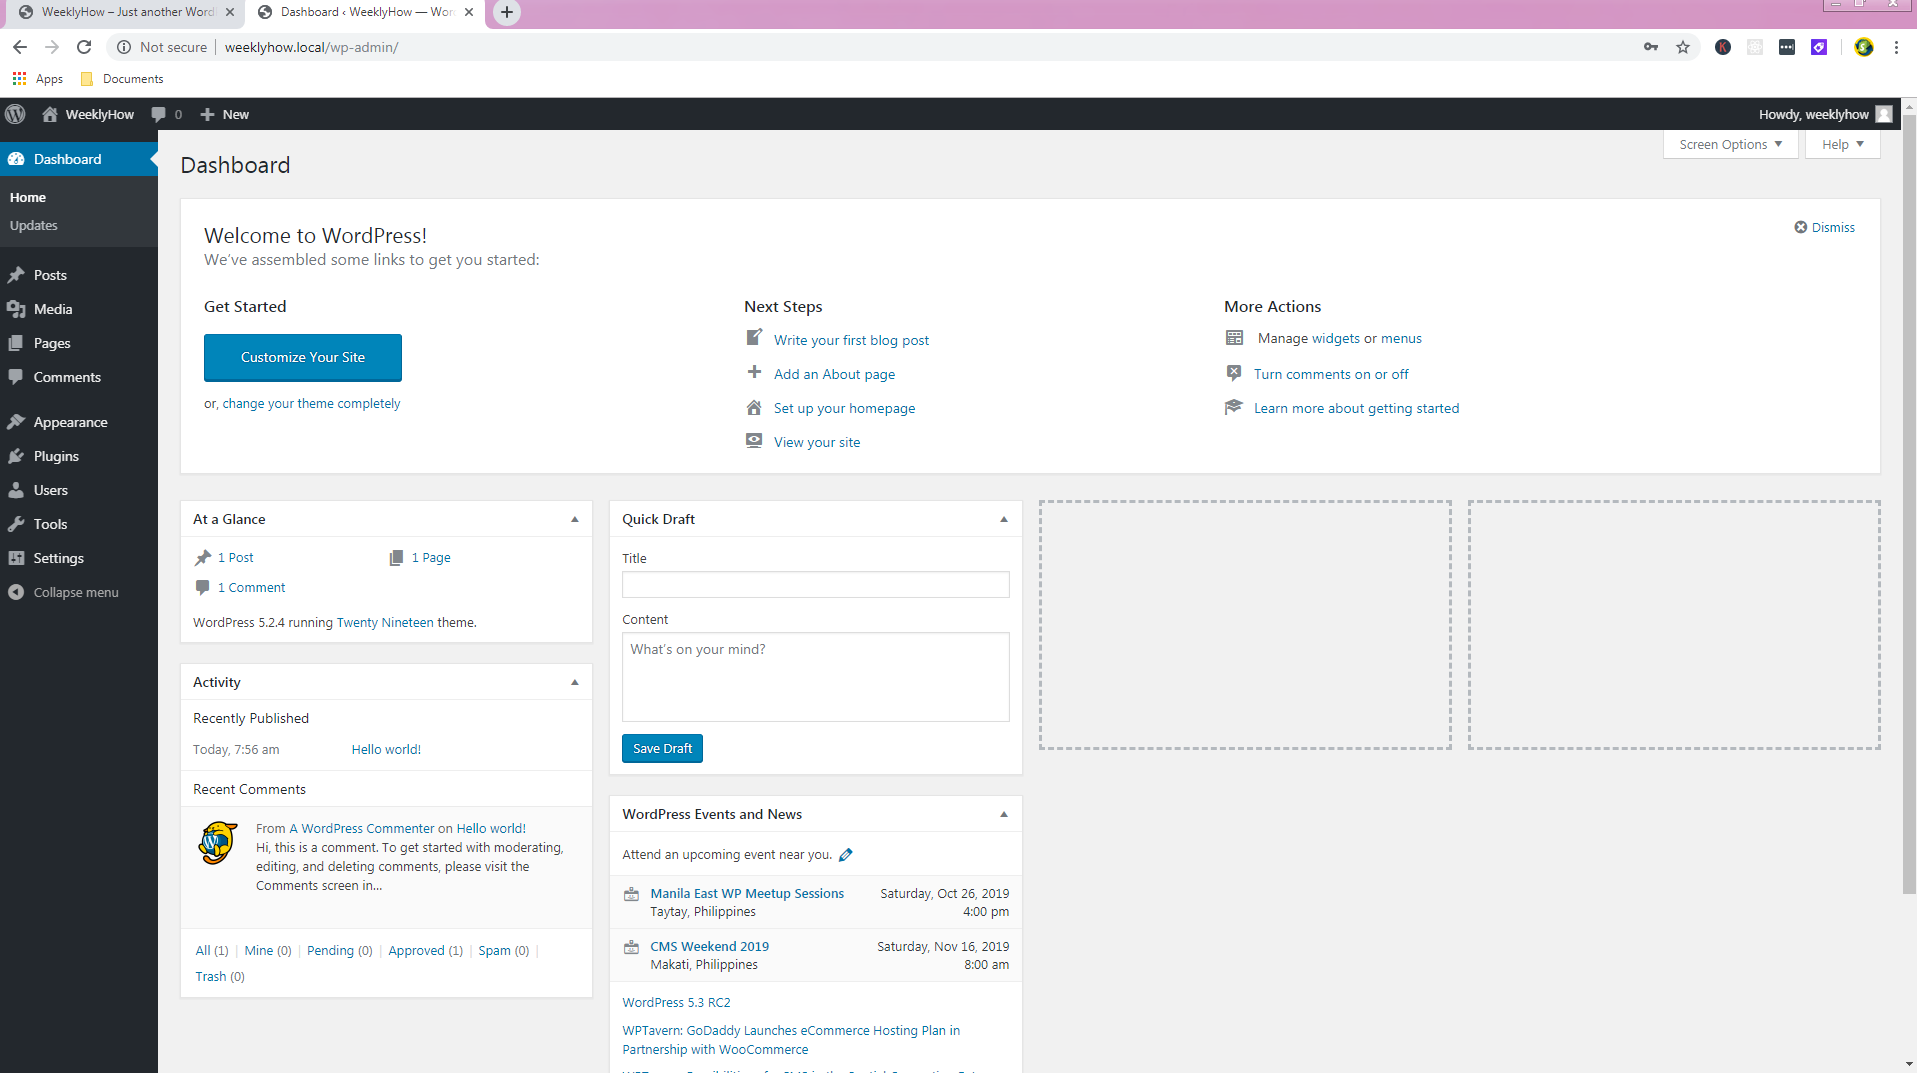
Now that everything is set up, we can now start working on our new theme.
For this course, we’ll be using Sublime as our code editor though we don’t discourage you to use your favorite editor. If you have Visual Studio or Notepad++, feel free to use them.
Accessing WordPress files
To access your WordPress files, go to your Local by Flywheel application and click on the right-arrow just below your site’s name.
You may also access your site’s folder by pressing right-click on your site under Local Sites and select Show Folder.

Once you open your site’s folder, you will see three folders such as app, conf, and logs.
Open the app folder.
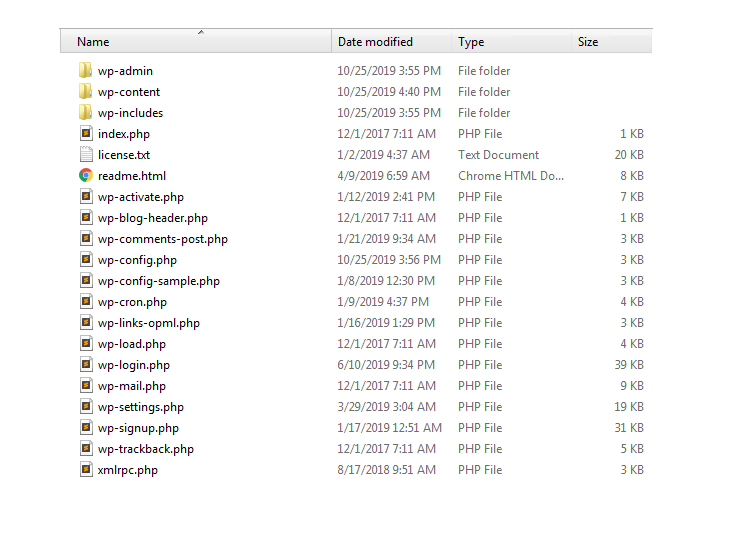
Next, you will see the public folder, open that.
You should see the following files.
Open the wp-content folder.
Next, the themes folder.
Once you open the themes folder, you will see folders that have the same name as the themes available in our WordPress website such as twenty-sixteen, twenty-seventeen, twenty-eighteen, and twenty nineteen.

We’re going to create a new folder here so while we’re inside the themes folder, press right-click and select New -> Folder.
Let’s name this folder escuela.
Open the folder that we have just created and let’s create a new CSS file and name it style.css.
The Main Stylesheet (style.css)
The style.css file is the main stylesheet file required for every WordPress theme. It contains all the details about the theme that you’re developing including the name of the theme, the author, the description of the theme, the license, and the tags.
By default, your style.css should look something like below:
/*
Theme Name: Escuela
Theme URI: https://weeklyhow.com/example/dont-browse-this
Author: WeeklyHow
Author URI: https://weeklyhow.com/
Description: Lorem ipsum dolor sit amet, consectetur adipiscing elit, sed do eiusmod tempor incididunt ut labore et dolore magna aliqua. Ut enim ad minim veniam, quis nostrud exercitation ullamco laboris nisi ut aliquip ex ea commodo consequat. Duis aute irure dolor in reprehenderit in voluptate velit esse cillum dolore eu fugiat nulla pariatur. Excepteur sint occaecat cupidatat non proident, sunt in culpa qui officia deserunt mollit anim id est laborum.
License: GNU General Public License v2 or later
License URI: http://www.gnu.org/licenses/gpl-2.0.html
Text Domain: weeklyhow
Tags: responsive, mobile
*/Code language: JSON / JSON with Comments (json)
Feel free to modify the code above.
Save your style.css file and create a new PHP file and name it index.php.
The Main Template (index.php)
The main template is the file where you will call WordPress functions such as get_header() and get_footer().
Feel free to copy the following code in your index.php file.
<?php get_header(); ?>

<?php get_footer(); ?>Code language: HTML, XML (xml)
The Header File (header.php)
The header file (also known as header.php) is a template file used for displaying navigational bars or anything you want to display in most of your pages. This is where you will initialize all of your scripts and stylesheets that are required by your theme.
Inside our escuela folder, let’s create a new PHP file and name it header.php.
Then copy the following code.
<!DOCTYPE html>
<html lang="en">
	<head>
		<!-- Required meta tags -->
		<meta charset="utf-8">
		<meta name="viewport" content="width=device-width, initial-scale=1, shrink-to-fit=no">
		<!-- Bootstrap CSS -->
		<link rel="stylesheet" href="https://stackpath.bootstrapcdn.com/bootstrap/4.3.1/css/bootstrap.min.css">

		<title>Escuela WordPress Theme by WeeklyHow</title>
	</head>

	<body>Code language: HTML, XML (xml)
Don’t forget to save your script 🙂
Same with the header file, the footer file is a template file commonly used for displaying the footer section.
Once again, create a new PHP file and name it footer.php.
Then copy the following code.
		<script src="https://code.jquery.com/jquery-3.3.1.slim.min.js"></script>
		<script src="https://cdnjs.cloudflare.com/ajax/libs/popper.js/1.14.7/umd/popper.min.js"></script>
		<script src="https://stackpath.bootstrapcdn.com/bootstrap/4.3.1/js/bootstrap.min.js"></script>
	</body>
</html>Code language: HTML, XML (xml)
The Thumbnail (screenshot.png)
The thumbnail is where you can show the theme design. The thumbnail should be named screenshot.png, and should be placed only in the top-level directory of your theme folder.
The highly recommended image size for the thumbnail is 1200px wide and 900px tall.
For this course, we’ll be using the following thumbnail.
Feel free to download this image.

With everything that we have created, your theme files should look something like this.

Now head back to your WordPress dashboard and open the themes page.
Your theme should be presented there by now like below.

To start using our premium WordPress theme select the theme and click the Activate button.

Now let’s browse our site again.
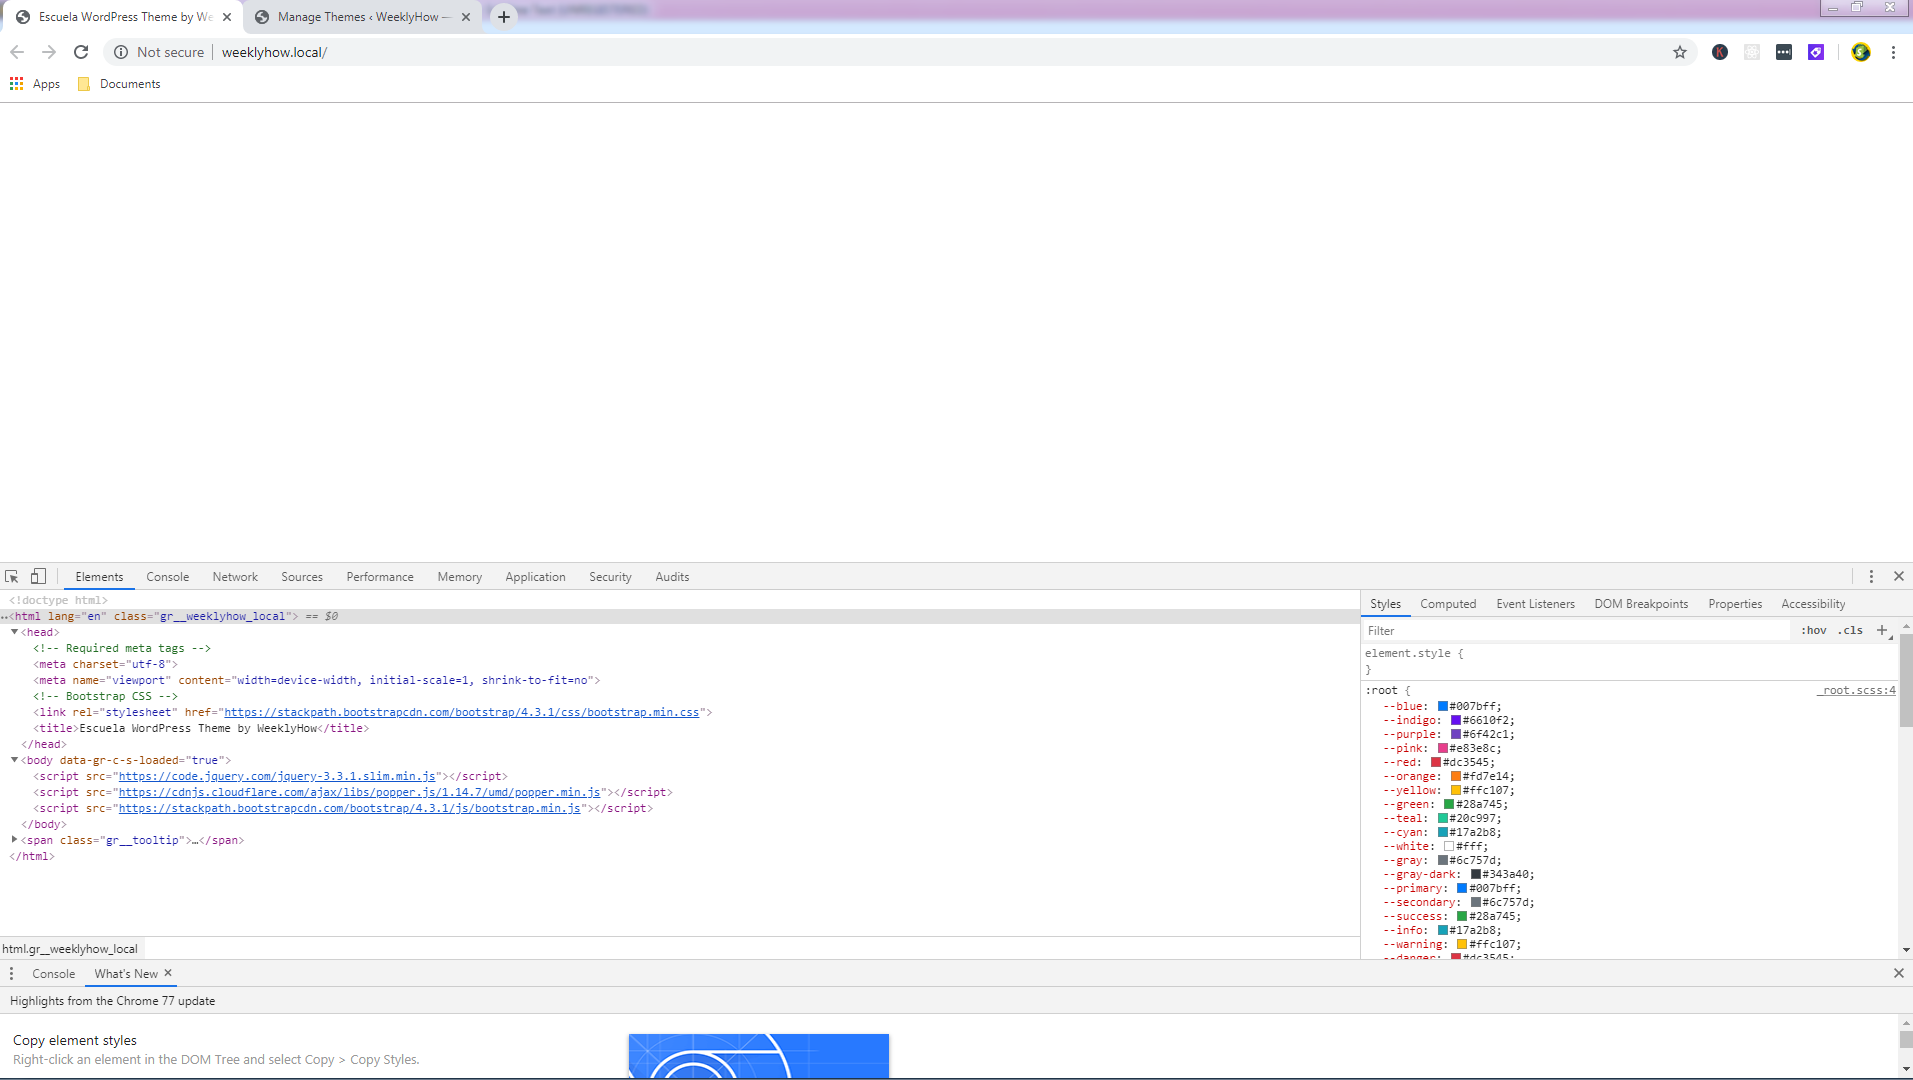
As you can see, our site is displaying nothing anymore. However, if we look at the code in the inspector, you will see that the code written in both header and footer files are being used. Perfect!
Now let’s go back to our main template file (index.php) and add a little message to see if everything actually works.
<?php get_header(); ?>
<h1>Hello World!</h1>
<p>Why do we always use "Hello World"? Too cliché right?</p>
<?php get_footer(); ?>Code language: HTML, XML (xml)
Let’s save it and see the results.

Conclusion
Congratulations! You have successfully set up your WordPress premium theme. But wait! We’re not done yet. In the next post, we’re going to start working on the navigational bar and set up our header file. We’ll also introduce you to more template files that are very important for every WordPress theme.
For now, we would like to thank you for reading this post. If you think you have learned something from us, let us know below in the comments, we really love hearing from you!
If you have questions or maybe a request, contact us or comment below and we’ll reply to you as soon as we can.