One of the most common things that we see in video games is a health bar. Of course, if there’s no health in video games, then players will never lose. (Yes, I know there are games that don’t use “health bars” but they still use health in an other form to allow enemies defeat the player, you get the point.)
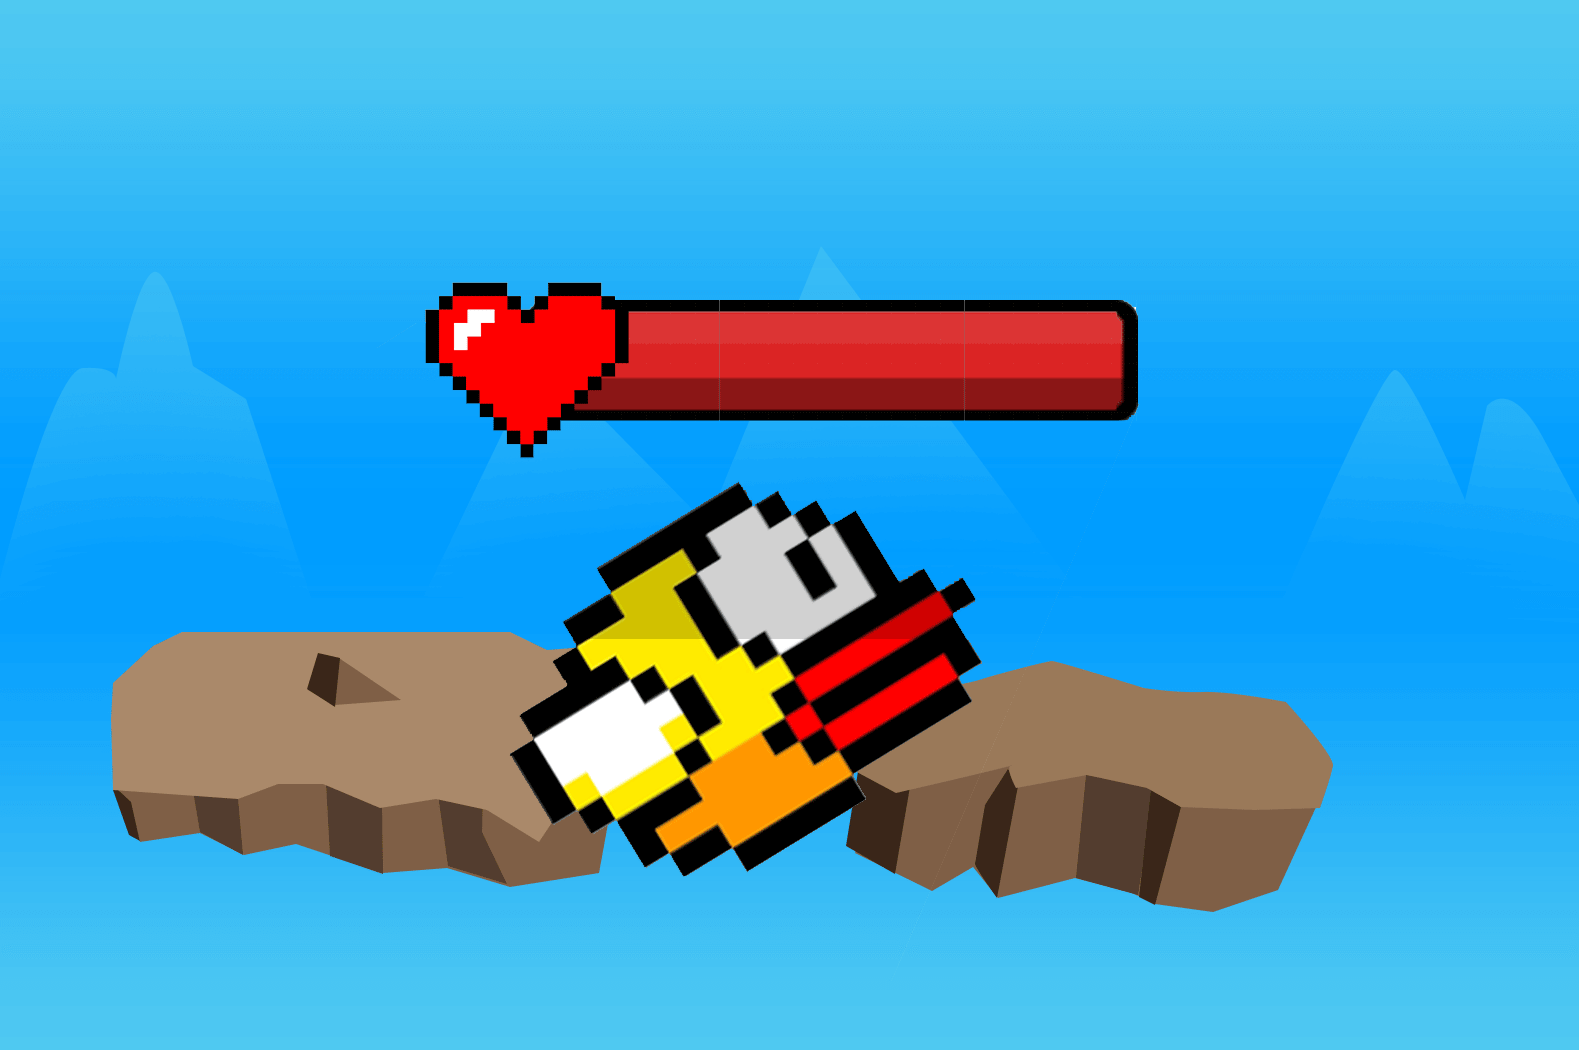
Most health bars are displayed using HUD or Heads-up Display. If you’re not sure what it is, it’s the graphic that you see mostly at the top-left corner of the screen (depends on the game).
Kind of like this. 👇👇👇
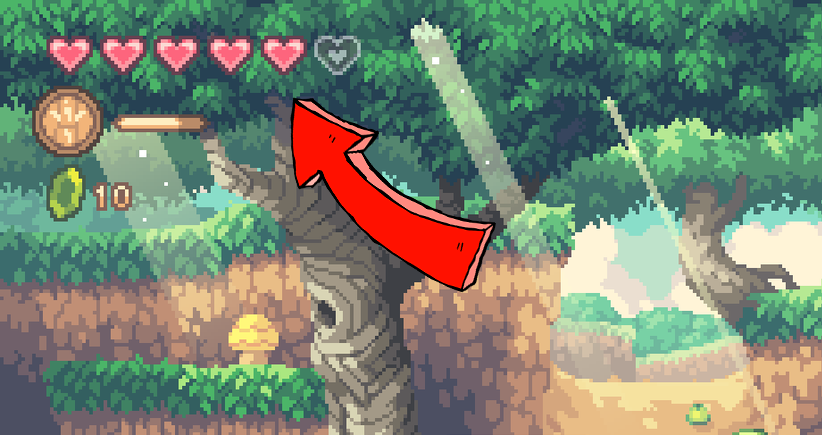
Of course, that’s not the only type of HUD that you will see in video games. There are moments that you will see the health bar placed at the top of the player’s character especially if the game is a MOBA or Multiplayer online battle arena.
Speaking of MOBA, we’re very happy to announce that we’re having a partnership with Raid Sha- just kidding.
On a serious note though, we’re very lucky that making a health bar is very easy to accomplish, and that is thanks to Unity for providing us game developers a UI system where we can easily modify each interface to display different kinds of things like Loading bar, power bar, time progress bar, etc.
In this tutorial, we’ll be guiding you on how to create a very simple health bar that you can EASILY apply to anything like player, enemy, objects or etc.
Video Tutorial
The following video tutorial can guide you on how to create a player health system with animation though it’s important to note that in this video, we have used a different approach to player health script. Feel free to watch this video:
Getting Started
If you have an existing project, feel free to use it for this lesson otherwise create a new project.
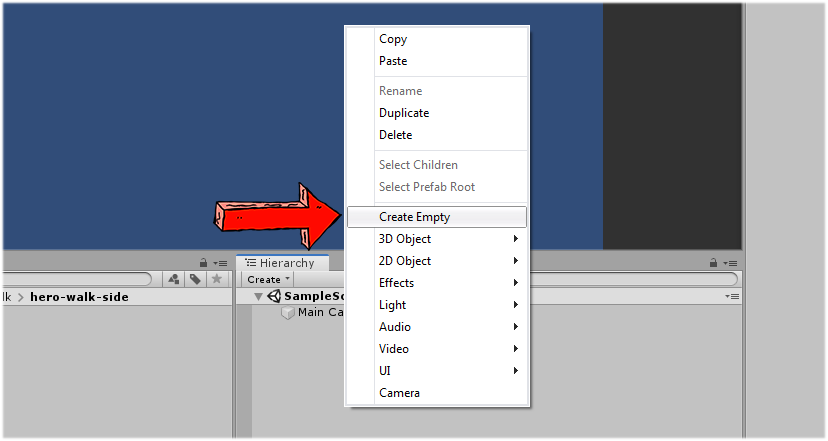
In our new scene, we’re going to create an empty game object and we’ll call it Player.
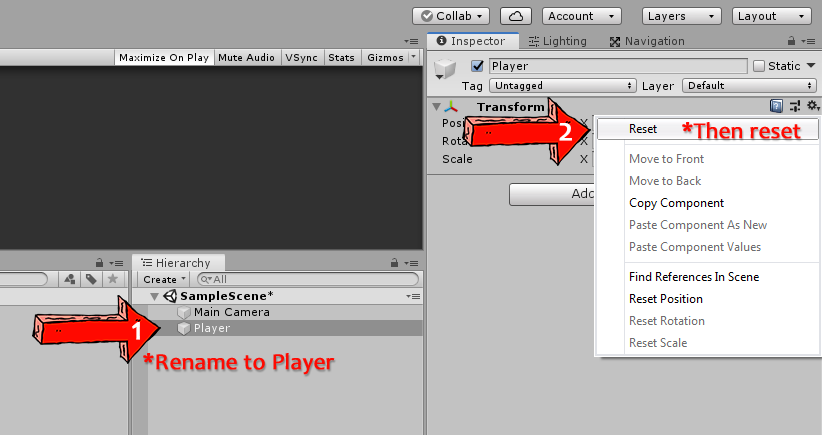
Once created, select the Player game object and navigate to the Inspector window and reset the transform component like below.
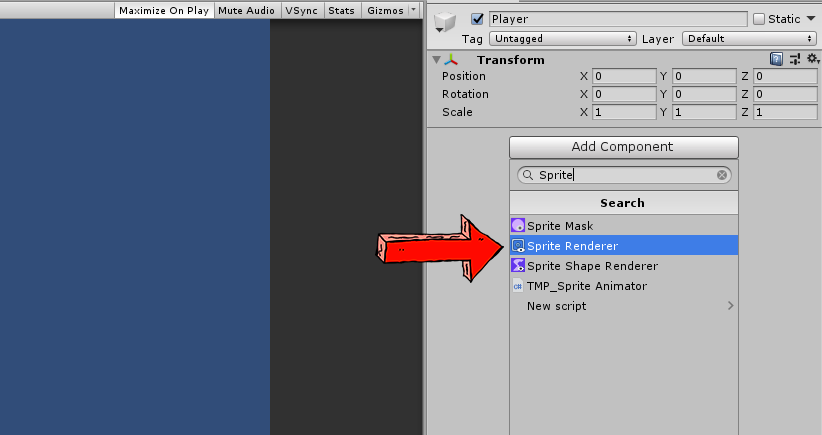
Next, click on the Add component button and look for Sprite Renderer using the search bar.
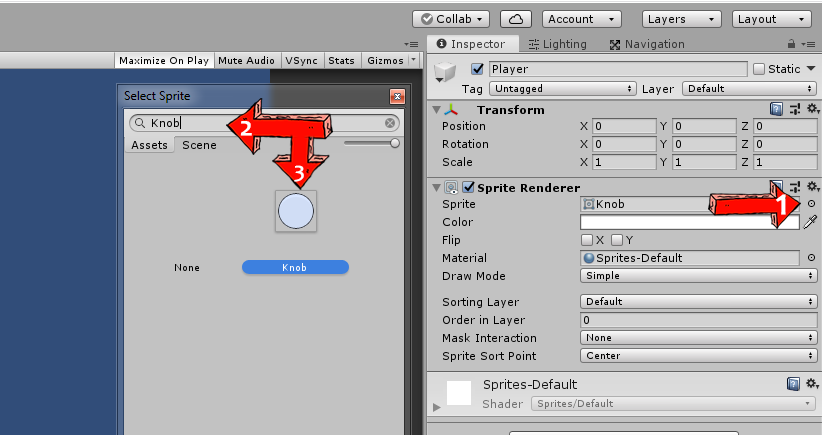
Once Sprite Renderer is added, navigate to it and click on the little circle beside the Sprite parameter. Then, look for Knob and select it like below.
If you have any sprites that you want to use for your player, feel free to use it.
Adding Health Points
Of course, before we can create the health bar we will need first to create the health points.
This is where we are going to base our health bar. If the player currently has 50/100 health points then our health bar should calculate it based on that data and should display a half health bar. 😃
To start, we’re gonna need to create a new C# script and we’ll call it Health.cs.
Use the following code.
using System.Collections;
using System.Collections.Generic;
using UnityEngine;

public class Health : MonoBehaviour
{
    public int curHealth = 0;
    public int maxHealth = 100;

    public HealthBar healthBar;

    void Start()
    {
        curHealth = maxHealth;
    }

    void Update()
    {
        if( Input.GetKeyDown( KeyCode.Space ) )
        {
            DamagePlayer(10);
        }
    }

    public void DamagePlayer( int damage )
    {
        curHealth -= damage;

        healthBar.SetHealth( curHealth );
    }
}Code language: C# (cs)
So in the code above, what we’re doing is we’re creating a set of functions that initialize the value of the current health of the player to the maximum. Then, we also have the function that gives damages to the player. So, if you take a look at the Update function, as you can see we’re checking if the Player hits the SPACE bar, if the player did, then the player will receive damage.
Creating the Health Bar
Now that we have our player health points set up, let’s begin working on displaying the actual health bar.
To start, navigate to your hierarchy, right-click and select UI then Image.
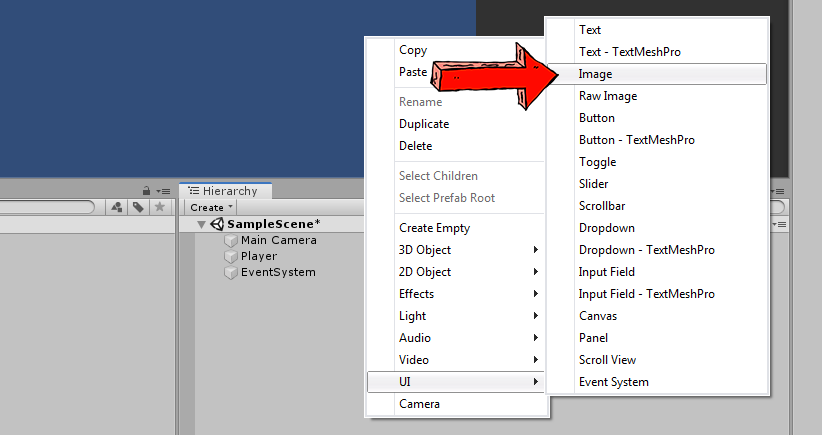
This will be creating a new canvas especially if there’s currently none in the scene. Inside the canvas, there will also be an image UI object created.
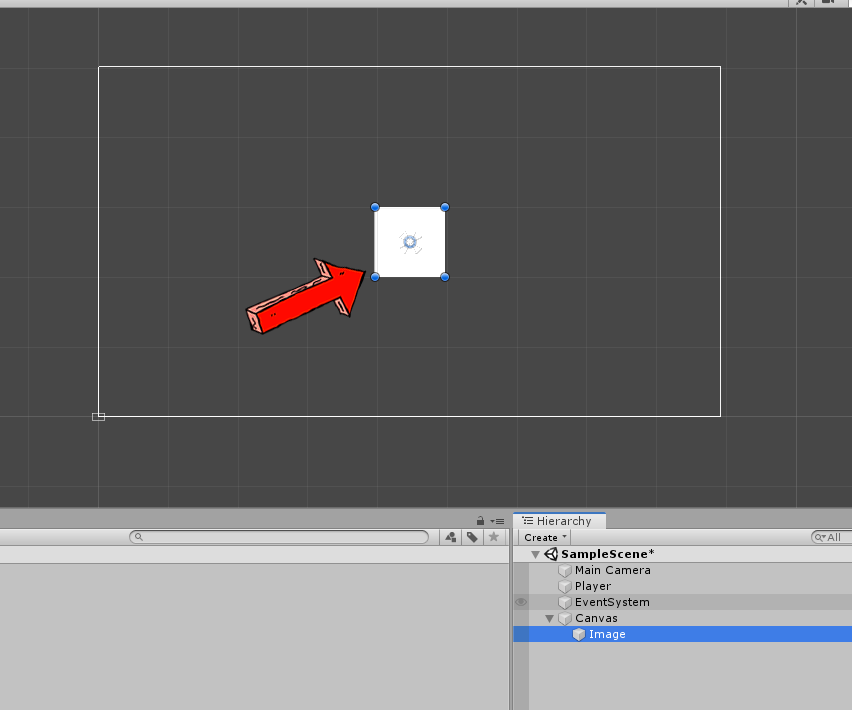
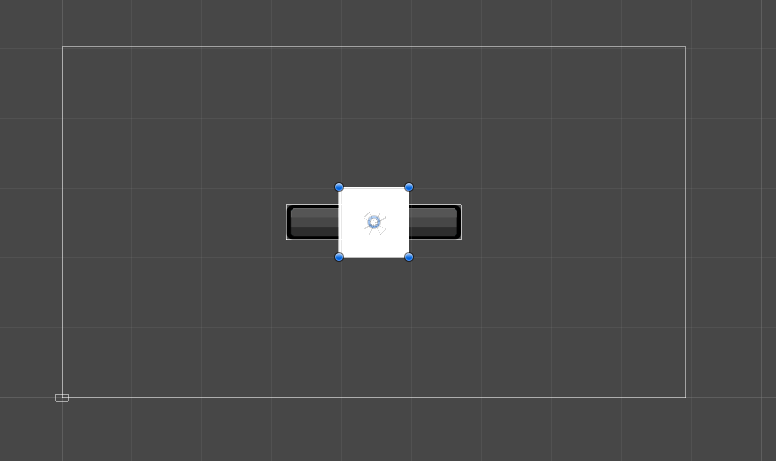
With all that being said, select your Canvas game object and press F key to show the entire canvas on the screen.
Next, select your Image game object and make sure that it is placed right at the center of the canvas like below.
Next, we’ll be changing the graphic being used in this object so download the PNG image provided below and import it to your project.
Pro tip: to import the downloaded file, just navigate to the file that you wish to import and then just simply drag it into your project window like below.
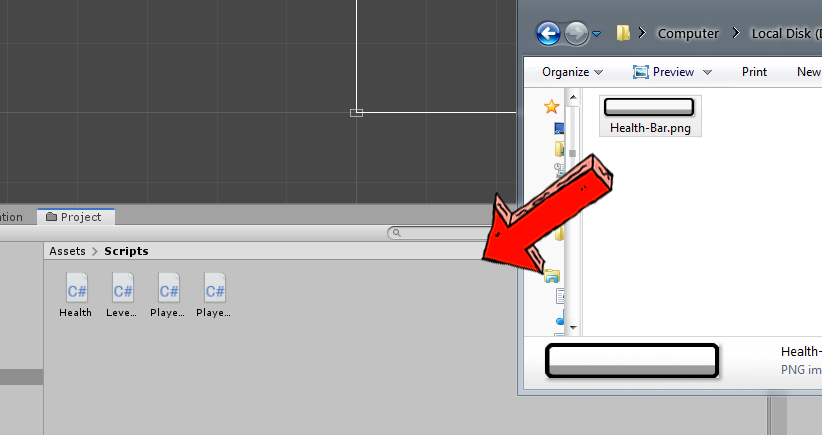
Another way to import your files is by going to your assets folder which is located in your project folder.
For example:
D:/Game Project Files/MyGameProject/Assets/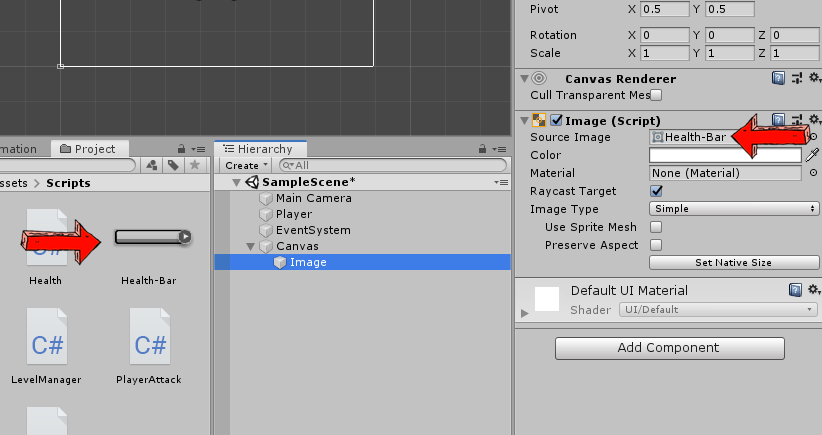
Code language: plaintext (plaintext)Make sure that once you have dragged the image onto your project files, you must change the import type to Sprite.
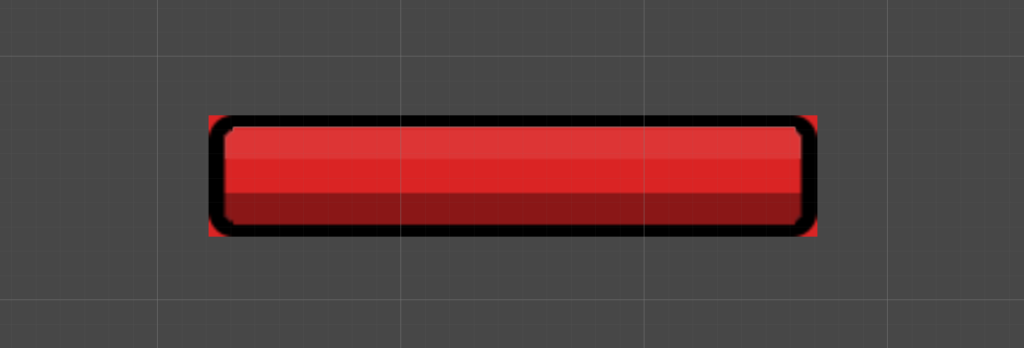
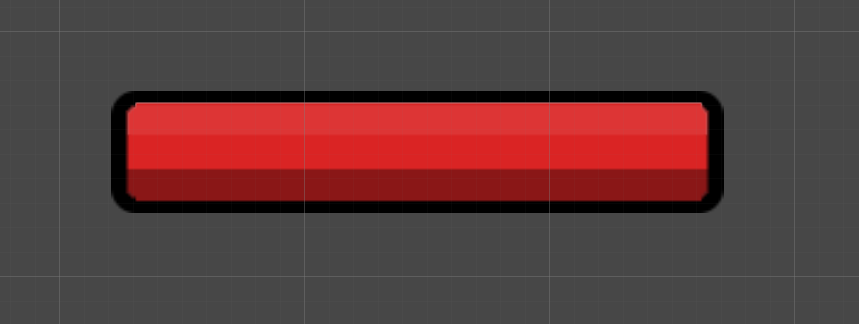
Once the image is imported, go back to your hierarchy, select the Image UI object and navigate to its Image component and change its Source Image to the image that we have just imported. The health bar.
Next, just below the Preserve Aspect check box, click the Set Native Size button.
This will resize the image based on the actual resolution of the image file.
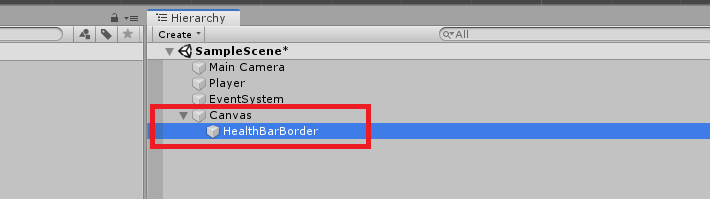
Next, let’s rename our Image UI object to something like… Health Bar Border.
The next thing that we’re going to do is to create an empty game object inside the Canvas. So right-click on the Canvas game object and select Create Empty.
Let’s rename this Empty game object to Health Bar
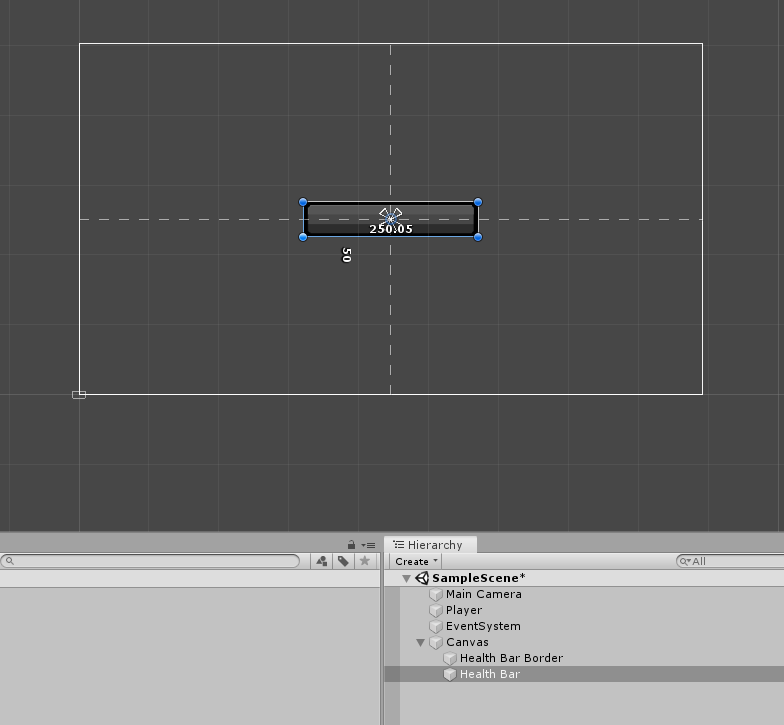
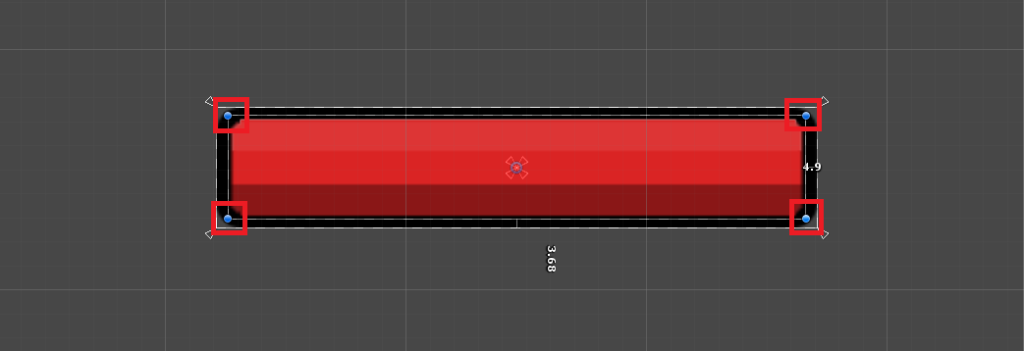
Next, with the Health Bar game object selected press T. This will enable the Rect Tool.
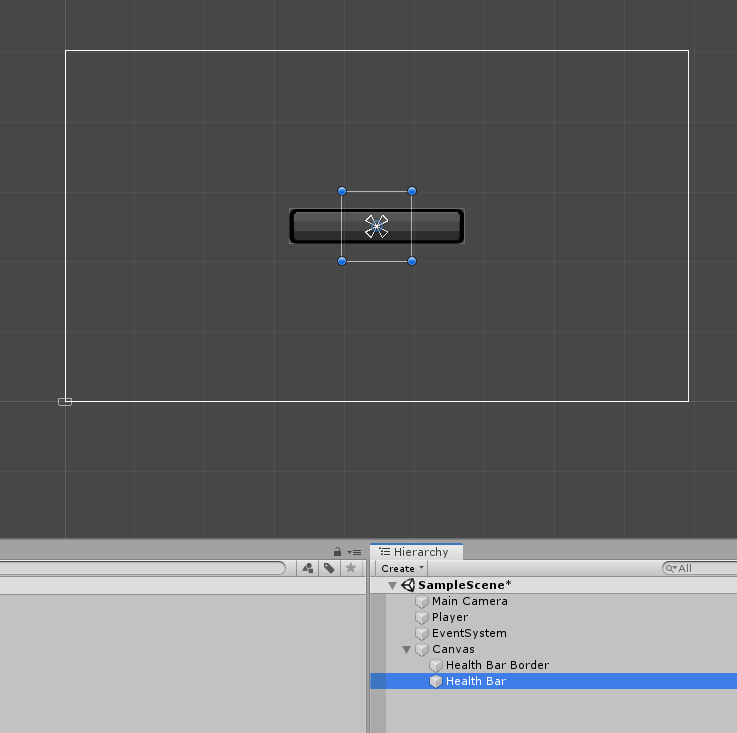
Now, resize the Health Bar to the same size as the Health Bar Border.
Like below.
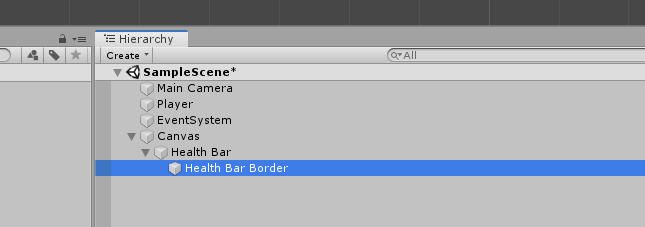
Next, drag the Health Bar Border game object to the Health Bar game object to make it as its child, like below.
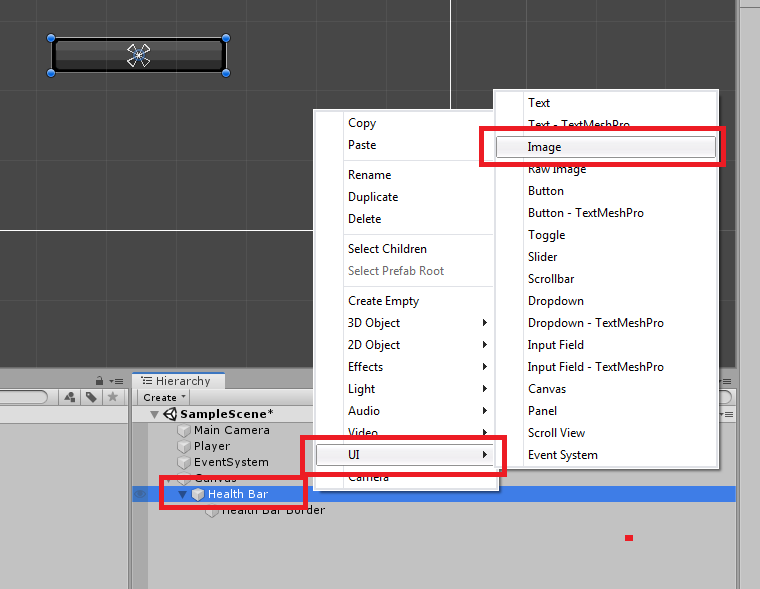
Let’s create another Image, so with your Health Bar game object selected, right-click then navigate to UI then select Image.
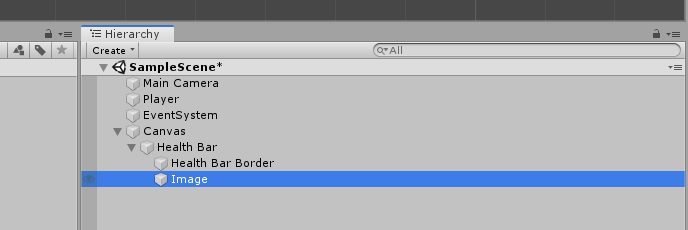
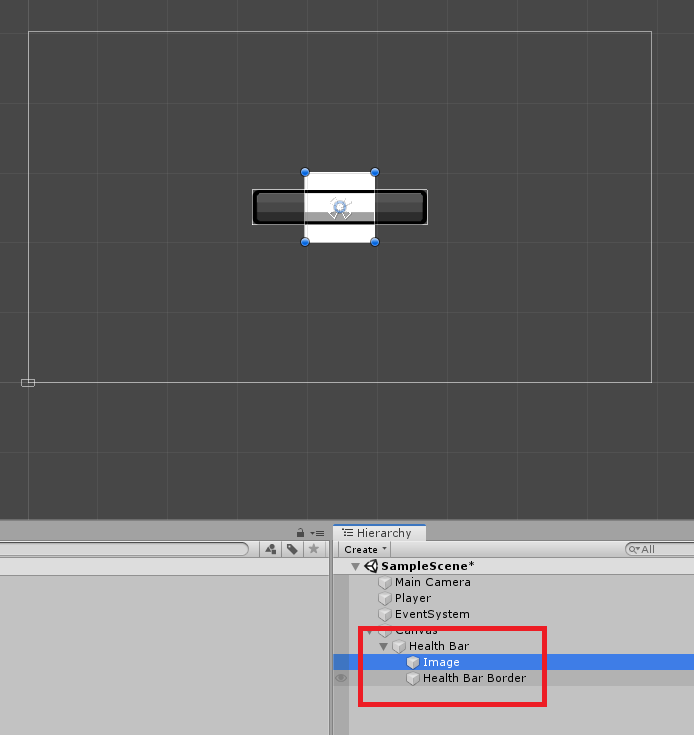
By now, you should have the same hierarchy as below.
If you noticed, the image in the scene window is above the Health Bar Border sprite.
We don’t want it like that, we want our border to be displayed right above anything else so… to do that, just simply drag the Image object above the Health Bar Border game object like below.
We’re getting somewhere! Now let’s change the color of this image since this object will represent the actual bar for the player’s health point.
But before that, let’s rename first our Image game object to Health Bar Image because we don’t want it to call as Image all the time.
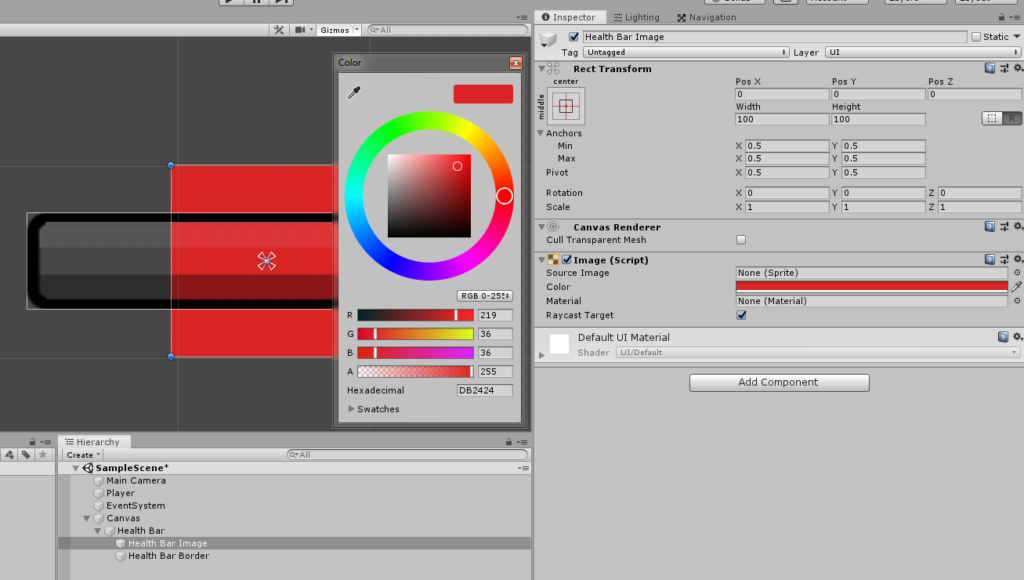
Nice! Now let’s select our Health Bar Image and navigate to its Image component.
In the color property, change its hexadecimal value from #FFFFFF to #DB2525.
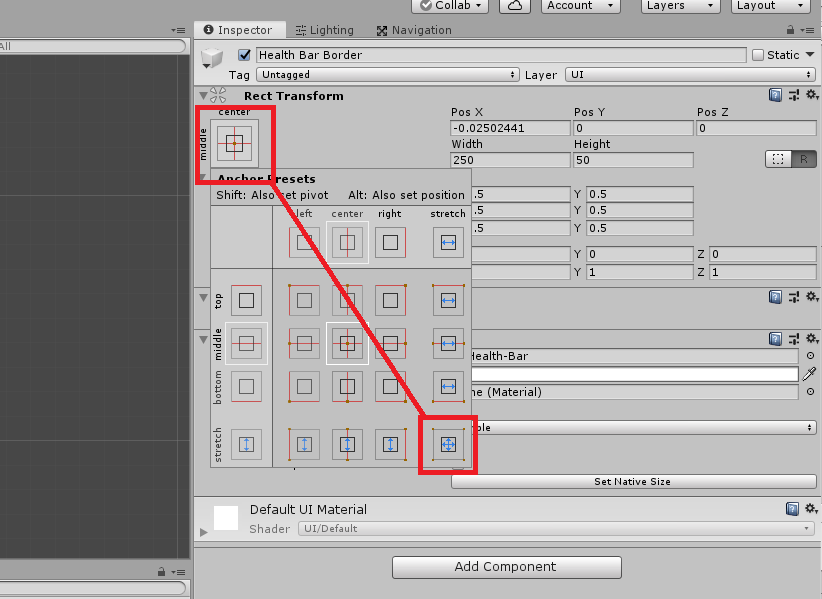
Now, we want our Health Bar Image to be the same size as its parent so to do that, go to its Rect Transform component and click on the box with the red cross in it. This will show you the anchor presets.
With the anchor presets being showed, hold ALT key, and select the stretch preset at the bottom-right corner of the preset’s window.
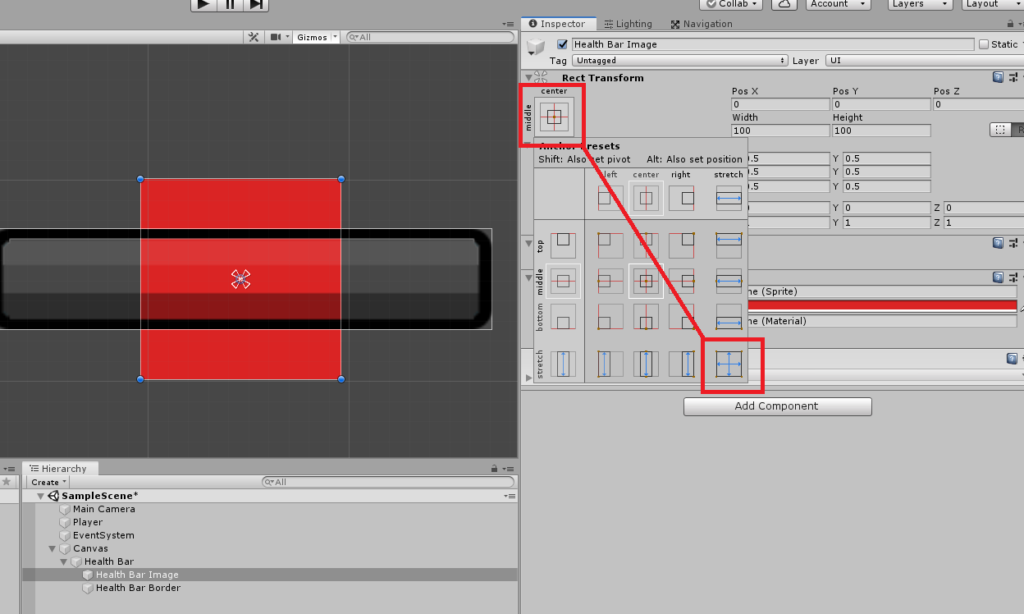
This will fill the entire Health Bar game object.
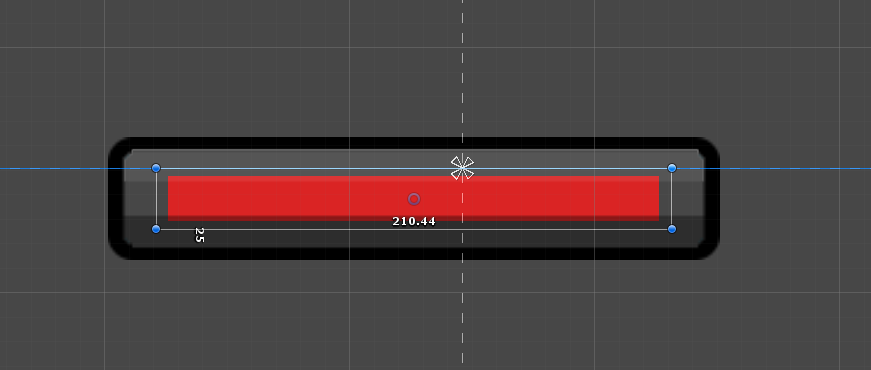
There’s a little issue though. As you can see below, the Health Bar Image is also showing at the corners of the Health Bar.
Fixing that is very simple. Just select the Health Bar Image, press T to enable the Rect Tool and just resize the Health Bar Image to where it won’t show beyond the border.
Just make sure to drag using the blue dot though instead of the anchors.
Next, let’s also fixed the border since it will also bug out if you try to scale the Health Bar game object like below.
To fix that, select the Health Bar Border game object and navigate to its Rect Transform component and click on the Anchor Preset button and select the preset at the bottom-right corner. Without pressing the ALT key.
With all that, you’ll be able to scale your Health bar to any size you want without worrying about its images.
Awesome! We’re getting there!
Using Slider UI for the Health Points
Now the next thing that we’re going to do is to make the Health Bar an actual health bar where the red fill can decrease or increase.
To do that, we’re going to use the Slider component.
So with your Health Bar selected, go to its inspector and click Add Component and look for Slider.

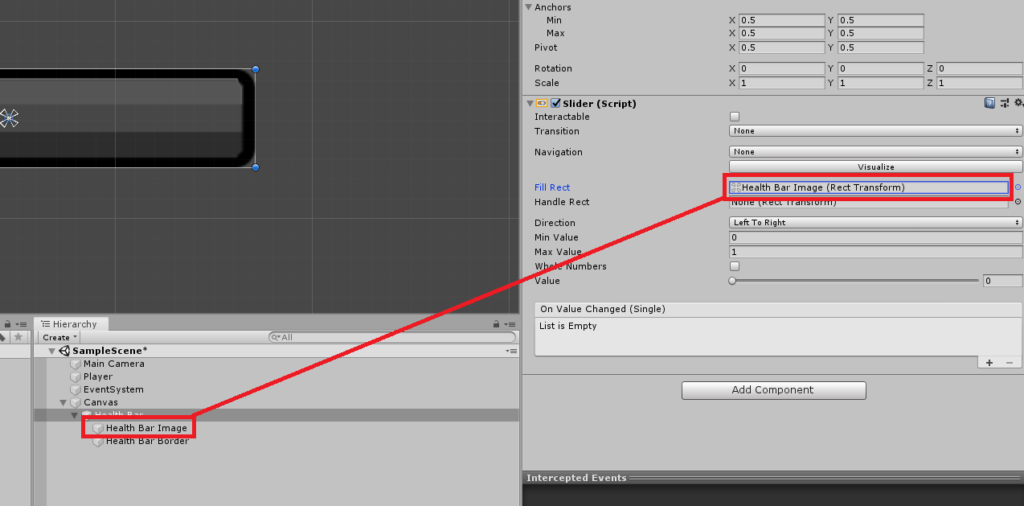
Next, we’re going to set the Slider component to the following values.
- Interactable is unchecked
- Transition is set to none
- Navigation is set to none
- Fill Rect, drag the Health Bar Image object to its value
Like below 👇👇👇
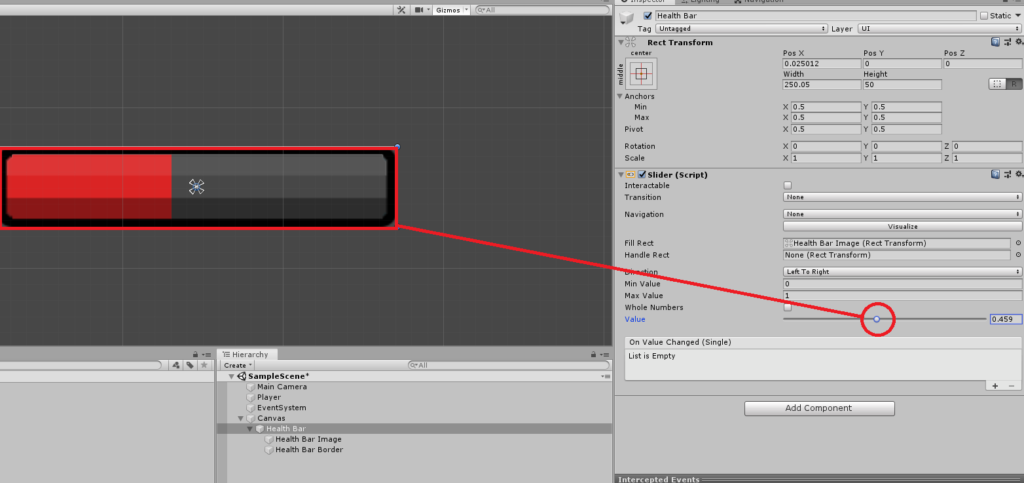
By doing so, a new set of parameters will show up such as the direction of the slider, the minimum and the maximum value, and the actual value.
By sliding the value you will see that the Health Bar Image also gets affected.
Scripting the Health Bar
Now that we have everything set up, let’s start coding the actual health bar.
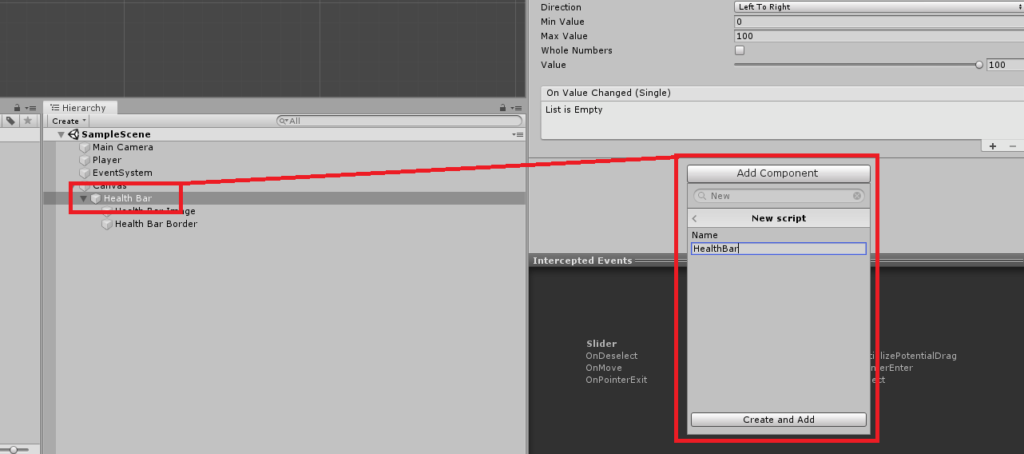
So with your Health Bar game object selected, click the Add Component and look for New Script. Select that and set the name of the script to HealthBar.
Like below.
Once the script is created, open it with visual studio and copy the following code.
using System.Collections;
using System.Collections.Generic;
using UnityEngine;
using UnityEngine.UI;

public class HealthBar : MonoBehaviour
{
    public Slider healthBar;
    public Health playerHealth;

    private void Start()
    {
        playerHealth = GameObject.FindGameObjectWithTag("Player").GetComponent<Health>();
        healthBar = GetComponent<Slider>();
        healthBar.maxValue = playerHealth.maxHealth;
        healthBar.value = playerHealth.maxHealth;
    }

    public void SetHealth(int hp)
    {
        healthBar.value = hp;
    }
}
Code language: C# (cs)
Save your scripts and go back to Unity.
Using the Script
Once all your scripts are saved, navigate back to your hierarchy and select your Player game object.
Then, drag the Health.cs script to its inspector to assign the script.
Go to its inspector and drag the Health Bar game object to the Health Bar parameter of the health script like below.

Still with your Player selected, navigate to the Tag dropdown and select Player.
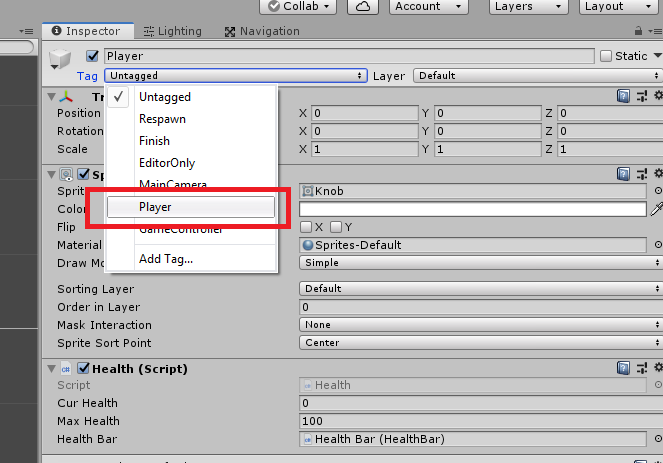
If in case there is no Player option in the Tag dropdown, you may select the Add tag… option at the very end and manually add the Player tag yourself.
Save your scene and test your game.
Your player’s health should decrease whenever you hit your spacebar.
Like below.
Well, technically this tutorial is over. With everything set up you should be able to take damages just by calling the Health script function DamagePlayer() with the amount of damage value that you want to send.
You can also move the Health bar to the top of the screen like below.
Just make sure to anchor the health bar to wherever position you want to put the health bar. For example, you want to put the health bar at the top-left corner, anchor the health bar at the top-left so the health bar will stay in the same position regardless of the screen resolution.

Conclusion
There you have it, you finally have a health bar that you can apply to your player. Of course, you can always modify the scripts, if you want to change the color of the health bar depending on the value of the health points, you can do that too using gradient.
Nice and clear, thank you! Just one note. I as a noob struggled with that for a while. When you download your .png file you can’t directly assign it to your image object (under the canvas), because it requires a sprite, not a texture. So:
1. Click on the downloaded texture (.png)
2. In the Inspector top find ‘Texture Type’ and change it to ‘Sprite (2D and UI).
After you can drag it onto ‘Source Image’, it works.
Hi Yuri,
Thank you for reading our tutorials and we truly appreciate that you’re finding our guides helpful.
Yes, we totally missed the part that the image should be set up and imported as Sprite instead of default texture.
We’ll get this article updated as soon as possible.
Thank you for pointint that out 🙂
I am having problems with the script, I added it to a player I already had. The health bar always shrinks itself and moves away from where I want it to go. Help?
How can we increase the health value?
it asks what health is what should i do
I am having trouble with this tutorial. All seems fine until it comes to the last stages where it asks you to drag the HealthBar Game Object to the inspector filed of the Player Object; it won’t let you complete this task. Any suggestions?
If you click the circle icon next to the Health Bar (none) area of the script, then it should show you the assets screen. You can choose the health bar from there, just make sure your hierarchy is correct.
Hey man thanks so much this was a big help!
it asks what health is what should i do
It shows that the type or namespace name health could not be found