Have you ever thought of making a multiplayer game using Game Engines like Cry or Unity? You might be wondering how hard it is to create such games. Well, as a matter of fact, creating multiplayer games is not that hard to do. Especially if the API that you’re using provides documentation that is very easy to understand.
There are a number of frameworks that can help you with server hosting. One of them is Photon Network also known as PUN. Short of Photon Unity Networking.
What is Photon Unity Networking?
Photon is a real-time multiplayer game development framework that is fast, lean, and very flexible. It consists of a server and multiple client SDKs for major platforms.
What are the features of PUN?
If you are wondering about the features of Photon Unity Networking. They provide:
What is the latest release of PUN?
PUN 2 is the latest release of their API which has been improved a lot compared to their last release. Unlike the previous one, this latest version is much more secure and easy to code. Although they’ve changed a lot of function calls they are pretty much easy to remember.
So if you are used to the previous version of PUN, migrating to this newer version won’t be that hard to do.
In this article, we’ll be guiding you on how to use Photon Unity Networking (PUN 2) with Unity 2019.1.1f1.
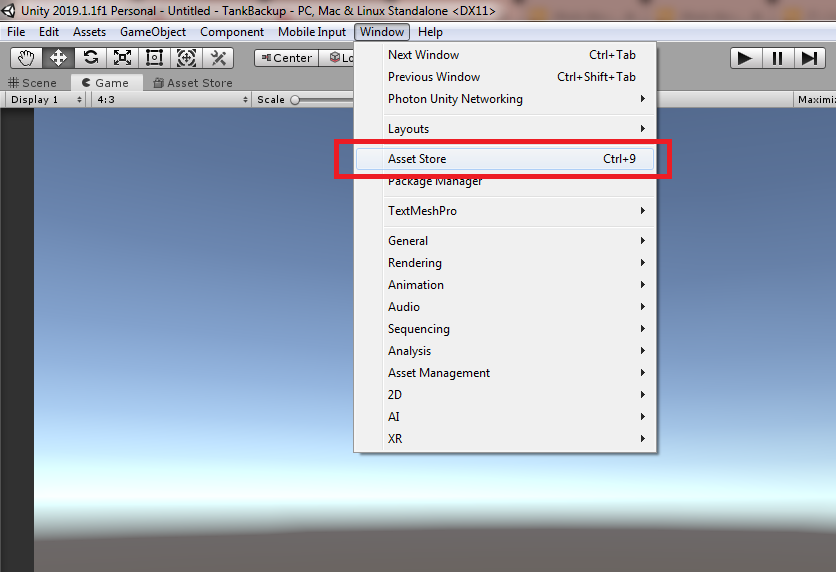
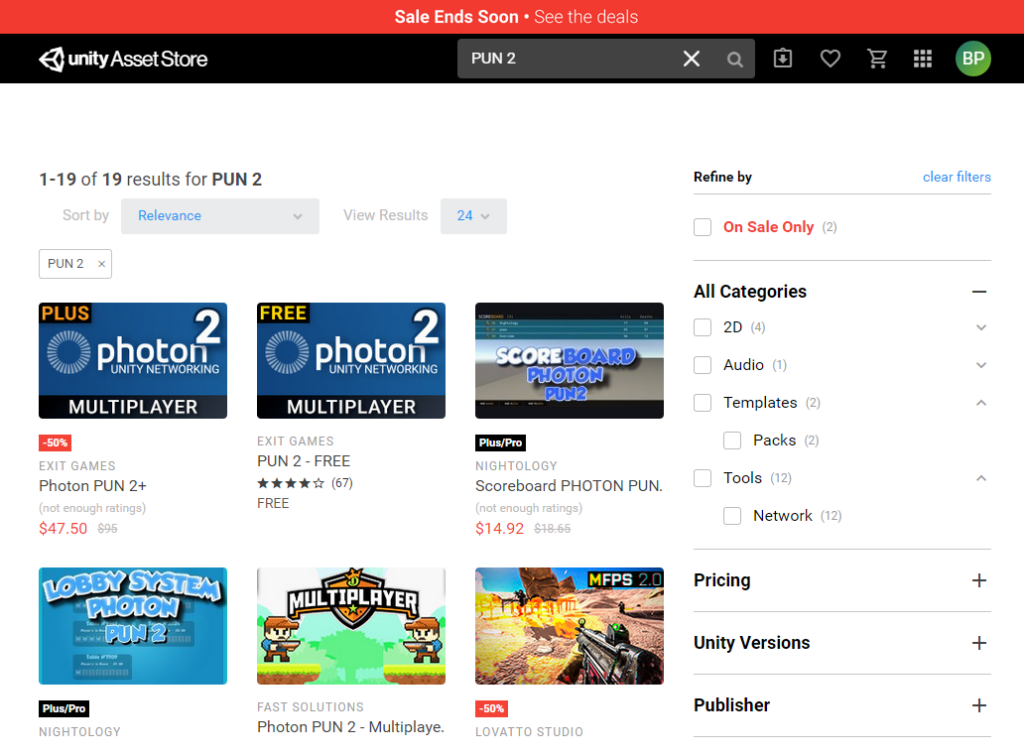
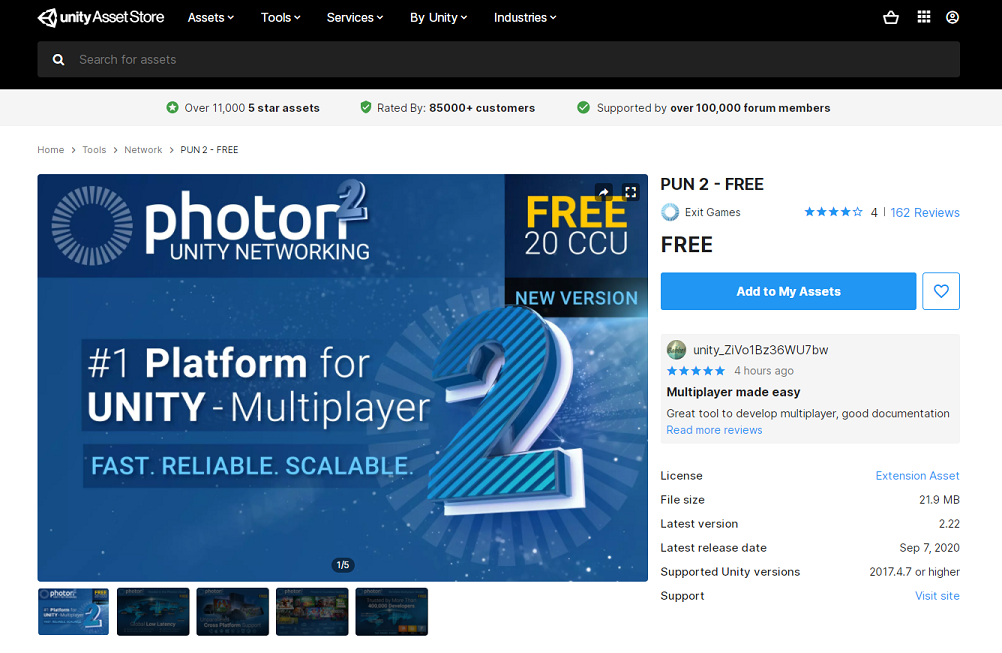
Download and Import PUN 2
To download Photon Unity Networking, follow the steps below:
Getting Photon App ID
Now before we proceed, we have to create first a Photon App ID. You can do this by going to their official website at photonengine.com.
Once arrived, log in with your account or if you haven’t registered yet, do so by clicking on Sign up.
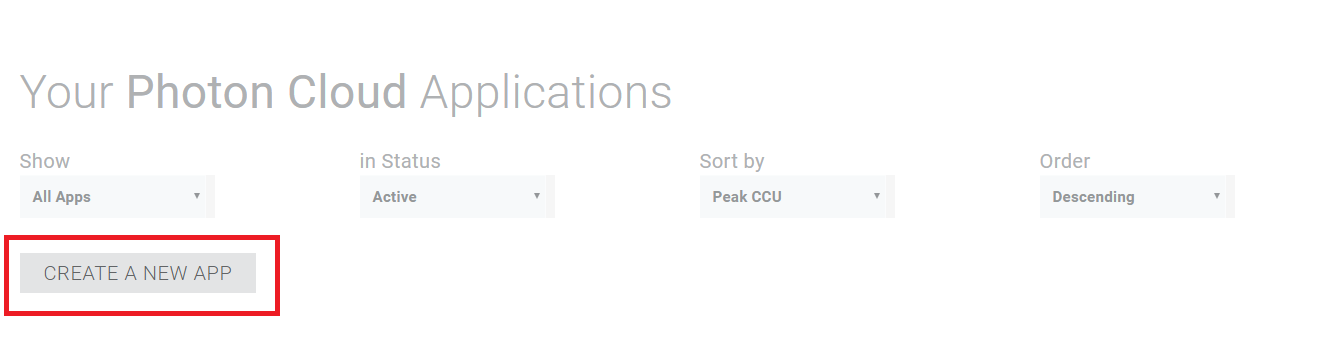
Next, once you’re logged in and arrived at the dashboard. Click Create a New App like what’s seen in the image below.
After clicking the button, fill in the form like what you’re seeing in the image below:
For Photon Type: Choose Photon PUN or Photon Realtime
Name: Name of your Project
Description: Any description you want or you can leave this empty
URL: leave this blank
Once done, click create.

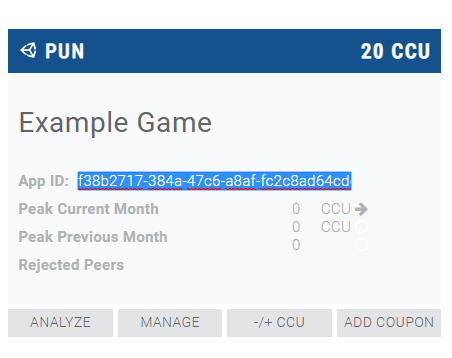
Look for the panel like below and copy the App ID. Make sure it has the same name as the one you have typed in the form.
Next, go back to your Unity Editor and Paste the App Id in the window like what you’re seeing in the image below:
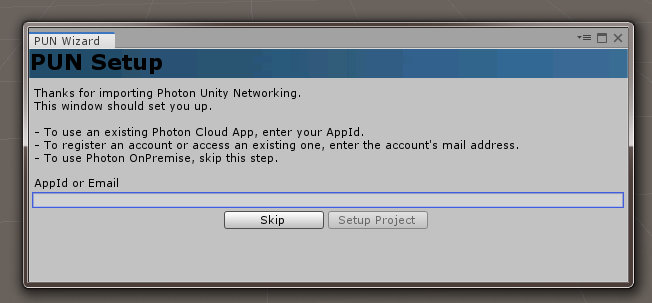
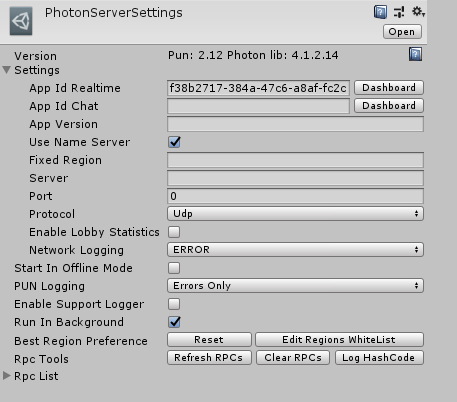
Remember, you’ll only see this wizard above after you imported PUN 2 from the asset store. If somehow, you don’t see this or you have accidentally skipped the wizard, you can find the server settings in folders path:
Assets > Photon > PhotonUnityNetworking > Resources and click PhotonServerSettings and just paste the App ID in the App Id Realtime input box like below.
That’s it! Now you have successfully connected your game with Photon Network.
Conclusion
Now that we have successfully connected our Unity Project with Photon Networking, we can now create a lobby and room where other players can join.
In the next tutorial, we’re going to setup our lobby using UI canvas and other components provided by Unity. To proceed click the next article below:
Thanks a lot for all your tutorials! They are well done and help us a lot building our game!
Thank you again for your work!
Hi Clem!
Thank you for reading our tutorials! We’re super glad to be able to help you with your development.
I hope to see you again around!
Best regards,
Chris
I actually have a question:
In the tuto https://weeklyhow.com/how-to-display-rooms-in-the-lobby-unity-v2019-1-1f1-pun-2/ you didn’t assign the variable RoomListButtons, was it on purpose? 🙂
Hi Clem!
Thank you for pointing that out! We have made a mistake and we forgot to include that variable in the room listing script.
The article is now updated!
Best Regards,
Chris