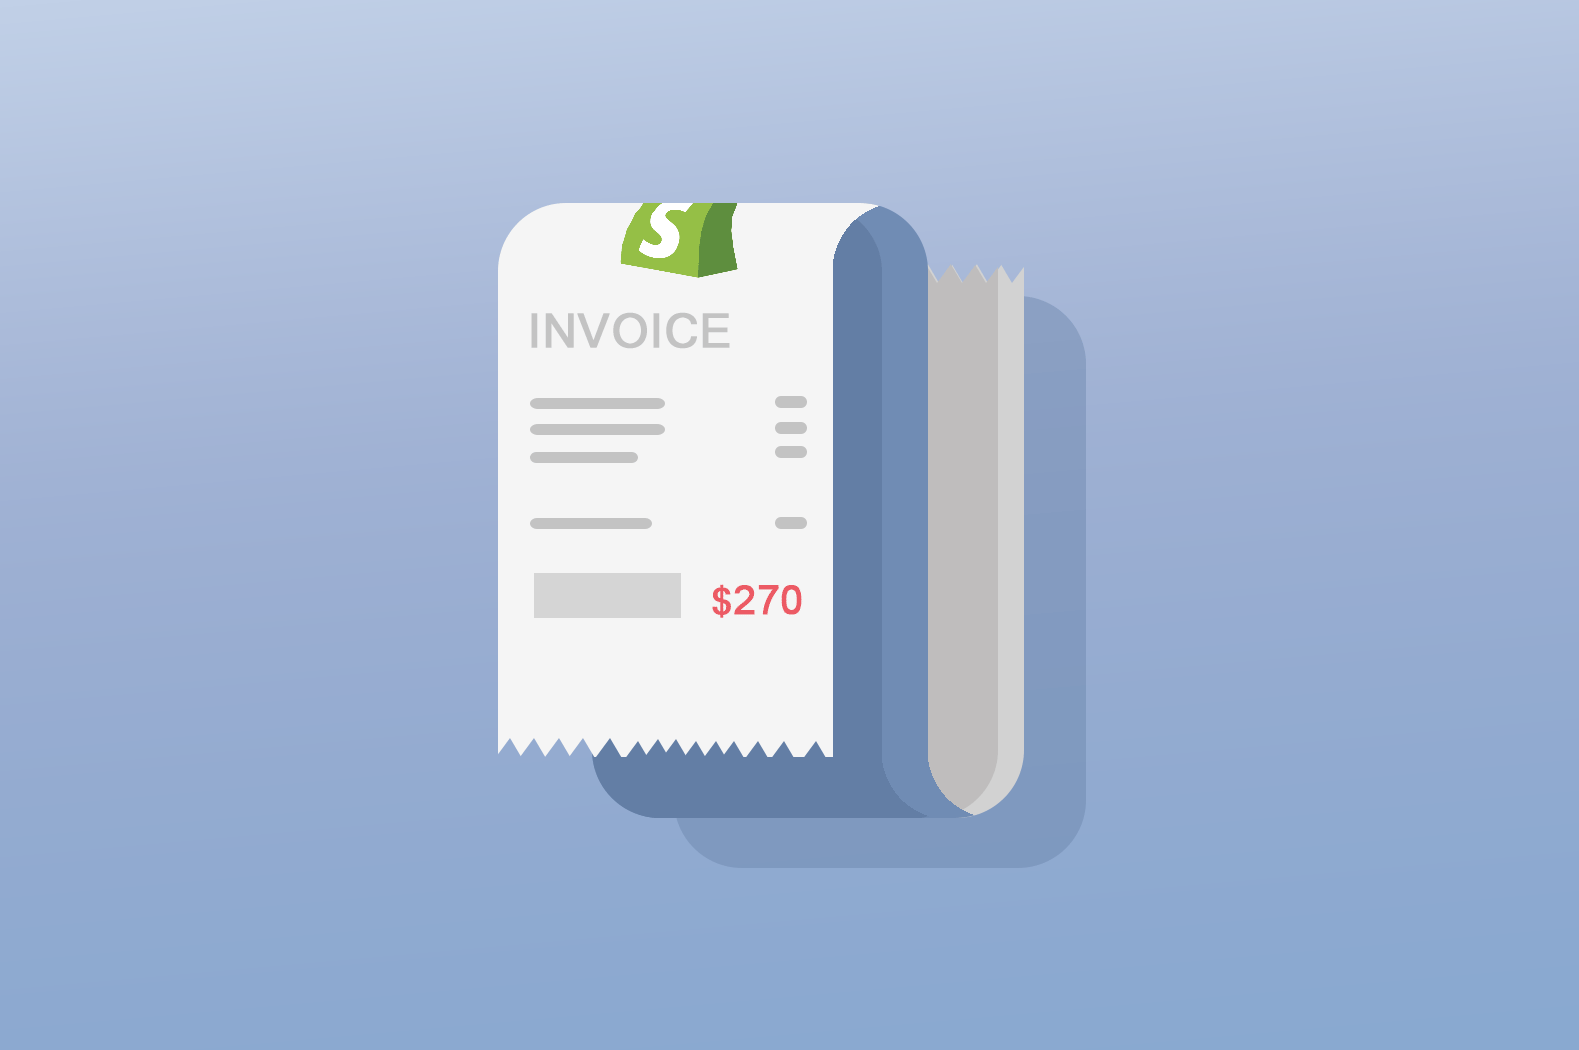
When you build a Shopify store, it’s very common that you get customers to ask you for the invoices when they make a purchase. As a merchant, it’s your responsibility to provide that invoice.
There are few Shopify apps that provide invoice printing but what if you wish to create your own? In this tutorial, we’ll learn how to make an invoice app that allows you to print invoices using PHP and JavaScript.
Video Tutorial
If you prefer to learn through a video tutorial, you can watch the following video.
Getting Started
Like in most of our Shopify app written tutorials, we’ll assume that you have followed our Shopify app tutorial series and you are using the same repository/client that we are using here.
Now, for this tutorial, we’re just going to need the following two files:
In our index.php file, we should have the following code:
<!DOCTYPE html>
<html lang="en">
  <head>
    <meta charset="utf-8">
    <meta name="viewport" content="width=device-width, initial-scale=1, shrink-to-fit=no">
    <link rel="stylesheet" href="https://stackpath.bootstrapcdn.com/bootstrap/4.1.3/css/bootstrap.min.css">
    <title>WeeklyHow Shopify App</title>
  </head>
  <body class="bg-light">
	<div class="container py-5">
		<?php
		include_once("inc/functions.php");
		include_once("inc/mysql_connect.php");
		include_once("header.php");
		include_once("orders.php");
		?>
	</div>
    <script src="https://code.jquery.com/jquery-3.3.1.min.js"></script>
    <script src="https://cdnjs.cloudflare.com/ajax/libs/popper.js/1.14.3/umd/popper.min.js"></script>
    <script src="https://stackpath.bootstrapcdn.com/bootstrap/4.1.3/js/bootstrap.min.js"></script>
  </body>
</html>
Code language: PHP (php)
And for our orders.php file, we should have the following code:
<h4>Orders</h4>

<table class="table table-bordered my-5">
	<thead>
		<tr>
			<th scope="col">Order #</th>
			<th scope="col">Email Address</th>
			<th scope="col">Customer Name</th>
			<th scope="col">Total Sale</th>
		</tr>
	</thead>
	<tbody>
		<?php
			$orders = shopify_call($token, $shop_url, "/admin/api/2020-10/orders.json", array("status" => 'any'), 'GET');
			$orders = json_decode($orders['response'], JSON_PRETTY_PRINT);

			foreach ($orders as $order) {
				?>
					<tr>
					<?php
					foreach ($order as $key => $value) {
						?>
							<th><a href="#" data-toggle="modal" data-target="#printOrder<?php echo $value['order_number']; ?>"><?php echo $value['order_number']; ?></a></th>
							<td><?php echo $value['contact_email']; ?></td>
							<td><?php echo $value['billing_address']['name']; ?></td>
							<td><?php echo $value['total_price'] + $value['currency']; ?></td>
						<?php
					}
					?>
					</tr>
				<?php
			}
		?>
	</tbody>
</table>
Code language: PHP (php)
In the code above, what we just did is to create a very simple table to display the list of orders available from the store using Order API.
Now, notice in line 23 that we have added an anchor tag that uses custom attributes such as data-toggle and data-target. These will be used to open a modal to display the invoice.
For that to happen, we have to make sure that the value of the data-target attribute is unique so we concatenated the order_number.
If we save the scripts and run the app, we should have the following output:

And the HTML output should look like this

So that means, we need to create a modal with an id of #printOrder1001.
We can create a modal, just by inserting the following code in order.php file
<h4>Orders</h4>
<table class="table table-bordered my-5">
<thead>
<tr>
<th scope="col">Order #</th>
<th scope="col">Email Address</th>
<th scope="col">Customer Name</th>
<th scope="col">Total Sale</th>
</tr>
</thead>
<tbody>
<?php
$orders = shopify_call($token, $shop_url, "/admin/api/2020-10/orders.json", array("status" => 'any'), 'GET');
$orders = json_decode($orders['response'], JSON_PRETTY_PRINT);
foreach ($orders as $order) {
?>
<tr>
<?php
foreach ($order as $key => $value) {
?>
<th><a href="#" data-toggle="modal" data-target="#printOrder<?php echo $value['order_number']; ?>"><?php echo $value['order_number']; ?></a></th>
<td><?php echo $value['contact_email']; ?></td>
<td><?php echo $value['billing_address']['name']; ?></td>
<td><?php echo $value['total_price'] + $value['currency']; ?></td>
<div class="modal fade" id="printOrder<?php echo $value['order_number']; ?>" tabindex="-1" aria-labelledby="printOrderLabel" aria-hidden="true">
<div class="modal-dialog modal-lg" style="max-width: 80% !important;">
<div class="modal-content">
<div class="modal-header">
<h5 class="modal-title" id="printOrderLabel">Print Order #<?php echo $value['order_number']; ?></h5>
<button type="button" class="close" data-dismiss="modal" aria-label="Close">
<span aria-hidden="true">×</span>
</button>
</div>
<div class="modal-body">
<div class="card border-0" id="printThisInvoice">
<div class="card-body">
<div class="row p-2">
<div class="col-md-6"><h1>LOGO</h1></div>
<div class="col-md-6 text-right"><p class="font-weight-bold mb-1">Invoice #00001</p></div>
</div>
<hr class="my-3">
<div class="row p-2">
<div class="col-md-6">
<p class="font-weight-bold mb-4">Client Information</p>
<p class="mb-1"><?php echo $value['billing_address']['name']; ?></p>
<p class="mb-1"><?php echo $value['billing_address']['address1']; ?></p>
<p class="mb-1"><?php echo $value['billing_address']['country']; ?></p></div>
<div class="col-md-6 text-right">
<p class="font-weight-bold mb-4">Payment Details</p>
<p class="mb-1"><span class="text-muted">Payment Type: </span> <?php echo $value['payment_gateway_names'][0]; ?></p>
<p class="mb-1"><span class="text-muted">Name: </span> <?php echo $value['billing_address']['name']; ?></p>
</div>
</div>
<div class="row p-2">
<div class="col-md-12">
<div class="row">
<div class="col-3 border">Item</div>
<div class="col-3 border">Description</div>
<div class="col-2 border">Quantity</div>
<div class="col-2 border">Unit Cost (<?php echo $value['currency']; ?>)</div>
<div class="col-2 border">Total (<?php echo $value['currency']; ?>)</div>
</div>
<?php
$totalPrice = 0;
foreach ($value['line_items'] as $index => $item) {
$totalPrice += $item['price'];
?>
<div class="row">
<div class="col-3 border"><?php echo $item['title']; ?></div>
<div class="col-3 border"><?php echo $item['name']; ?></div>
<div class="col-2 border"><?php echo $item['quantity']; ?></div>
<div class="col-2 border"><?php echo $item['price']; ?></div>
<div class="col-2 border"><?php echo ($item['price'] * $item['quantity']); ?></div>
</div>
<?php
}
?>
</div>
</div>
<div class="row p-2">
<div class="col-md-6">
<p class="font-weight-bold mb-4">Other information</p>
<p class="mb-1">Note: <?php echo $value['note']; ?></p>
</div>
<div class="col-md-6 text-right">
<p class="font-weight-bold mb-4">TOTAL:</p>
<p class="mb-1"><?php echo $totalPrice; ?> <small><?php echo $value['currency']; ?></small></p>
</div>
</div>
</div>
</div>
</div>
<div class="modal-footer">
<button type="button" class="btn btn-secondary" data-dismiss="modal">Close</button>
<button type="button" class="btn btn-primary" id="printBtn">Print</button>
</div>
</div>
</div>
</div>
<?php
}
?>
</tr>
<?php
}
?>
</tbody>
</table>
Code language: PHP (php)So we have three parts for this modal.
First is the header. Second is the content and lastly is the footer.
Let’s take a look at the modal body. Here we added a div tag with a class of card. This div basically forms the template of a very simple invoice. Here we have:
All of these data can easily be customized and so feel free to change anything here. Just remember that variables and key names of the arrays must follow what’s from the API.
Next is the footer of the modal, here we have to buttons, the cancel button and the print button.
For the print button, we’ll have to create a javascript to make an on click event and execute a task and that is to print the invoice.
Saving the script should give you the following output:

Printing the invoice
For us to be able to print the invoice, we’ll have to use a plugin that is called printThis.
printThis is an extensive printing plugin for jQuery that allows for printing specific areas or multiple DOM elements. This is perfect since we only want to print what is inside the modal.
To use this plugin, we’ll be using the following CDN:
https://cdnjs.cloudflare.com/ajax/libs/printThis/1.15.0/printThis.min.jsCode language: JavaScript (javascript)Let’s open our index.php once again and update its code to the following:
<!DOCTYPE html>
<html lang="en">
  <head>
    <meta charset="utf-8">
    <meta name="viewport" content="width=device-width, initial-scale=1, shrink-to-fit=no">
    <link rel="stylesheet" href="https://stackpath.bootstrapcdn.com/bootstrap/4.1.3/css/bootstrap.min.css">
    <title>WeeklyHow Shopify App</title>
  </head>
  <body class="bg-light">
	<div class="container py-5">
		<?php
		include_once("inc/functions.php");
		include_once("inc/mysql_connect.php");
		include_once("header.php");
		include_once("orders.php");
		?>
	</div>
    <script src="https://code.jquery.com/jquery-3.3.1.min.js"></script>
    <script src="https://cdnjs.cloudflare.com/ajax/libs/popper.js/1.14.3/umd/popper.min.js"></script>
    <script src="https://stackpath.bootstrapcdn.com/bootstrap/4.1.3/js/bootstrap.min.js"></script>
    <script src="https://cdnjs.cloudflare.com/ajax/libs/printThis/1.15.0/printThis.min.js"></script>
    <script>
      $('#printBtn').on('click', function(e) {
        $('#printThisInvoice').printThis();
      });
    </script>
  </body>
</html>
Code language: HTML, XML (xml)
To use the plugin, all we really need to do is to select a DOM element and use the printThis() function to display the print window.
That’s why if we save our script and run the app, we should have the following output when we click the print button.

Isn’t that awesome?! Now you can easily print invoices and send these invoices to your customers through email.
Conclusion
In this lesson, we have learned how to create an invoice app using Shopify Order API, PHP, and a very powerful jQuery plugin. This is just the basic of making an invoice app. You can make this more useful by adding events such as sending the invoice to customer’s email as soon as the invoice is printed or something more! Feel free to experiment with the tools provided in this lesson.
If you have any questions, feel free to tell us in the comments below and we’ll try to answer.