There are many frameworks out there that you can use to develop web applications. But only a few provide resources and documentation that can help you build your app from scratch.
In this article, we will be talking about Laravel and why it is one of the most used frameworks for developing web applications from start to finish. This Laravel tutorial will also guide you from scratch, step by step, from installing Laravel to deploying your web application online so you will be able to develop more applications in the future.
But before we go straight to Laravel tutorial, let’s understand first what is Laravel.
What is Laravel?
Laravel is a free and open-source PHP web framework that is created by Taylor Otwell back in 2011. It is created for the development of web applications to follow the MVC pattern also known as Model-view-controller which allows for a much-needed separation of concerns in our web applications.
Why you should start using Laravel?
There are many reasons why you should start using Laravel, one of which is that Laravel helps developers to build web systems in a matter of seconds. For example, to develop a Login, Logout, Registration systems, all you needed to do is to install Laravel to your project. In just one line of command instead of manually typing lines of codes and authenticating databases.
There are also cases that I have been thinking of ways to paginate my web applications but with Laravel, all you needed to do is to use a function and list the items. Simple as that!
Now to prepare you for this tutorial, I will be providing you the list of software that we’re going to use in this tutorial. So make sure you have them all installed on your computer.
Requirements:
Laravel framework has a few system requirements. All of these are provided by the Laravel Homestead virtual machine, so it is highly recommended that you use Homestead as your local development environment.
In different cases, you may install the required software separately depending on your projects. For example, you can use Laravel with just PHP installed and Composer.
Here are the following requirements if you are not using homestead:
How to Create Web Applications with Laravel?
Building web applications using Laravel is very easy. In fact, even a 12-year old you can do this. To start, obviously, you need to install Laravel and its required applications.
Installing Laravel
Laravel uses Composer to manage its dependencies. So, before you can use Laravel, make sure you have Composer installed on your computer. Keep in mind that we’re not going to use homestead virtual machine in this tutorial. You may follow this link to download the latest version of Composer.
After installing Composer, download the latest version of PHP and make sure it is Non-thread safe. After downloading, extract the PHP zip file into your C: Drive
If you encountered errors as soon as you install PHP. Make sure that you have Visual C++ Redistributable for Visual Studio installed. Otherwise, you’ll encounter more errors such as VCRUNTIME140.DLL was not found, and php commands won’t work.
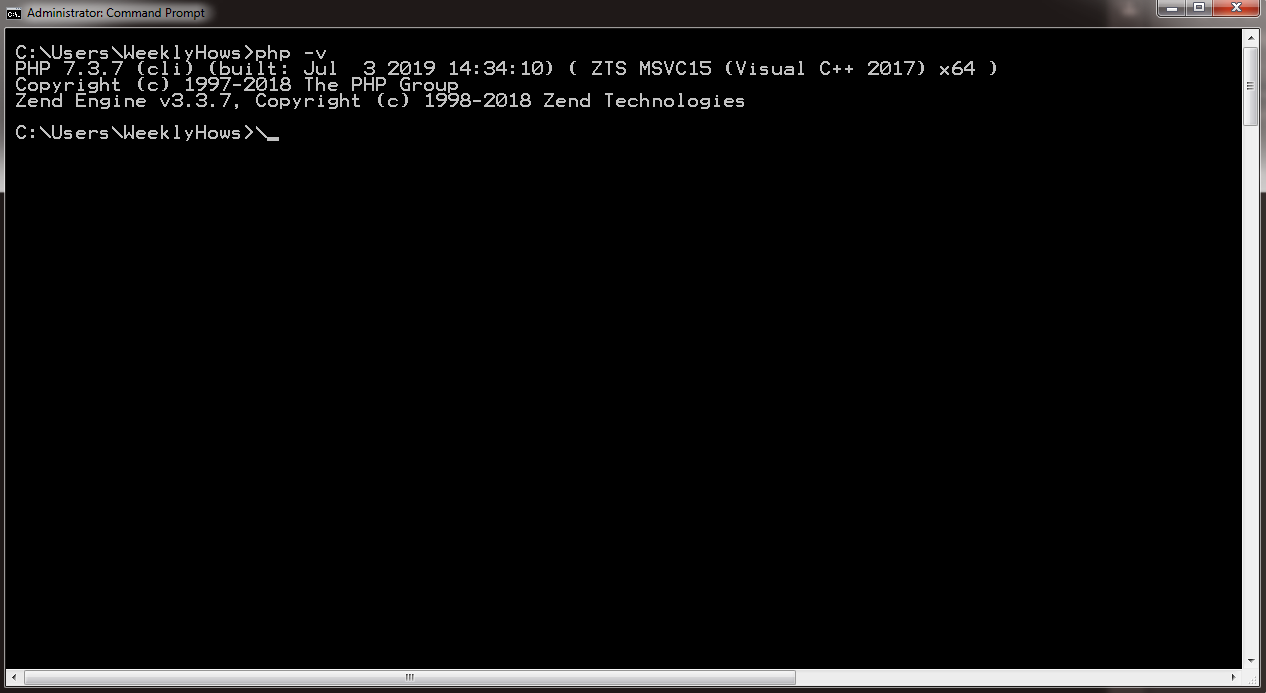
Now, to check if you have installed both Composer and PHP correctly. Open your command prompt and type the following command:
php -vIf you have successfully installed PHP, you should see something like this:
To check if you have installed Composer, type the following in the command prompt:
composer --version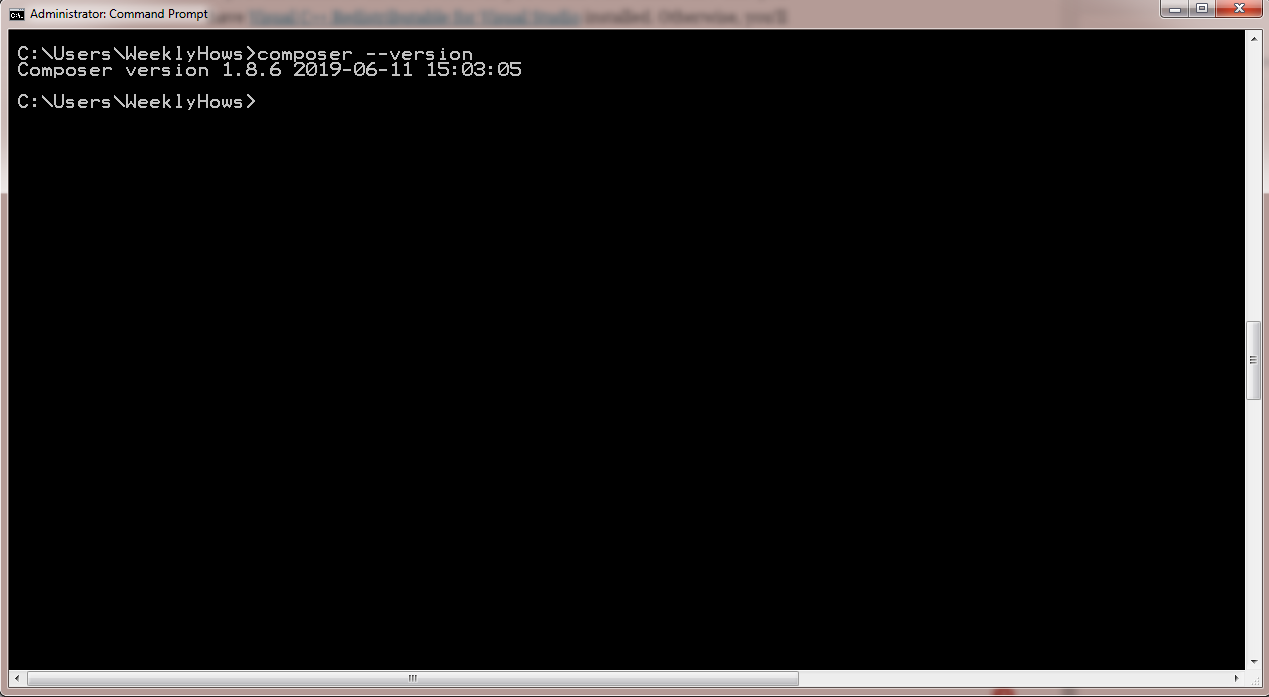
If you have seen both responses. You may now install Laravel by typing the following command in your shell.
composer global require laravel/installerCode language: PHP (php)Alternatively, you may also install Laravel by issuing the Composer create-project command in your terminal:
composer create-project --prefer-dist laravel/laravel project-nameKeep in mind that by using the command create-project, a new folder will be created with the name that you have provided in the command. In the code above, the project will be called project-name.
Another thing to keep in mind is that the project that you have created can be located at the directory of your shell. In my case, it’s located in:
C:\Users\WeeklyHows\Now, after creating the project. You will need to change your directory to the project folder that you just have created. Use the following command:
cd project-name
Now, to view your project in your browser, you will need to use the command artisan. Artisan is the command-line interface included with Laravel. It provides a number of helpful commands that can assist you while you build your application.
Use the following command:
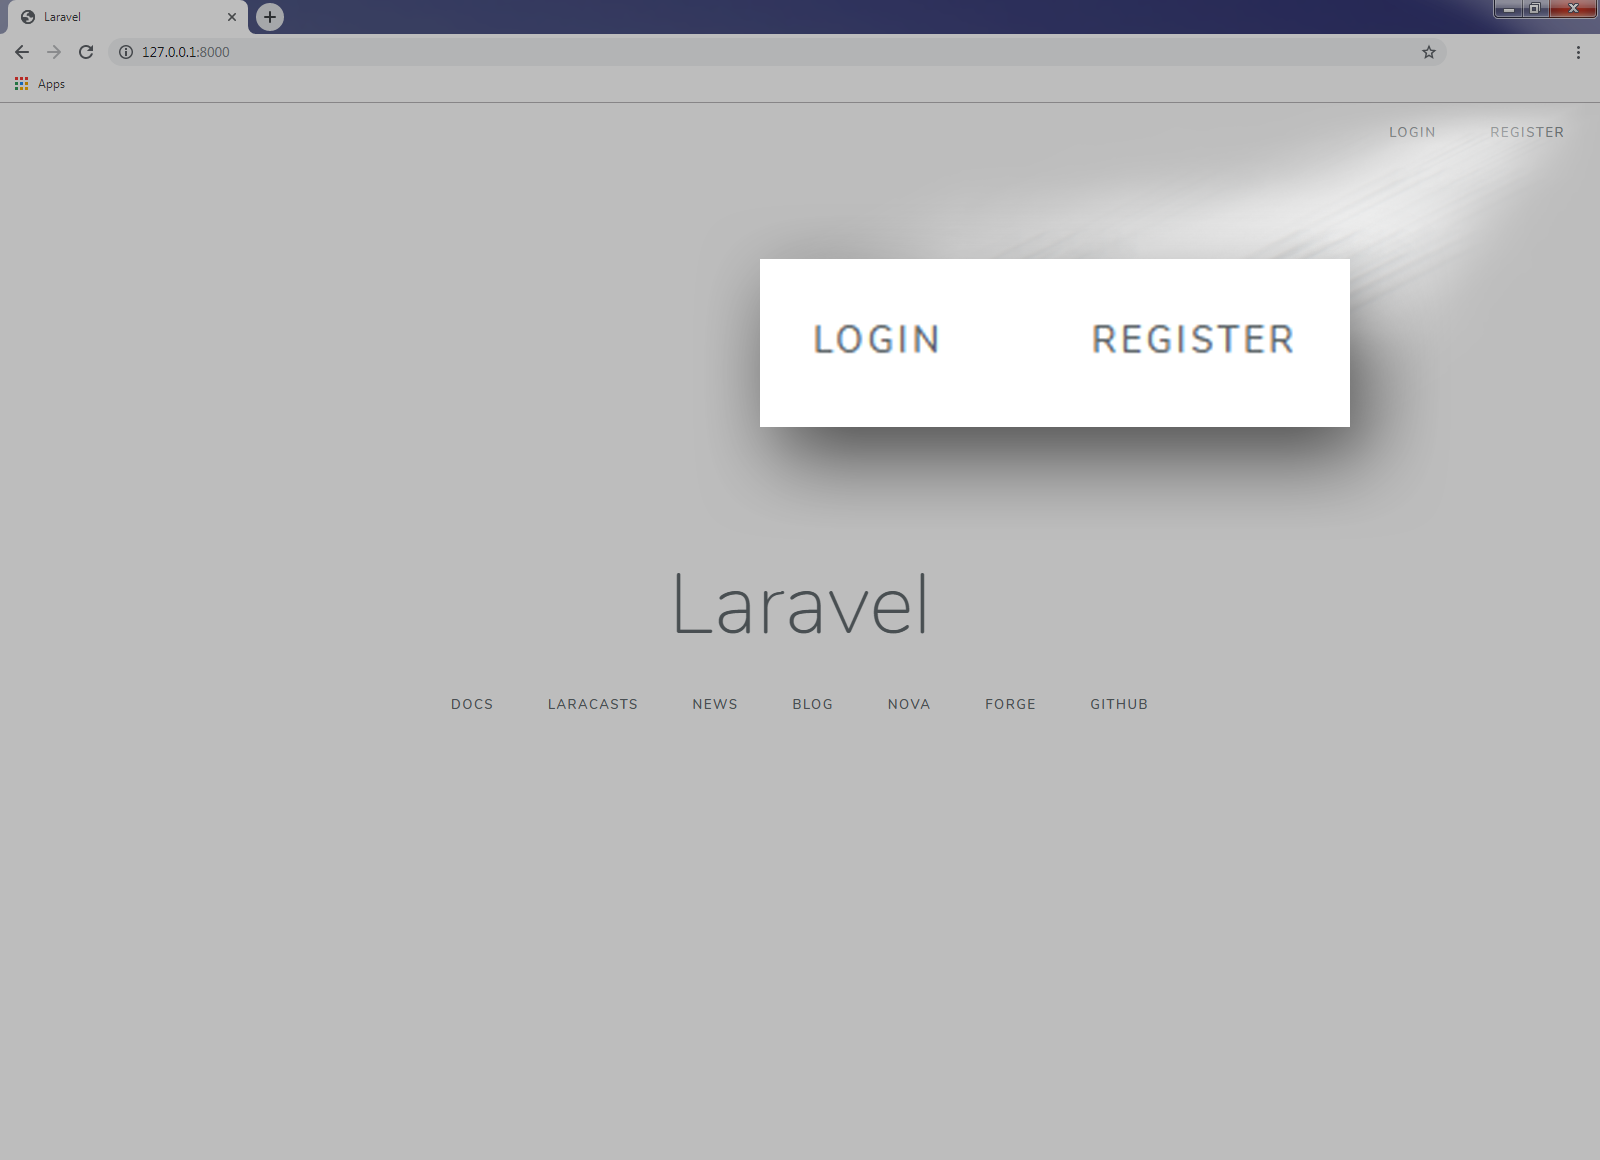
php artisan serveNow, open your browser and browse http://127.0.0.1:8000 and you should see something like this:

Congratulations! You just created your first Laravel application!
Now I know it’s just a homepage and it is not that fully functional yet but we’ll get into adding more features that will make our application more interesting.
Now, Laravel has a feature called Authentication.
What is Authentication?
Authentication is the process of identifying the user’s credentials. Whenever a user logs in, a web application, for example, will process the input parameters such as username and password, and then if the parameters exist in the Laravel’s database, then the user will be able to sign in.
With Laravel, you are able to create both login forms and registration forms with just one command and that is make:auth.
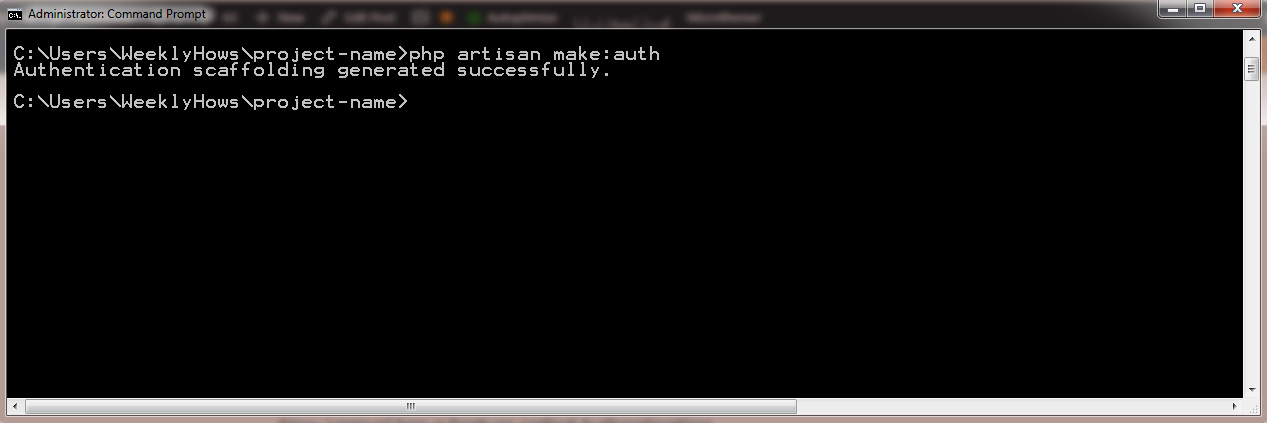
Now go back to command prompt and try using the following command:
php artisan make:authCode language: CSS (css)That should give you the following response:
If you refresh your Laravel application, you will see that there are new links added at the right top corner of the application. Those are the menu that was generated by the Laravel Auth.
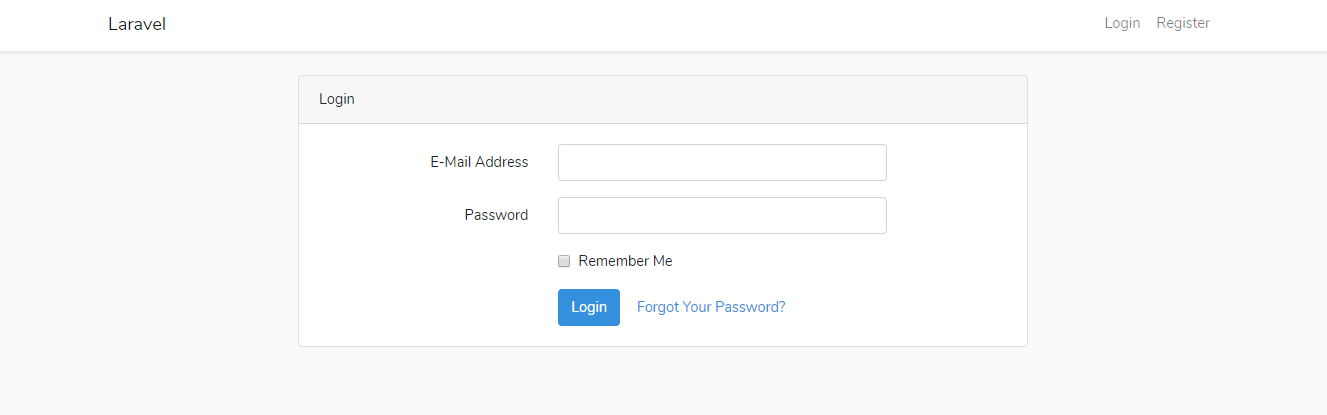
Here’s how it looks like when you click the login menu.
Now, you might be thinking, Wow! That’s how easy it is?
Well, we still have to create and setup our database to make that login page work like an actual login page
How can we do that?
Easy! By using Laravel Migrations.
What is Laravel Migrations?
Laravel Migrations, in a nutshell, are files which contains a class with both up() and down() functions. Both of these functions are executed to apply and revert changes to the database.
Does it help developers? 100% yes! Laravel Migrations, makes it twice easier to maintain database schema. You won’t need to open up, phpMyAdmin or any sort of that just to make updates to your applications.
How can we create a database with Laravel Migrations? Simple, by using the command migrate.
Open your command prompt and type in:
php artisan migratePHP artisan migrate: Could not find driver error
Illuminate\Database\QueryException : could not find driver (SQL: select * from information_schema.tables where table_schema = homestead and table_name = mig
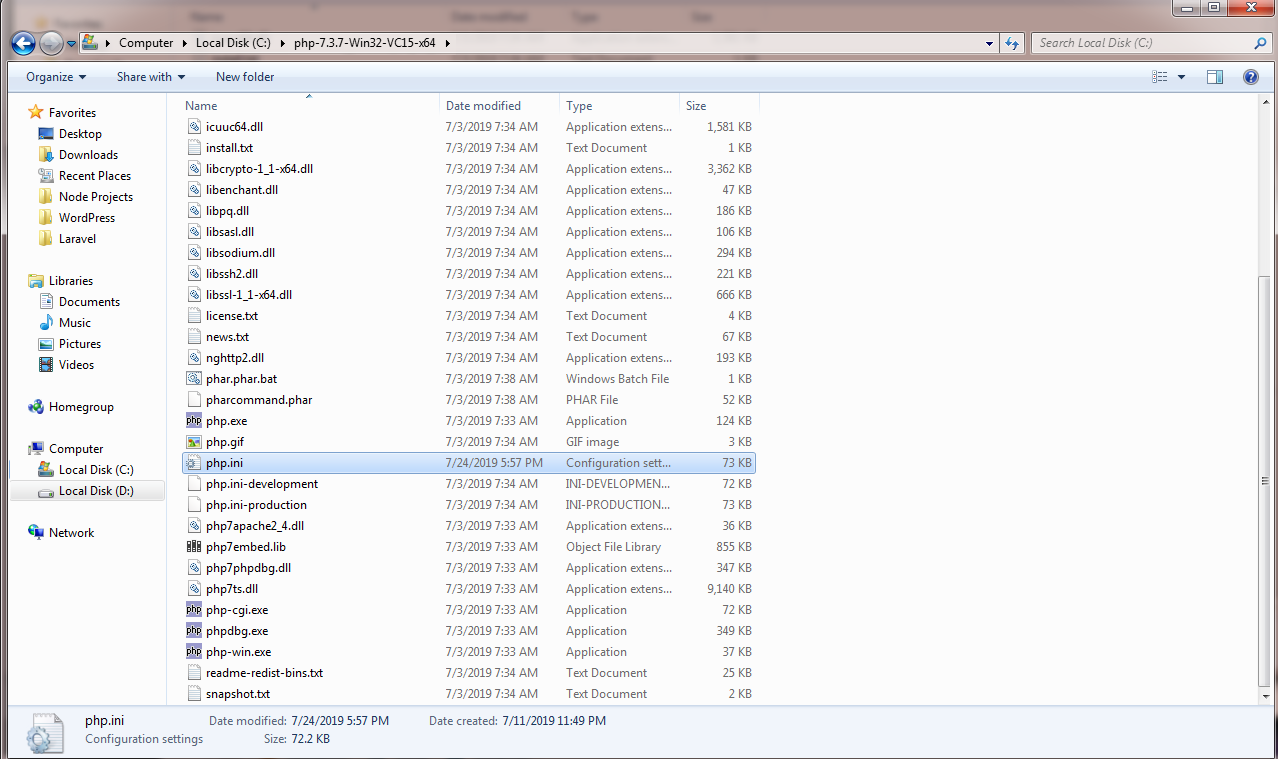
rations and table_type = 'BASE TABLE')Code language: JavaScript (javascript)If you have encountered this kind of error, chances are you have not setup both of your .env and php.ini files. To fix this error, proceed to the directory where you installed PHP (In my case, it’s in C:\ drive) and open php.ini file using notepad or any text editor you prefer.
Once you open php.ini, search by pressing CTRL+F and look for the line:
;extension=pdo_sqliteIf there’s a semi-colon at the beginning of the line, remove it (the semi-colon NOT the whole line). That means it is being commented out and not being supported.
If you have noticed, we’re going to use SQLite for our database and not MySQL. Why? Well, there are other extensions that are commented in the ini file and it’s up to you which extension you want to use but in this tutorial we’ll be using SQLite.
Don’t forget to save the php.ini file.
The next file is the .env file.
You may locate this file in your project folder. Go to your project and open the file using your favorite text editor.
Once you opened the .env file, look for lines that start with DB_. Now delete the lines except the DB_CONNECTION=mysql.
Instead of mysql, change the value to sqlite.
It should look something like this.

Now, since we made changes to our .env file, we are required to re-run our application.
Go back to the first command prompt we have created and press CTRL+C to stop the localhost from running. Then, run php artisan serve once again.

Next, we need to create a file for our SQLite database. So in our project folder, look for the folder named database and create a file with a file extension .sqlite.
Just like below.

After all of that, proceed to command prompt and try again the command php artisan migrate
You should see a response like this:

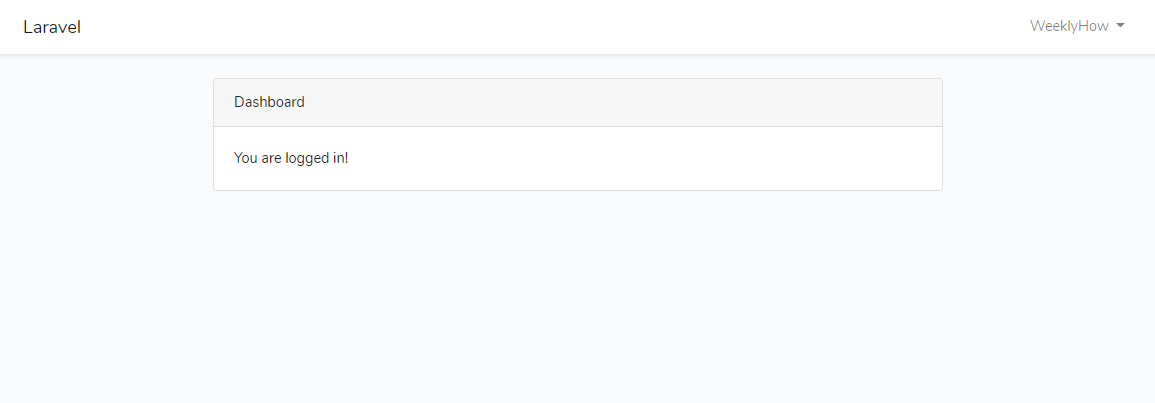
Good job! You have successfully created the database for your Laravel application. You may now register to your application and sign in.

Conclusion
If you are new to Laravel, Congratulations! You have learned and created your very first Laravel application. Not just that, you have also learned what to do when you encounter errors with your database.
Laravel provides more awesome features and we’re going to tackle that in the future. For the meantime, I hope you have actually learned and enjoyed this tutorial. If you have suggestions or request, don’t hesitate to let me know in the comments below.