
I have been playing around with Laravel and Shopify lately and I’ll admit, it’s much easier to control the Shopify app with Laravel instead of pure PHP.
If you have been following us for a while, you may have noticed already that most of our topic is about Shopify. Well, we treat it like our baby. Full-attention must be provided to it :).
Jokes aside, in this article we’re going to learn together how to display Shopify products using Laravel and OhMyBrew’s laravel-shopify.
Getting Started
Before we start with this tutorial, we’ll assume that you already have created your Laravel Shopify app. If in case not, then you may refer to this tutorial on how to create a Shopify app with Laravel and OhMyBrew!
Let’s begin this tutorial by opening your Shopify app project and serve it with:
php artisan serveNext, find your ngrok and run it.
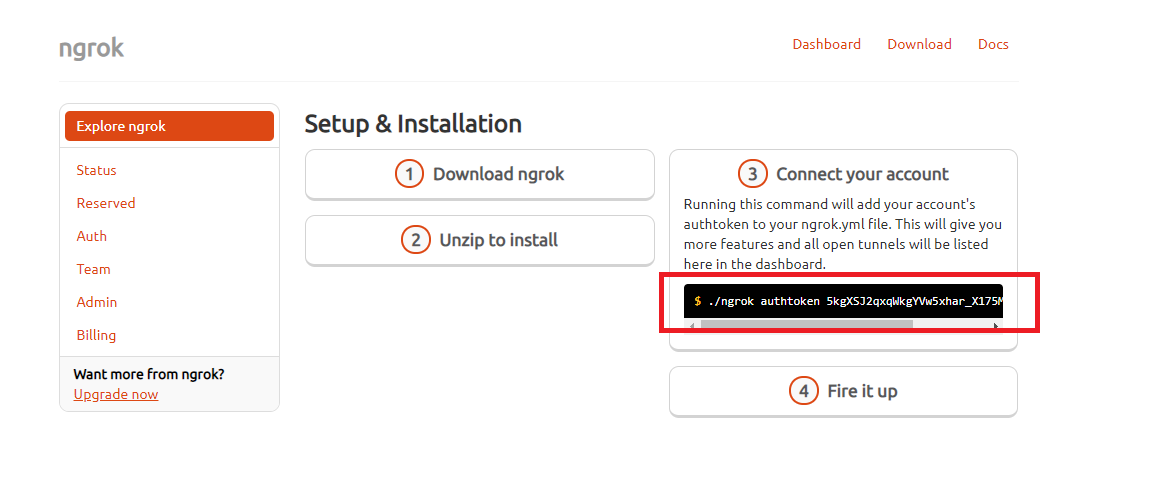
Then use the following command:
ngrok.exe authtoken <YOUR_TOKEN_IS_WRITTEN_HERE>Code language: HTML, XML (xml)You may get your ngrok token from your ngrok account. However, if you already have authenticated your token then you may skip this step.
Next, run the following command to forward your local server to an ngrok URL. Make sure you use the port 8000.
ngrok.exe http 8000Code language: CSS (css)Now, get the URL generated by ngrok and use it to replace the app URL and whitelisted URL. Like so.

After that, proceed to your development store and Shopify app.
Displaying Shopify Products
Welcome to another Shopify App Development tutorial! In this article, we’re going to use OhMyBrew’s laravel-shopify package to display the products of our store. Now, before we can do that… we need to create a controller first and then make a route.
Go to your command prompt with your Shopify app project folder selected and run the following command.
php artisan make:controller ShopifyControllerCode language: CSS (css)The command above will create a new controller named ShopifyController.php. Open that file which is located at app\Http\Controllers.
Shopify Controller
Open ShopifyController.php and replace everything with the following.
<?php
namespace App\Http\Controllers;

use Illuminate\Http\Request;
use OhMyBrew\ShopifyApp\Facades\ShopifyApp;
use Log;

class ShopifyController extends Controller
{
    public function index() {

        $shop = ShopifyApp::shop();
	$requests = $shop->api()->rest('GET', '/admin/api/2019-07/products.json');
        return serialize($requests->body);

    }
}
?>Code language: HTML, XML (xml)
Shopify Laravel Router
Next, open your web.php file located at <you_project_folder>/routes/ and copy the following code.
Route::get('/', 'ShopifyController@index')->middleware(['auth.shop']);Code language: PHP (php)What the code above does is get the response of ShopifyController@index which returns the serialized requests. Why serialize? Well if you don’t know already, serialize will convert an object or an array into a string which is very useful especially if you wanted to know the content of an array.
Now, with that being said. Let’s look at our application and see the results.

If you have the same results then congratulations! You just made into the basics of getting the data from the REST API.
Show Shopify Items in Laravel View
Now, the next thing that we’re going to do is to actually get this data and pass it into our view files. Because we can’t just do everything in our controllers, we need to manipulate this data in our actual view files.
To do that, we’re going to use the view() function. Views contain the HTML served by your application and separate your controller / application logic from your presentation logic. Views are stored in the resources/views directory. This is where you can design your app.
Now, before we proceed let’s clean up our code first.
Go to your web.php file located at route folder and change this line:
Route::get('/', 'ShopifyController@index')->middleware(['auth.shop']);Code language: PHP (php)Into
Route::get('/', 'ShopifyController@index');Code language: PHP (php)Save your web.php file and open your ShopifyController.php file next and copy the following code.
Make sure you place it above the index() function.
public function __construct() {
    $this->middleware(['auth.shop']);
}Code language: PHP (php)
Next, let’s create a new function just below the index function. And let’s call it products() function. Inside the function we’ll do the same thing, we’ll call the API and get the response code. But this time, we’ll pass it to our view.
public function products()
{
    $shop = ShopifyApp::shop();
    $requests = $shop->api()->rest('GET', '/admin/api/2019-07/products.json');
    return view("welcome", ["products"=>$requests]);
}Code language: PHP (php)
Go back to web.php and add the following line:
Route::get('/', 'ShopifyController@products');Code language: PHP (php)Next, open your welcome.blade.php file located at resources/views folder.
Copy the following code:
@extends('layouts.app')
@section('content')
<h2>Welcome <a href="{{ ShopifyApp::shop()->shopify_domain }}">{{ ShopifyApp::shop()->shopify_domain }}</a></h2>
<h3>We have new items!</h3>
@foreach ($products->body->products as $product)
<p>{{ $product->title }}</p>
@endforeach
@endsection
@section('scripts')
@parent
<script type="text/javascript">
var AppBridge = window['app-bridge'];
var actions = AppBridge.actions;
var TitleBar = actions.TitleBar;
var Button = actions.Button;
var Redirect = actions.Redirect;
var titleBarOptions = {
title: 'Welcome to Shopify Laravel App',
};
var myTitleBar = TitleBar.create(app, titleBarOptions);
console.log('{{ ShopifyApp::shop() }}');
</script>
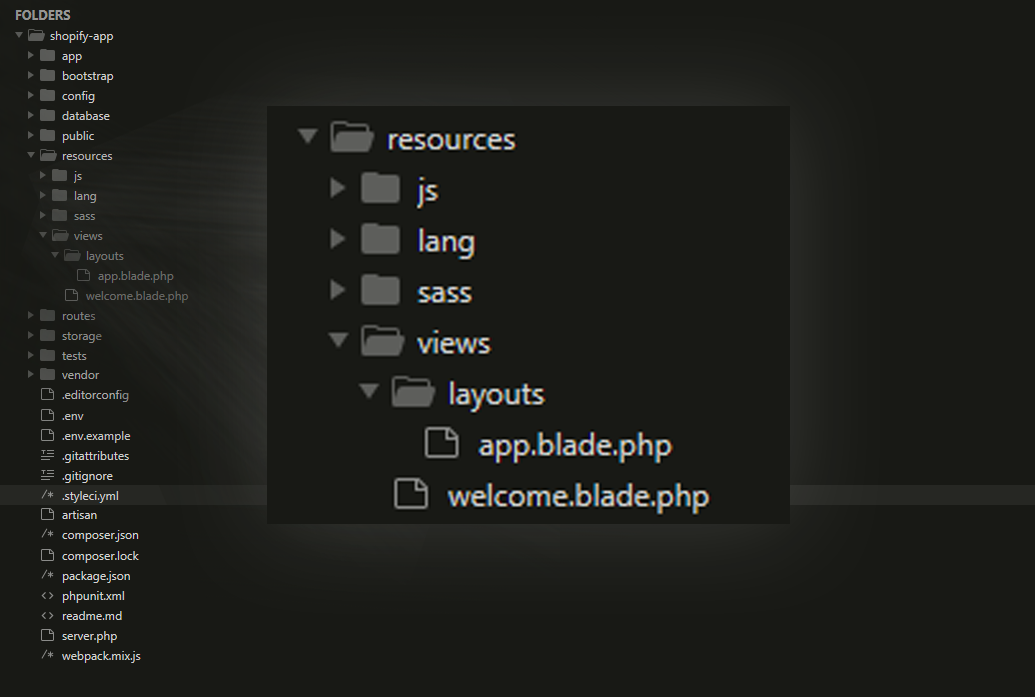
@endsectionCode language: PHP (php)Next, go to your resources/views folder and create a new folder. Make sure you name it layouts.
Inside the layouts folder, create a new view file and make sure it has a filename of app.blade.php.
After that, open app.blade.php and copy the following code:
<!DOCTYPE html>
<html lang="{{ str_replace('_', '-', app()->getLocale()) }}">
<head>
    <meta charset="utf-8">
    <meta name="viewport" content="width=device-width, initial-scale=1">
    <!-- CSRF Token -->
    <meta name="csrf-token" content="{{ csrf_token() }}">
    <title>{{ config('app.name', 'Shopify App made with Laravel') }}</title>
    <!-- Scripts -->
    <script src="{{ asset('js/app.js') }}" defer></script>
    <!-- Fonts -->
    <link rel="dns-prefetch" href="//fonts.gstatic.com">
    <link href="https://fonts.googleapis.com/css?family=Nunito" rel="stylesheet">
    <!-- Styles -->
    <link href="{{ asset('css/app.css') }}" rel="stylesheet">
</head>
<body>
    <div id="app">
        <main class="p-4">
            @yield('content')
        </main>
    </div>
</body>
</html>
Code language: HTML, XML (xml)
Final Results
If you encountered no errors at all, you will see the results something like this.

Conclusion
That’s it! That’s how easy it is to develop a Shopify app using Laravel. Special thanks to Tyler King for developing the laravel-shopify package.
If somehow you encountered errors, send us a comment below and we’ll respond to you as soon as possible.
We thank you for reading this article until the end. In the next tutorial, I will guide you on how to use Laravel to display product images.
See you next time!
How can I apply functionality on shopify store’s front, from my app? Currently all changes are on admin site. I want to apply changes in front where a customer visit and buy products.
Hi Abubakar!
Thank you so much for reaching out and for reading our articles.
If you want to add storefront features you may use script tags from Shopify just before installing the app.
We’re already preparing an article in regards to this topic.
Thank you!
Jermemy
Hi, i want to order api access but when i set orders api then error like something
PHP Fatal error: Allowed memory size of 2147483648 bytes exhausted (tried to allocate 1065357312 bytes) in C:\xampp\htdocs\hob\storage\framework\views\e58fb837e2bd98ee6669f588704423cb55f38d54.php on line 50
[Fri May 14 16:20:19 2021] PHP Fatal error: Maximum execution time of 60 seconds exceeded in C:\xampp\htdocs\hob\vendor\laravel\framework\src\Illuminate\Foundation\Bootstrap\HandleExceptions.php on line 129
i gave permission into shopify-app config file but no results found. Project api working perfectly but any other api not working correctly. please give me soltution.
Thank You
Yogesh Chikani