It’s quite common for games to have enemies, buildings, weapons, and other items that produce bullets or projectiles.
That’s why game developers who are new to the game development often ask questions like: How do I make a projectile that follows its target?
We’ve seen a lot of different answers to that question and most of them are not as good as what we’re about to show you.
That’s correct! In this tutorial, we’re going to teach you how to make a projectile in 2D that follows its target. Not only that, but we’re also going to show you how you can make it look like an arrow (or ever rocket launcher) that creates an arc without using any Physics!
Although if you are interested in pre-made projectile effects, we highly recommend purchasing Unique Toon Projectiles as it compatible with 3D and 2D games and it is SUPER EASY to customize.
So without further ado, let’s get started.
Video Tutorial
Getting Started
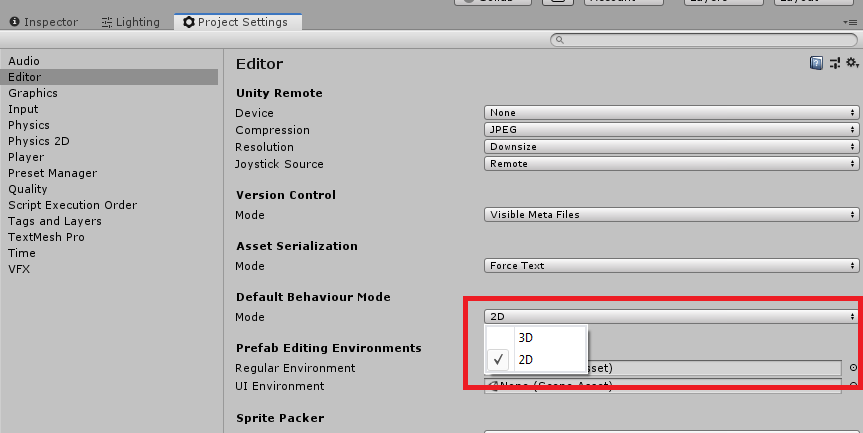
Before we start working, it’s important to ensure that the project you’re working on is set up for 2D games. Otherwise, you will encounter issues like camera projections, etc.
If you’re not sure whether you’re using 3D or 2D, you can always check it by navigating to your Project Settings.
Edit menu > Project Settings… > Editor
Once everything is good, then let’s begin.
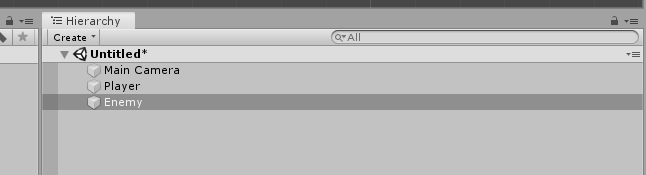
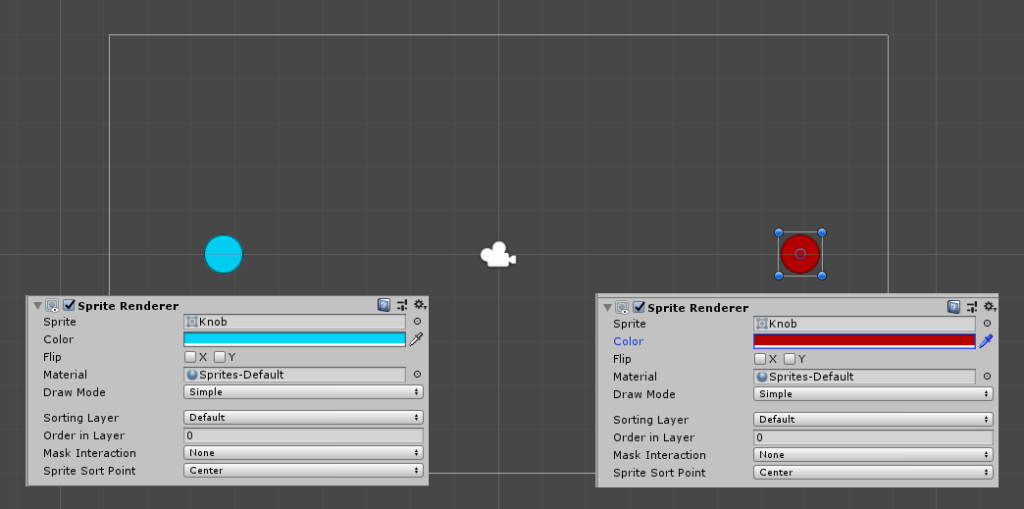
Let’s create two new 2D sprites and let’s name them Player and Enemy.
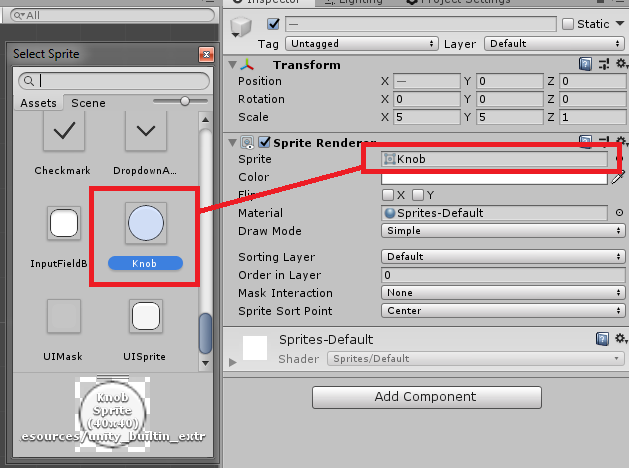
Select the two sprites and navigate to your inspector and change the Sprite from none to Knob.
We’ll also scale them up by 5 and separate them in the scene like this.
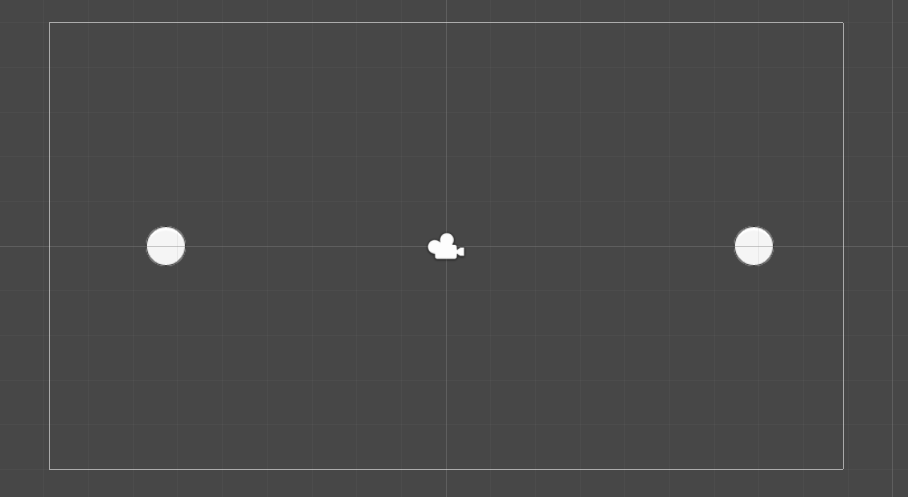
The player is on the left and the enemy is on the right.
If you like, you can change the color of the two sprites to make it easier for you to determine which one is the player and which one is the enemy.
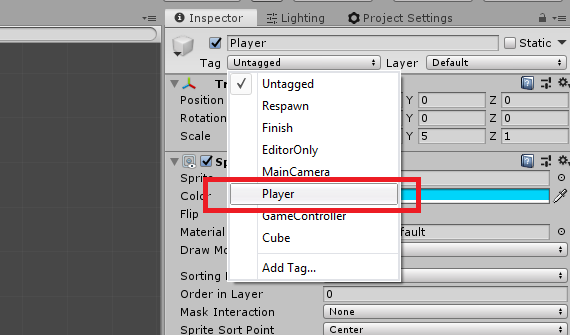
The next thing we’re going to do is to add tags for both sprites so it will be much easier for our code to get the locations of these game objects.
So to do that, select the Player and go to the inspector and change the value of the Tag from Untagged to Player.
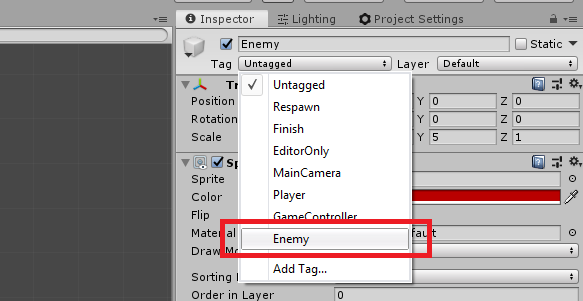
Next, select the Enemy game object. Now, since Unity doesn’t provide an Enemy tag by default, we’re going to create it ourselves so go to the inspector, select the dropdown for Tags and select Add Tag…
This should show you the Tags & Layers window.
Now, under the Tags section, click on the button with a ![]() plus sign.
plus sign.
For the New Tag Name, just input Enemy and click Save.
Now select your Enemy game object once again, navigate to your inspector and change the Tag from untagged to Enemy.
Awesome! Now we’re done with the Player and Enemy.
The Projectiles
For the projectiles, we’ll be using the Player as the starting position and the enemy as the target of the projectile.
We’ll be using the following image as our arrow sprite so go ahead and click the download below.
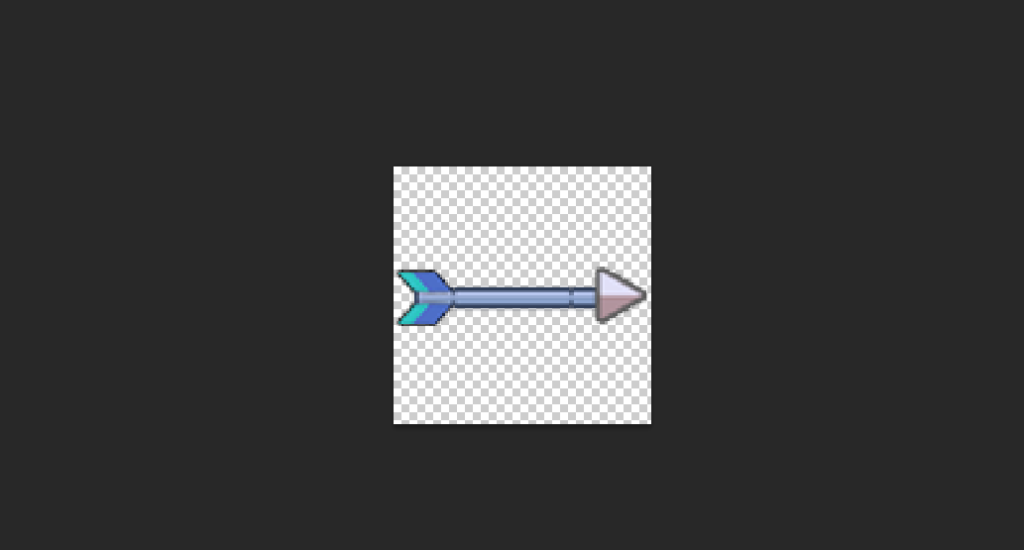
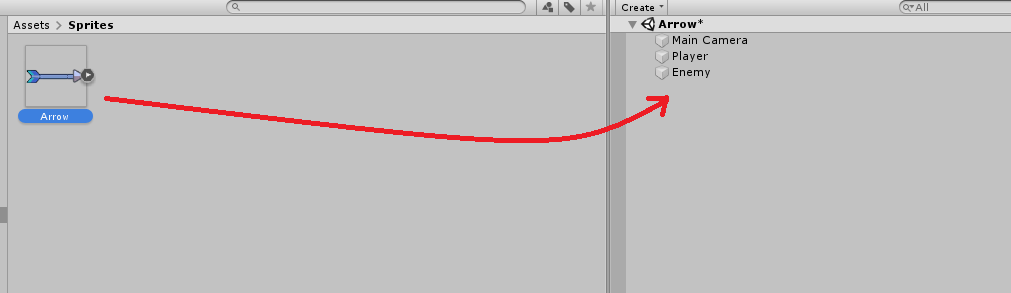
Once you have downloaded the PNG file, go to your project and import it.
Once imported, just simply drag it onto your hierarchy.
Scripting Projectiles
Now that we have the arrow sprite, let’s start working on its script.
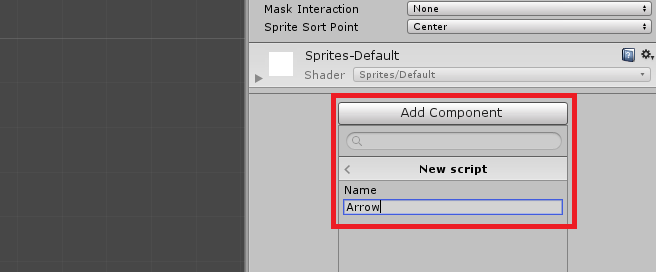
Select the Arrow game object and navigate to your inspector and click the Add component button.
Select New Script and name it Arrow.
Then, open the script and copy the following code.
using System.Collections;
using System.Collections.Generic;
using UnityEngine;

public class Arrow : MonoBehaviour
{
    public GameObject player;
    public GameObject target;

    public float speed = 10f;

    public Vector3 movePosition;

    private float playerX;
    private float targetX;
    private float nextX;
    private float dist;
    private float baseY;
    private float height;

    // Start is called before the first frame update
    void Start()
    {
        player = GameObject.FindGameObjectWithTag("Player");
        target = GameObject.FindGameObjectWithTag("Enemy");
    }

    // Update is called once per frame
    void Update()
    {
        playerX = player.transform.position.x;
        targetX = target.transform.position.x;
        dist = targetX - playerX;
        nextX = Mathf.MoveTowards(transform.position.x, targetX, speed * Time.deltaTime);
        baseY = Mathf.Lerp(player.transform.position.y, target.transform.position.y, (nextX - playerX) / dist);
        height = 2 * (nextX - playerX) * (nextX - targetX) / (-0.25f * dist * dist);

        movePosition = new Vector3(nextX, baseY + height, transform.position.z);

        transform.rotation = LookAtTarget(movePosition - transform.position);
        transform.position = movePosition;

        if (movePosition == target.transform.position)
        {
            Destroy(gameObject);
        }
    }

    public static Quaternion LookAtTarget(Vector2 r)
    {
        return Quaternion.Euler(0, 0, Mathf.Atan2(r.y, r.x) * Mathf.Rad2Deg);
    }
}

Code language: C# (cs)
By saving the script and running your game, you should have the following output:
And there you go, that’s how you make an arrow projectile using Unity 2D.
Technically, we’re done with this but let’s customize our script.
Let’s say we wanted to make our arrows go higher. We can do that by declaring another variable and replacing the value inside our height variable.
Let’s update our code to this.
using System.Collections;
using System.Collections.Generic;
using UnityEngine;

public class Arrow : MonoBehaviour
{
    public GameObject player;
    public GameObject target;

    public float speed = 10f;
    public float launchHeight = 2;

    public Vector3 movePosition;

    private float playerX;
    private float targetX;
    private float nextX;
    private float dist;
    private float baseY;
    private float height;

    // Start is called before the first frame update
    void Start()
    {
        player = GameObject.FindGameObjectWithTag("Player");
        target = GameObject.FindGameObjectWithTag("Enemy");
    }

    // Update is called once per frame
    void Update()
    {
        playerX = player.transform.position.x;
        targetX = target.transform.position.x;
        dist = targetX - playerX;
        nextX = Mathf.MoveTowards(transform.position.x, targetX, speed * Time.deltaTime);
        baseY = Mathf.Lerp(player.transform.position.y, target.transform.position.y, (nextX - playerX) / dist);
        height = launchHeight * (nextX - playerX) * (nextX - targetX) / (-0.25f * dist * dist);

        movePosition = new Vector3(nextX, baseY + height, transform.position.z);

        transform.rotation = LookAtTarget(movePosition - transform.position);
        transform.position = movePosition;

        if (movePosition == target.transform.position)
        {
            Destroy(gameObject);
        }
    }

    public static Quaternion LookAtTarget(Vector2 r)
    {
        return Quaternion.Euler(0, 0, Mathf.Atan2(r.y, r.x) * Mathf.Rad2Deg);
    }
}

Code language: C# (cs)
With this new script, you can use this even for catapults or rocket launchers and all you needed to do is to increase the value of launchHeight and decrease the speed to make the rocket launcher more realistic.
There you have it! You have finally created an arrow that arches up to the target.
Obviously, you can always customize the script and add effects when the arrow reaches the target. For example, blood splatter… or an explosion for rocket launchers.
Feel free to do whatever you want!
Conclusion
Like what we mention at the beginning of this tutorial… Arrows, bullets, rockets, etc. they are all pretty common in games. Using the script that we provided, we’re quite confident that you can use it for a long run and customize it very easily.
If you’re looking for more 2D related tutorials, you can always head to our Game Development blog page and read more.
Disclosure: This article may contain affiliate links, which means we may receive a commission if you click a link and purchase something that we have recommended.
thank you, it helped me a lot