In most games, enemies are often allowed to roam around the game environment. This is done using a pathfinding system. If the character wants to move from one location to another, the pathfinding system will process its way and give it a path that the character can follow.
Pathfinding is also not just used by games, it is also used by apps like Uber. Given two points of location, the system will compare the distance of each point and will look for the shortest path. This is also the same with game path finding.
Now that begs the question.
How do you actually implement a path finding for games?
Thankfully, Unity provided a solution that allows game developers to add a pathfinding system that gives game characters the ability to walk around the environment and it’s called NavMesh navigation system.
In this tutorial, we’ll be diving into how to create a game character that walks from one position to another using the NavMesh Surface component which will allow us to define a more accurate surface for our characters to walk into.
Also, are you looking for an AI Behavior package that will help you complete your games? If so, then we recommend you try the package below. It’s FREE and very easy to use.
Getting Started
To get started, make sure that you have a scene with a platform where the character can walk around on. For this tutorial, we have set up a very simple scene consisting of a floor and some walls.
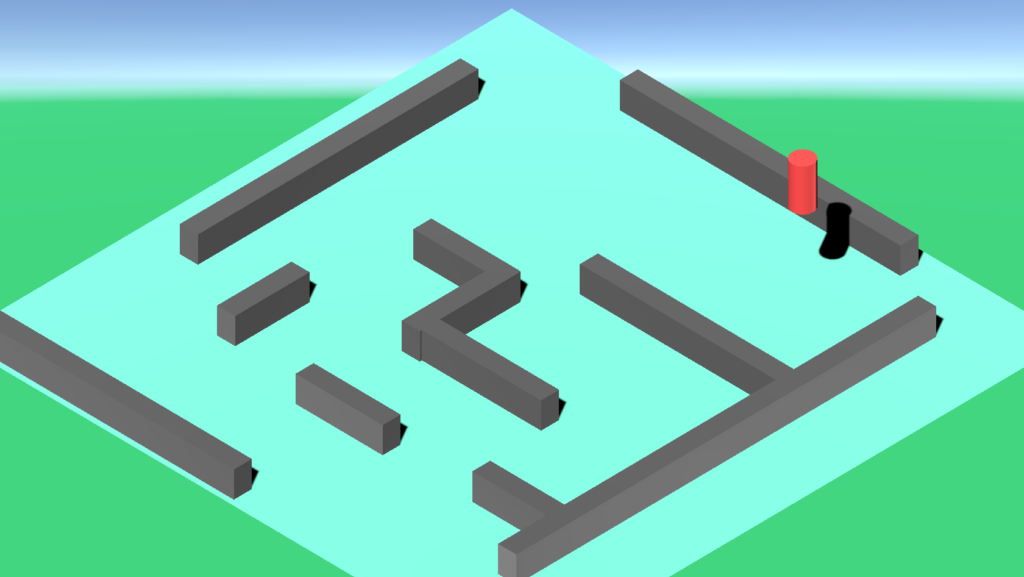
We have also added the red cylinder which we’ll use as the character that moves from its default position to another without going through the walls.
The next thing we need to have is the NavMeshComponents. This can be downloaded from Unity-Technologies’ GitHub page or you can download by clicking the download below.
It’s also important to check what version of Unity you’re currently using. The above ZIP file is intended to be used for Unity 2019.3 and beyond. If you’re using a version below 2019.3 then download from the following links.
NavMeshComponent for 2018.3 to 2018.4-LTS and 2019.2
NavMeshComponent for 2018.2
NavMeshComponent for 2018.1
NavMeshComponent for 2017.2 to 2017.4-LTS
NavMeshComponent for 2017.1
NavMeshComponent for Unity 5.6
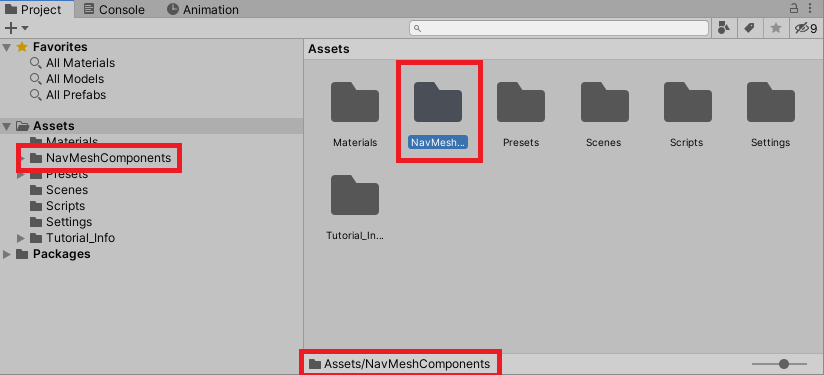
Once you have downloaded the NavMeshComponent, open the ZIP file and look for the Assets folder.
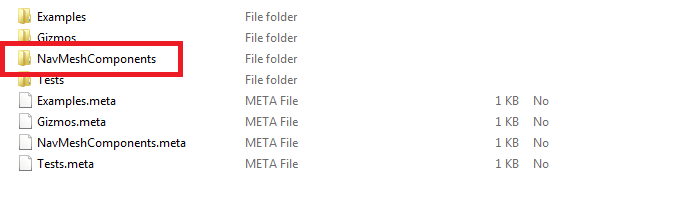
Simply extract it and import the folder to your project like below.
In order for our character to be able to move around the environment, the scene must be baked with NavMesh so the character can determine which area he can walk and which area he can not walk onto.
To do that, we’ll first create an empty game object which we’ll name NavMesh.
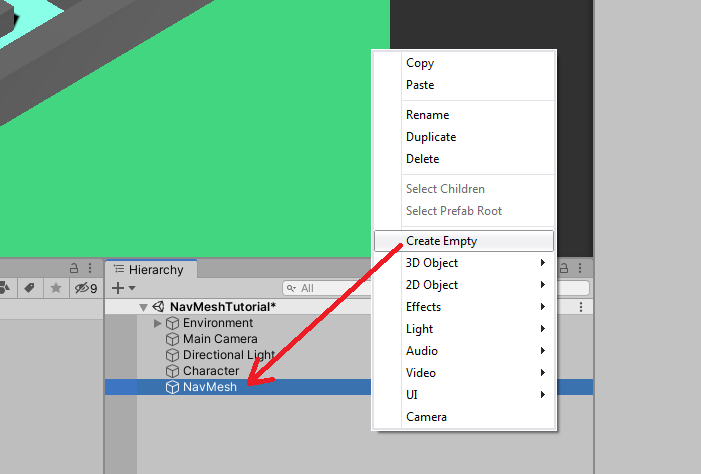
This game object is going to be responsible for baking the scene’s NavMesh. To allow it to bake the scene, we have to add the NavMeshSurface component.
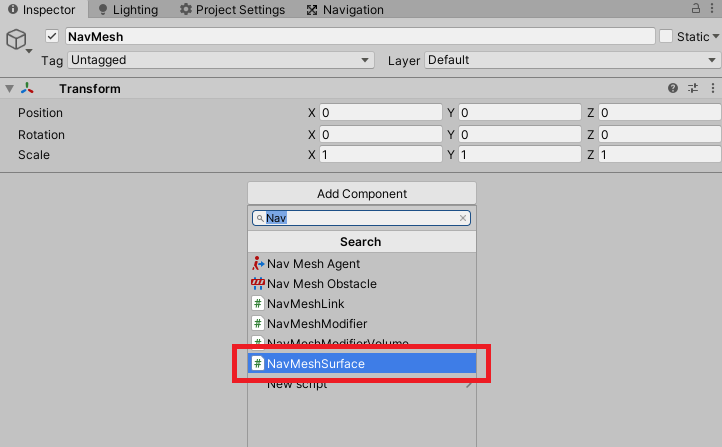
With the NavMesh game object selected, navigate to your inspector and click the Add Component button and look for NavMeshSurface.
Next, proceed to NavMeshSurface component and you may actually click the Bake button to bake your scene.
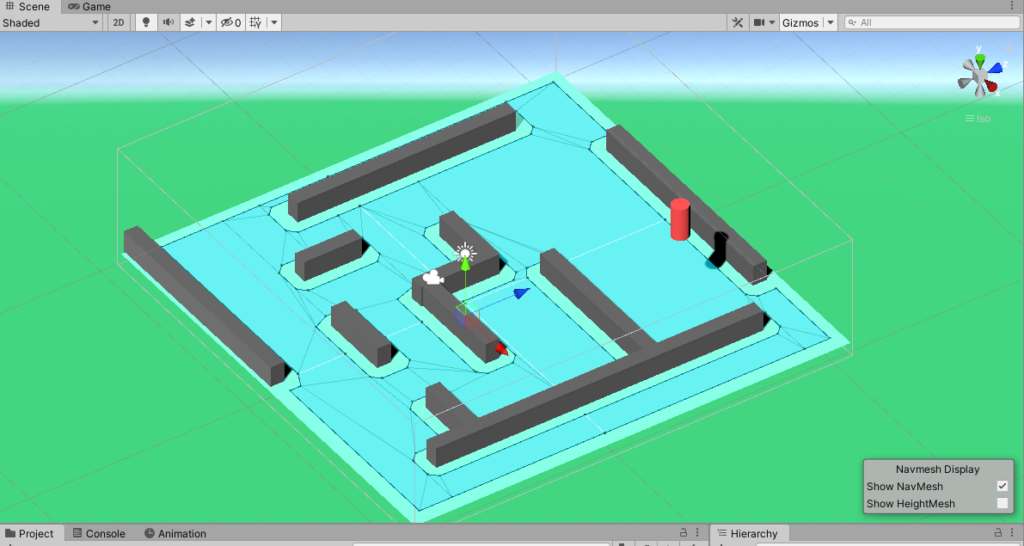
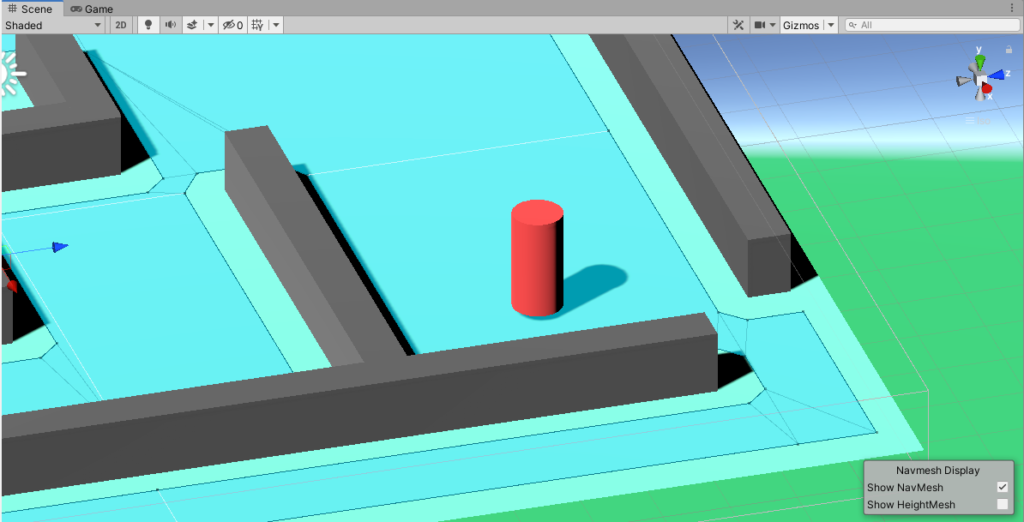
As you can see in the scene view, it perfectly created a blue-tinted area and this area is only where the character can walk onto.
If you didn’t notice, we have raised the red cylinder a little high so it won’t get affected by the baking process. However, if you try to put it down the safe with the walls. You will have the following output.
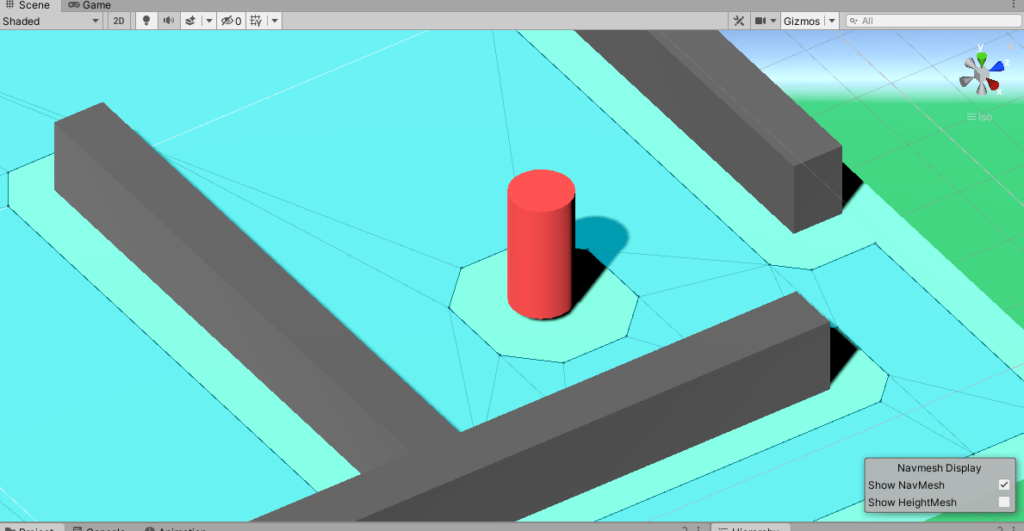
As you can see, the NavMesh also treated our character as an obstacle. And so to prevent this from happening we need to layer our game objects.
For the character we need to layer this as Character.
For Platforms, we need to layer them as Platform.
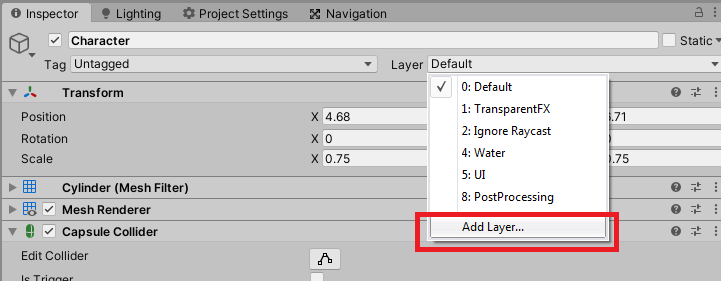
To do this, navigate to your hierarchy, select the Character game object and go to its inspector and select Add Layer… under the Layer dropdown.
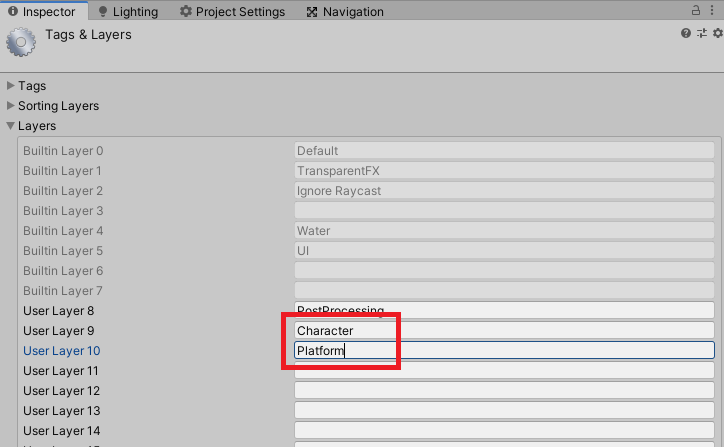
Next, input Character and Platform on Layers
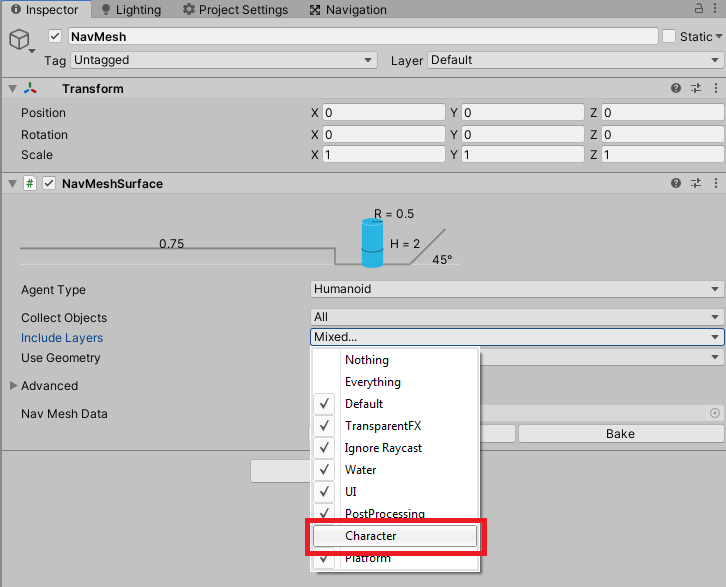
Go back to hierarchy and select NavMesh game object once again and go to its inspector and under the Include Layers dropdown, unselect the Character layer.
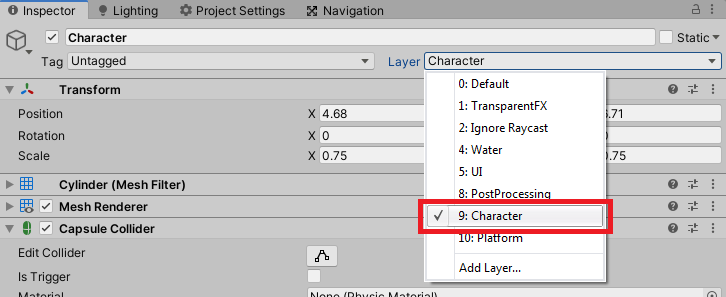
Next, select the Character game object, go to its inspecter and change its Layer from Default to Character.
Do the same for your environment game objects. Change its layers from whatever layer it is currently into to Platform. In our case, we have an Environment game object which contains all of our walls and floor.

Once done, select the NavMesh game object once again and hit Bake again.
As you can see now, the character is not included anymore in the NavMesh.
Now, what if you have a high-leveled surface?
Let’s say we have this surface where the character can climb onto.
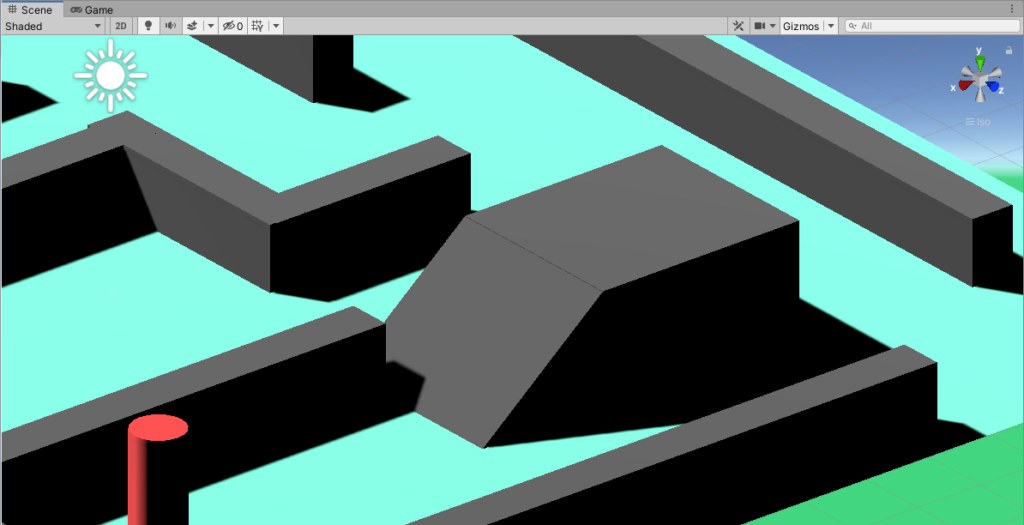
If we try to bake our scene we will have this.
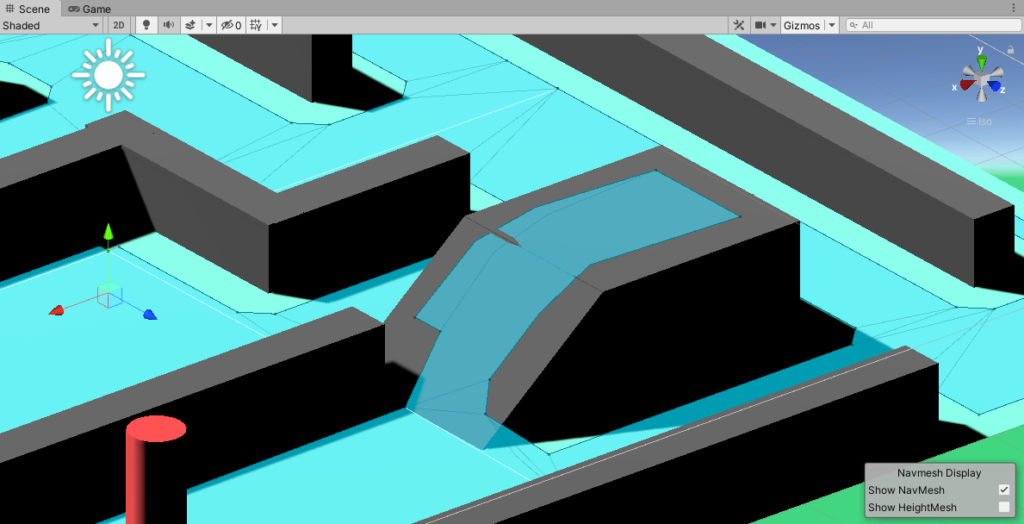
Pretty cool right?
Now, with all that being done. Let’s start making our character move around on its own.
Now that we finally have our scene baked with NavMesh. We can finally make our character move around the platform.
To do that, let’s create a new script and name it AI.cs and copy the following code.
using UnityEngine;
using UnityEngine.AI;

public class AI : MonoBehaviour
{
    public GameObject[] paths;

    public NavMeshAgent agent;

    private int startingPath = 0;
    private int pathLength = 0;

    private void Start()
    {
        startingPath = 0;
        pathLength = paths.Length;
        agent = GetComponent<NavMeshAgent>();
    }

    // Update is called once per frame
    void Update()
    {
        if (startingPath < pathLength)
        {
            if (Vector3.Distance(paths[startingPath].transform.position, gameObject.transform.position) < 1)
            {
                if( startingPath == pathLength - 1)
                {
                    startingPath = 0;
                } else
                {
                    startingPath++;
                }
            }
        }

        agent.SetDestination(paths[startingPath].transform.position);
    }
}
For the above code, what we wanted to achieve is to make the AI move from one point to another. Think of this as the patrolling soldier who guards the platform.
We declared an array of game objects that we’re going to use as the path for the character. We also declared a NavMeshAgent variable which we’re going to add to our character after this.
Now, what is a NavMeshAgent?
NavMeshAgent is a component that can help you to create characters that will automatically avoid other agents while they are moving towards their goal. With NavMeshAgent, you don’t have to create a character controller script just to update the transform of the character. NavMeshAgent will do everything for you.
Going back to the code, in the start function, we initialized every variable that we need.
We set the startingPath variable to 0. This variable is going to be used for the paths[] array as its first key.
Then, we have the pathLength. For this variable, we have to make sure that we know exactly how much point we have for our character to move towards.
For example, we want our character to move from the door of the building to the window, then after going to the window, we want the character to move to the kitchen, then after reaching the kitchen, we want the character to move back to the front door.
So on and so forth.
That’s what the update function does exactly.
We first check if the startingPath is less than the length of the paths.
If it’s true, then we check if the distance of the character from the first point is less than 1, if it is then we check if the startingPath is equal to the length of the paths[].
If it is not equal then we proceed to the next point, until we reach the end.
Once we reach the end, the startingPath resets back to 0 and continues to loop back to the points.
If you understand everything, save the script and go back to Unity.
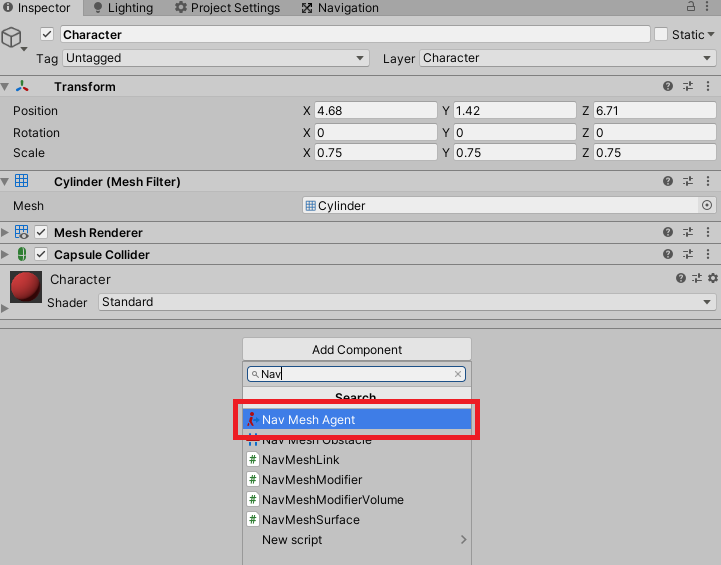
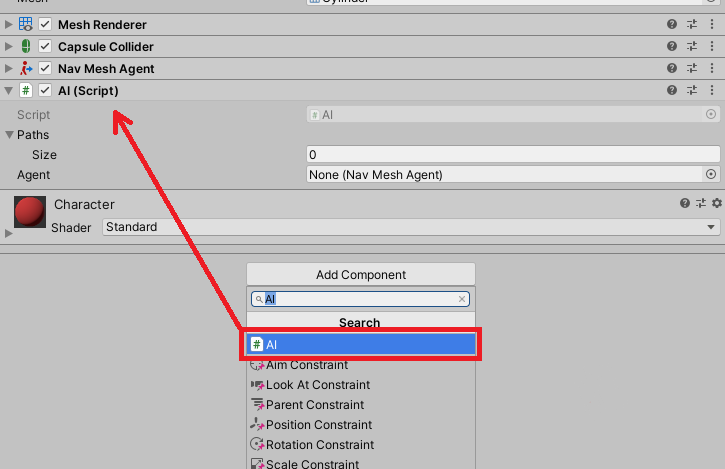
Now with your Character game object selected, go to inspector and click Add Component. Then, look for NavMeshAgent.
Once added, click the Add Component once again and add the script that we created which is the AI.cs script.
Creating the path
Now that we have our AI script and NavMeshAgent ready. We can start creating the points for our character to move towards onto.
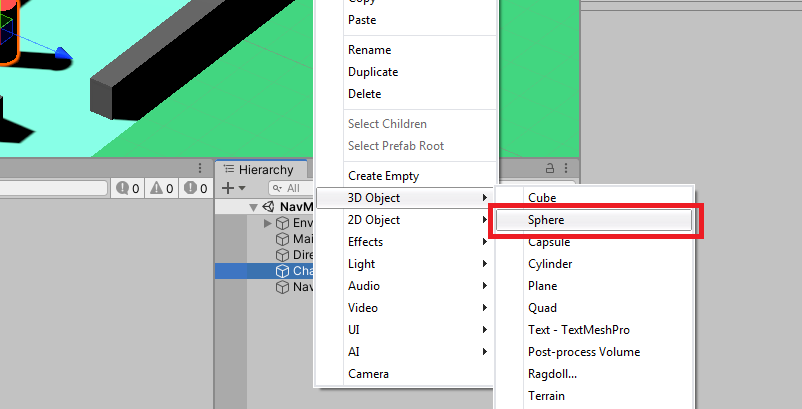
So in the hierarchy, create a new 3D game object and select Sphere though you can choose any game object you want.
Then, let’s position this sphere to any corner you want the character to patrol. For example, here.
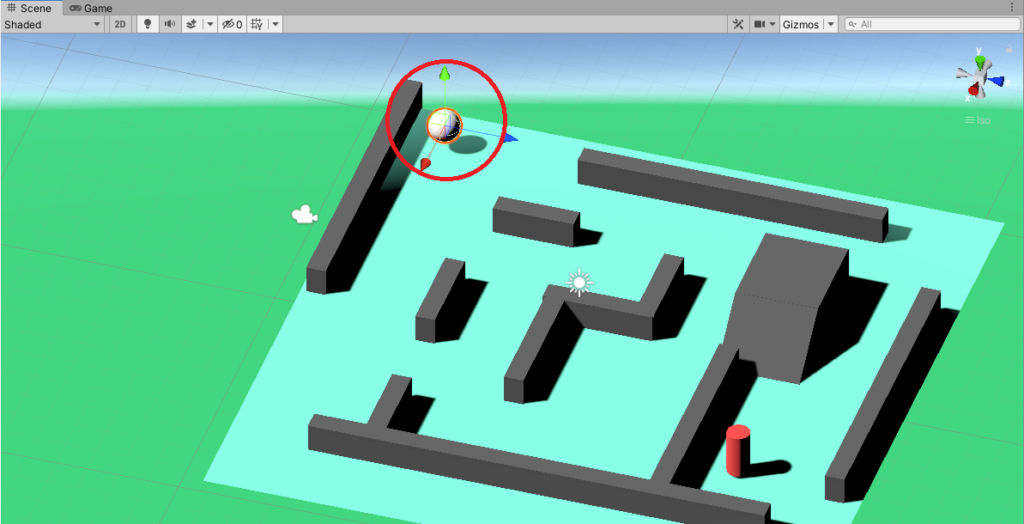
Just make sure that you don’t place the sphere too high or too under the platform.
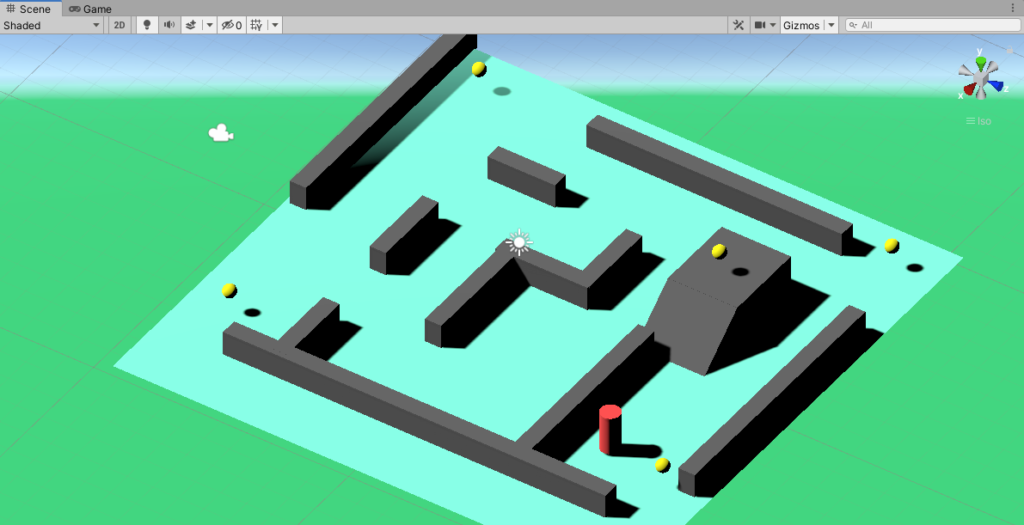
Next, let’s duplicate this sphere to an amount of your desire and let’s place them to different positions. We’ll also resize them small enough so it won’t look like an obstacle. We’ll also change its Material. Feel free to do whatever you want with this sphere.
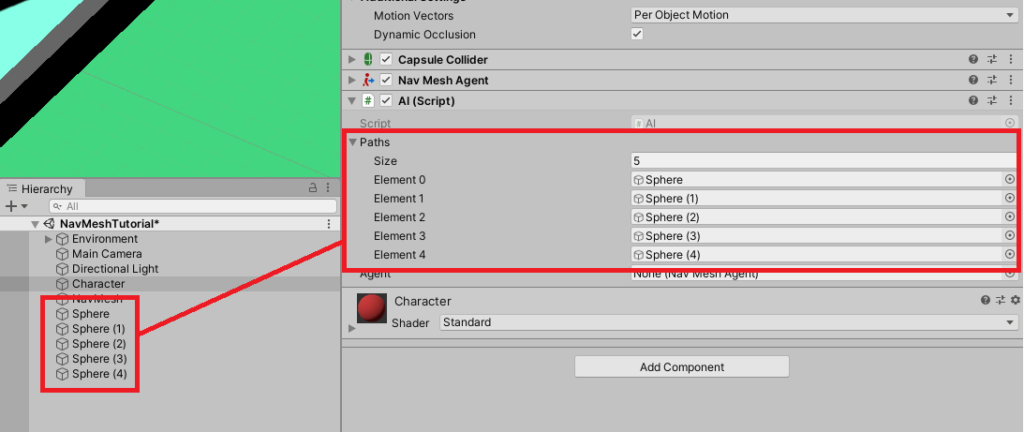
Next, once you’re satisfied of your points setup. Let’s add them to our AI script.
So with your Character game object selected, navigate to the AI script component and add the spheres one by one by dragging them to the Paths parameter.
And there you go! We’re actually done!
If you try to run your game, you should see that the character is going to the points that we planted and once the character reached the final point, it will go back to the first point. Pretty cool!
Conclusion
That’s pretty much it for this tutorial. Obviously, you can always customize the settings of your NavMeshAgent. If you want the character to move slow, all you needed to do is to adjust its speed in the NavMeshAgent component. Feel free to modify the settings. The more you do that, the more you’ll easily understand how it works.
Disclosure: This article may contain affiliate links, which means we may receive a commission if you click a link and purchase something that we have recommended.