Most game developers have most likely asked themselves “How do you actually create a delay before doing a certain action?”.
Trust us, we’ve asked ourselves this question as well.

But how do you actually make a time delay before doing an action? The answer is very simple. It’s by using Coroutines or Invoke!
But how do you actually use it?
In this tutorial, we’re gonna be taking a look at how to create a Do After Delay function that you can use for something like spawning monsters after a delay, triggering a cutscene after a delay, or attack after a delay.
But we’ll make it as simple as possible so you get the idea of how to apply delays in your game.
Getting Started
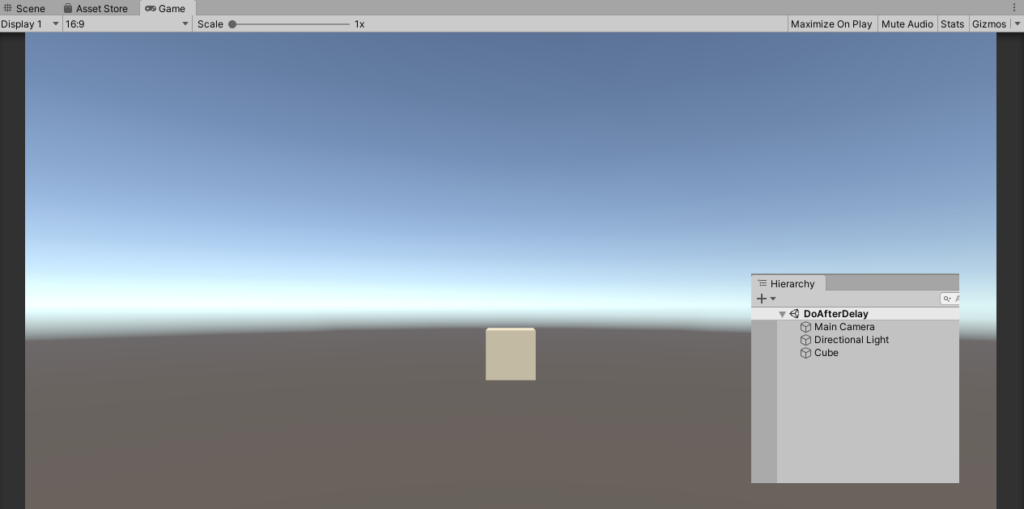
For this tutorial, we don’t need to use that many game objects but we do need at least one cube for testing the following script.
So open your Unity, create a new Scene, and add a new 3D game object like Cube.
How To Create a Delay With Coroutines
One of the easiest ways to create a delay is by using a coroutine.
What is a coroutine?
According to Unity’s official documentation, a coroutine is a function that has the ability to stop or pause an execution. Meaning that anything after the coroutine will not be executed unless the coroutine is done processing.
Now how does a coroutine works in Unity?
A coroutine works by using an IEnumerator function. With this, you will be able to use the yield statement and the WaitForSeconds() function to stop your script for a certain period of time.
Once you have created the function, you will then need to use the StartCoroutine() function to trigger your IEnumarator function.
So with that said, let’s create a new C# script, name it ChangeColorAfterDelay.cs and copy the following code
using System.Collections;
using System.Collections.Generic;
using UnityEngine;

public class ChangeColorAfterDelay : MonoBehaviour
{
    private Renderer _renderer;
    [SerializeField] private float _time = 3f;

    // Start is called before the first frame update
    void Start()
    {
        _renderer = GetComponent<Renderer>();
        StartCoroutine(ChangeColor(_time));
    }

    public IEnumerator ChangeColor(float t)
    {
        yield return new WaitForSeconds(t);
        _renderer.material.color = Color.red;
    }
}

Code language: HTML, XML (xml)
For this code, we first created a Renderer variable.
Then, right inside the Start() function, we used the GetComponent to get the renderer component from the game object that is attached to this script.
After getting the component, we used the StartCoroutine() function to trigger the WaitForSeconds() function.
Note that you can also pass the name of the IEnumerator function as a string argument for StartCoroutine() like this:
StartCoroutine("ChangeColor");Code language: JavaScript (javascript)Next, we created the IEnumerator function and gave it a float parameter which we’re going to use for the WaitForSeconds() function as the time for waiting. So for example, we have a value of 3f in our _time variable, the function will stop for only 3 seconds.
After waiting, we then change the color of the cube to red.
If you save this script and apply this script to a game object like a cube. You should be able to see its color change after 3 seconds.
How To Create a Delay Without Coroutines
Now, we are able to create a delay using coroutines, but how can we do it without using coroutines?
The answer is actually very simple and shorter compared to the previous one. It’s by using the Invoke() function.
Let’s try it.
Open the same C# script and copy the following code:
using System.Collections;
using System.Collections.Generic;
using UnityEngine;

public class ChangeColorAfterDelay : MonoBehaviour
{
    private Renderer _renderer;
    [SerializeField] private float _time = 3f;

    // Start is called before the first frame update
    void Start()
    {
        _renderer = GetComponent<Renderer>();
        Invoke("ChangeColor", _time);
    }

    public void ChangeColor()
    {
        _renderer.material.color = Color.red;
    }
}

Code language: HTML, XML (xml)
Unfortunately, Invoke is not maintainable as coroutines and so if you are making a complex scenario where you need to each second, we suggest going for coroutines instead of Invoke.
If you run the game, you should be able to see the very same result as the previous one.
Invoke vs Coroutine
Now that we have learned the two ways how to create delay functions in Unity, let’s talk about which one is better to use and which one is not.
Invoke is great and it does its job. However, if we talk about maintainability, Invoke is not as maintainable as coroutines. Invoke runs only in one time. You call Invoke function and it will wait a couple of seconds and it’s done.
But with Coroutines, you are able to manipulate each second that passes inside the coroutine.
Let’s give you an example.
You create a coroutine and it waits for 5 seconds.
When you run the game, the coroutine starts counting. 5… 4… and after reaching 3 seconds, you execute a function. Then the coroutine will proceed counting until it reaches 0 seconds.
using System.Collections;
using System.Collections.Generic;
using UnityEngine;

public class ChangeColorAfterDelay : MonoBehaviour
{
    private Renderer _renderer;
    [SerializeField] private float _time = 3f;

    // Start is called before the first frame update
    void Start()
    {
        _renderer = GetComponent<Renderer>();
        StartCoroutine(ChangeColor(_time));
    }

    public IEnumerator ChangeColor(float t)
    {
        while (t > 0)
        {
            if (t == 3f) Debug.Log("We reached 3 seconds!");
            else Debug.Log(t);

            t--;

            yield return new WaitForSeconds(1f);
        }

        _renderer.material.color = Color.red;
    }
}
Code language: HTML, XML (xml)
With this, you have much control over what is happening in your game.
If you try the script above, you should have the following output.
Conclusion
Making delays in Unity can be a tedious task but with coroutines and invoke, we do hope that you are able to create the delay function that meets the requirement of your game.
If you’re looking for more than just coroutines and delays, try Delay, Invoke, Repeat. It’s a very awesome plugin that allows you to create delays using not just time but also conditions.
Disclosure: This article may contain affiliate links, which means we may receive a commission if you click a link and purchase something that we have recommended.
In my scene, when my FPS Character Controller (the player) goes near the zombie, the zombie attacks the FPS Character Controller, but the FPS Character Controller’s health goes down too fast before the zombies punch has landed on him, and it looks unrealistic. The zombie has a attack trigger Flow Macro component added to him using a Bolt Visual Scripting attack trigger. Is there a way to give the FPS Character Controller’s health bar a half a second delay when he enters the zombies Edit Collider box (like in the photo) so it looks like the zombies punches are connecting simultaneously with the health bar going down? So this needs to be applied to the Bolt Visual Scripting script that controls the zombie attack script in the animator controller?