
I have been using React a lot now and whenever I create a React app, I always start with a navbar. So, how do we create a responsive navigation bar?
There are lots of ways to create a navigation bar. But, in this article, I’ll be providing you the easiest way to create a navbar without putting too much effort since you have much important stuff to add in your website. Right?
So before we get started, make sure you have your Node.js ready and installed. So I will assume that in this tutorial, you already have Node.js. However, if somehow you don’t have it installed, then I suggest you follow this article on how to set up your Node.js.
Getting Started
Of course, we are going to create this navbar from scratch. So get yourself a new project by typing in your command prompt/terminal.
mkdir react-navbar && cd react-navbarCode language: Bash (bash)The command above will give us a new folder for our React project. If you want, you can change the name to something you like.
Next, use this command.
npm initCode language: Bash (bash)This code will create a package.json which is important for all projects. You will see something like this in your terminal.
C:\User\WeeklyHow\Node Projects\react-navbar>npm init
This utility will walk you through creating a package.json file.
It only covers the most common items, and tries to guess sensible defaults.

See `npm help json` for definitive documentation on these fields
and exactly what they do.

Use `npm install <pkg>` afterwards to install a package and
save it as a dependency in the package.json file.

Press ^C at any time to quit.
package name: (react-navbar)Code language: Bash (bash)
Once you see something like those, just proceed by pressing your Enter key.
You see, the prompt above will actually ask you for details about your project. So if you want to change the description, keywords, author, etc. You can do so.
But for the sake of the simplicity of this tutorial, I won’t bother that much about it.
Installing Create React App
Next, use this command
npm install -g create-react-appCode language: Bash (bash)This will install React.js and its components.
| npm | a command from Node.js that contains packages |
| install | a command for installing packages from npm registry |
| -g | Global |
| create-react-app | The package that we are about to install |
Installing React-icons
And oh, I think it’s good if we also install some icons from Font Awesome. So use this command:
npm install react-icons --saveCode language: Bash (bash)After installing react-icons, you may see some errors related to DEPENDENCY or incompatibility. Just ignore it.
Next, use this command.
create-react-app react-navbar-projectCode language: Bash (bash)If the command above successfully worked for you, then you should see a result something like this
C:\Users\WeeklyHow\Node Projects\react-navbar>create-react-app react-navbar-project

Creating a new React app in C:\Users\WeeklyHow\Node Projects\react-navbar\react-navbar-project.

Installing packages. This might take a couple of minutes.
Installing react, react-dom, and react-scripts...


> core-js@2.6.9 postinstall C:\Users\WeeklyHow\Node Projects\react-navbar\react-navbar-project\node_modules\babel-runtime\node_modules\core-js
> node scripts/postinstall || echo "ignore"


> core-js-pure@3.1.4 postinstall C:\Users\WeeklyHow\Node Projects\react-navbar\react-navbar-project\node_modules\core-js-pure
> node scripts/postinstall || echo "ignore"

+ react-scripts@3.0.1
+ react-dom@16.8.6
+ react@16.8.6
added 1405 packages from 726 contributors and audited 901968 packages in 386.441s
found 0 vulnerabilities


Success! Created react-navbar-project at C:\Users\WeeklyHow\Node Projects\react-navbar\react-navbar-project
Inside that directory, you can run several commands:

  npm start
    Starts the development server.

  npm run build
    Bundles the app into static files for production.

  npm test
    Starts the test runner.

  npm run eject
    Removes this tool and copies build dependencies, configuration files
    and scripts into the app directory. If you do this, you can't go back!

We suggest that you begin by typing:

  cd react-navbar-project
  npm start

Happy hacking!

C:\Users\WeeklyHow\Node Projects\react-navbar>Code language: Bash (bash)
That’s it! You have finally installed your React project.
To see the result, type the following code
cd react-navbar-project && npm startCode language: Bash (bash)This will proceed to your project and once it found the folder it will start the app and open localhost:3000

Now, open your project folder with your favorite code editor and let’s start building a React navbar.
In this project, I’ll be using Sublime editor because it’s much lightweight than any other editors.
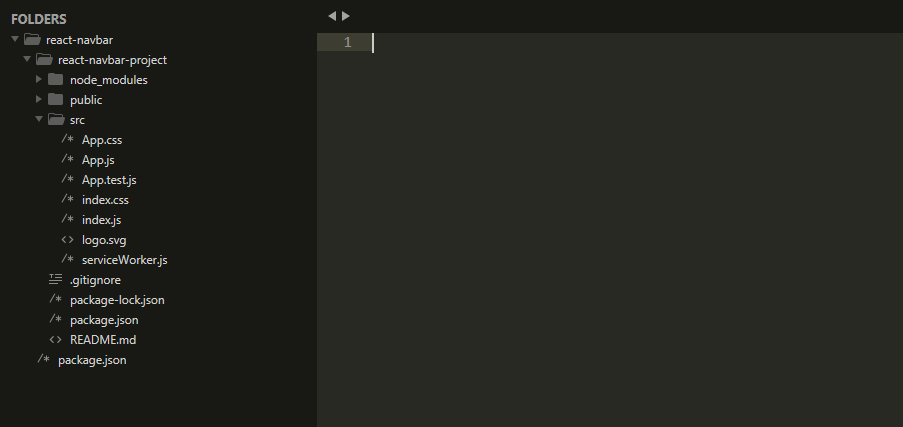
So as you can see in our project files, we have the node_modules, public, and src folders.
We’ll be just focusing more on our src folder since that’s where most of our project files are located.
Open the App.js file and you will see the code something like this
import React from 'react';
import logo from './logo.svg';
import './App.css';

function App() {
  return (
    <div className="App">
      <header className="App-header">
        <img src={logo} className="App-logo" alt="logo" />
        <p>
          Edit <code>src/App.js</code> and save to reload.
        </p>
        <a className="App-link" href="https://reactjs.org" target="_blank" rel="noopener noreferrer">
          Learn React
        </a>
      </header>
    </div>
  );
}

export default App;
Code language: JavaScript (javascript)
Let’s delete everything and let’s start from scratch.
First off, let’s import the following modules.
import React, { Component } from 'react';
import { FaAlignRight } from 'react-icons/fa';
import './App.css';
Code language: JavaScript (javascript)
Beautiful! Now let’s create a new Component, append this code to your script.
export default class App extends Component {
    state = {
        toggle:false
    }
    Toggle = () => {
        this.setState({toggle:!this.state.toggle})
    }
    render() {
        return (
          <>
              <div className="navBar">
                    <button onClick={this.Toggle}>
                        <FaAlignRight />
                    </button>
                    <ul className={this.state.toggle ? "nav-links show-nav" : "nav-links"}>
                        <li href="#">Home</li>
                        <li href="#">About us</li>
                        <li href="#">Contact</li>
                    </ul>
              </div>
          </>
        );
    }
}

Code language: JavaScript (javascript)
Since we have added classNames to our elements, let’s edit our App.css file and replace the following code with:
/* Elements */
li {
padding: 10px 0;
}
button {
font-size: 30px;
margin-right: 30px;
color: white;
background: transparent;
border: none;
cursor: pointer;
outline: none;
float: right;
}
/* Class */
.navBar {
width: 100%;
background-color: #111;
color: white;
padding: 10px;
}
.links {
height: 0;
overflow: hidden;
list-style-type: none;
font-weight: bold;
}
.show-nav {
height: 120px;
}
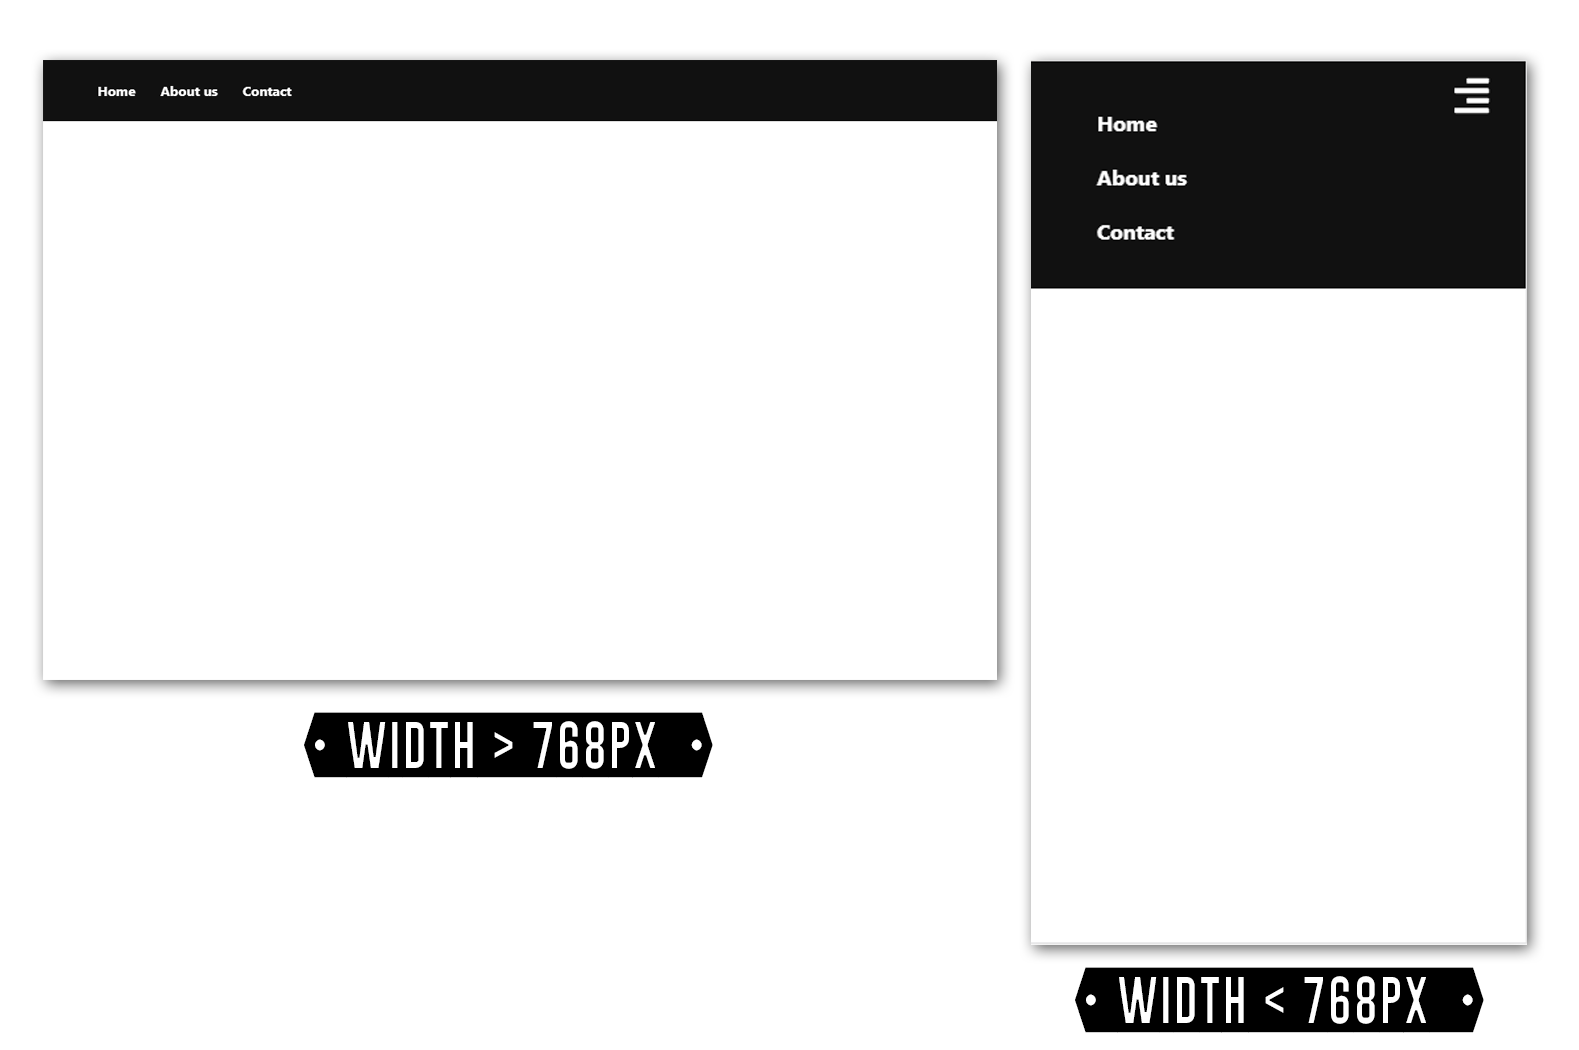
/* Media screen size */
@media screen and (min-width: 768px) {
button {
display: none;
}
.links {
height: auto;
display: flex;
}
li {
padding: 0 15px;
}
}
Code language: CSS (css)Save everything and see the result at your browser (localhost:3000)
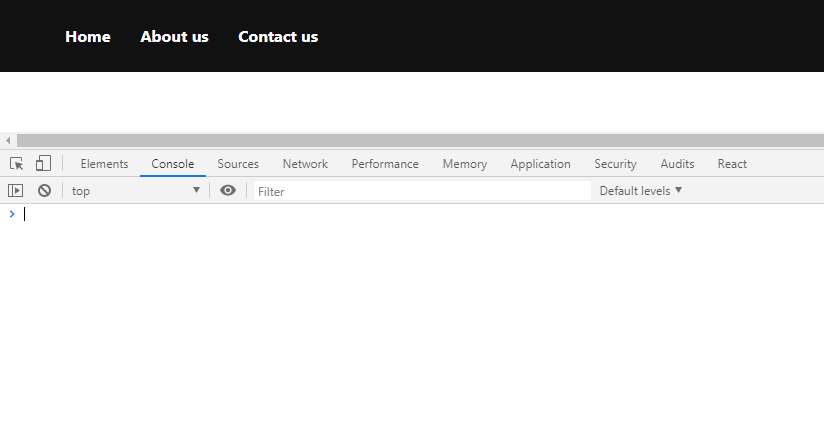
Another way to display links for navbar is by mapping objects inside an array and in our case, the objects are the links. So let’s just say we needed to add more links to the navbar. The solution is very easy, just add more values to the array and it will be displayed in the navbar.
Let’s try that.
Go back to App.js and add the following code just above the return() function.
const li = [
            {
                link: "/",
                text:"Home"
            },
            {
                link: "/about/",
                text:"About us"
            },
            {
                link: "/contact/",
                text:"Contact us"
            }
 ];
Code language: JavaScript (javascript)
And then, your new return function will look something like this:
return (
          <>
              <div className="navBar">
                    <button onClick={this.Toggle}>
                        <FaAlignRight />
                    </button>
                    <ul className={this.state.toggle ? "links show-nav" : "links"}>
                        {
                            li.map((objLink, i) => {
                                return ( <li><a href={objLink.link}>{objLink.text}</a></li> )
                            })
                        }
                    </ul>
              </div>
          </>
        );
Code language: JavaScript (javascript)
In the above code, you see that we used the array map() function. This will loop through the array, get all the data, and pass it to the parameter objLink.
Now going back to our React app, you will see that we produced an error.

The reason why we get that error is that our array doesn’t have a ‘key’ on it. Specifically per link.
Fixing this error is very simple.
You see, in our map() function, we have a parameter named i. This will serve as the index per loop.
We can use this as the key per link.
So go ahead to your <li> tag and add the property key and give it the value of i.
Something like this:
<li key={i}><a href={a.link}>{a.text}</a></li>
Code language: JavaScript (javascript)
Hit save and see if there’s still an error.
Bloop! No errors, that means everything is working now.
Conclusion
Creating a navbar is very easy especially if you use React. In this lesson, hopefully we have learned on how to create a navbar using React as well as mapping links inside an array.
If you encounter errors in this lesson, don’t hesitate to share them in the comments below and we’ll be helping you fix the problem as soon as possible.
And if you have suggestions or requests, writing them in the comments below will help us too.
Thank you for reading!
It’s a shame you do not provide the completed source files.
1. the code produces an error before adding the li key code
Line 63:1: Parsing error: Unexpected token, expected “,”
61 | )
62 |
> 63 |
| ^
2, you don’t say where, precisely, to add the {a.text} code . I added it just above the link statement but get another error:
Line 31:5: Parsing error: Unexpected token
29 | const li = [
30 | {
> 31 | {a.text}
| ^
3: Are you planning to update this code with { useState} instead of the deprecated Class code?
Hi!
Thank you for notifying us about this! We’ll be working on updating this tutorial as soon as we can. Sorry for the inconvenience.
WeeklyHow